Ruuvi sensors are managed in Ruuvi Station through sensor cards, which are used to visualise the collected sensor data and any assigned alerts. Ruuvi Station uses sensor cards for managing both local sensors and cloud sensors in the app.
In mobile application, users are able to add new sensors to Ruuvi Station on Add a New Sensor page.
In web application Add a New Sensor page doesn’t exist but new sensors can be added to Ruuvi Station using MAC address.
Add a New Sensor (mobile app)
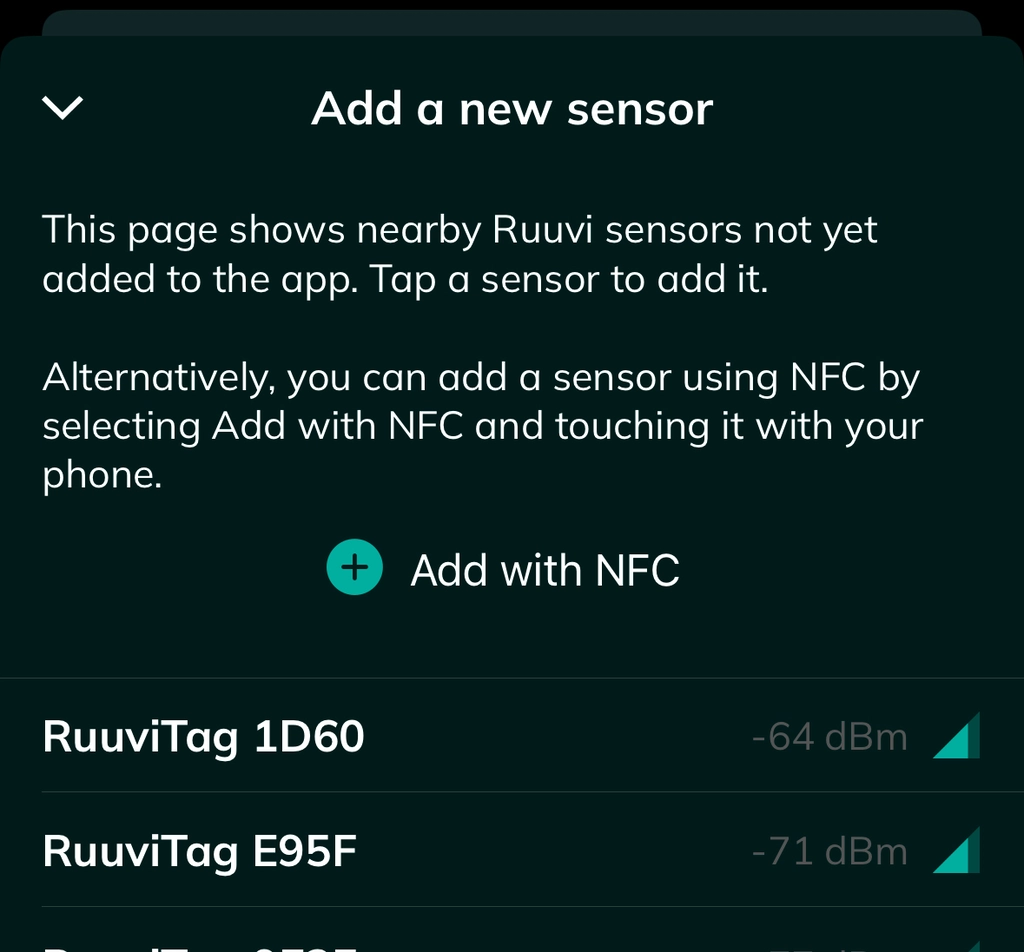
In Ruuvi Station mobile, any unassigned Ruuvi sensor within the Bluetooth range of your mobile device will be shown on Add a New Sensor page.
Adding any visible sensor will create a sensor card to the Ruuvi Station app.
Note! Add a New Sensor page will not show cloud sensors that have been added to your account on another device or shared to you using Ruuvi Cloud. In this case a sensor card will be automatically generated when you sign in to the app and you won’t need to add it by using Add a New Sensor feature.
This page will show you all unassigned Ruuvi sensors that are:
- Within the Bluetooth signal range, and
- Powered and using the official Ruuvi Firmware.
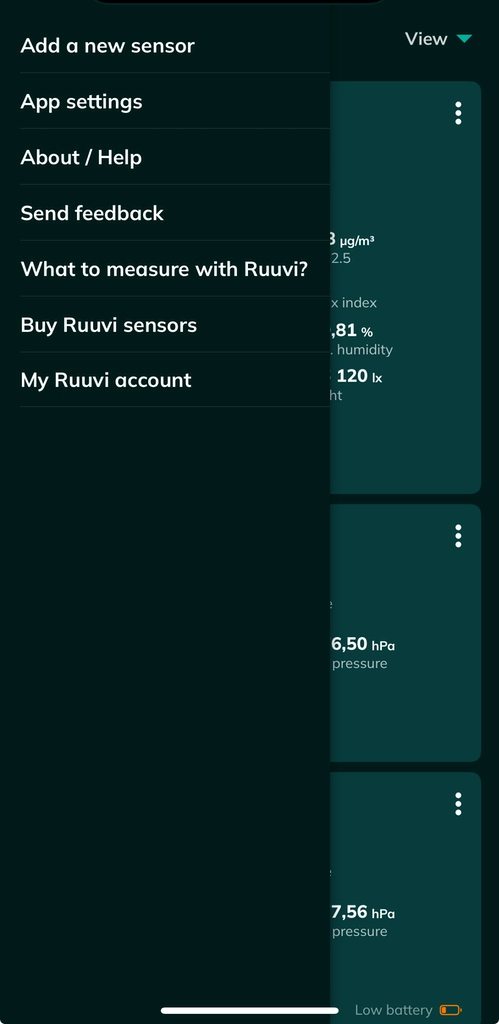
If you didn’t add all visible sensors during the first launch, the Add a New Sensor page is always accessible through the Main Menu by selecting Add a New Sensor.


Information shown under Nearby Ruuvi Sensors:
- Sensor’s default name
- Signal strength (RSSI)
Sensors are organized according to signal strength in descending order. Sensor signal strength is reported in negative dBm values, where the closer to 0 dBm the value is, the stronger the received sensor signal is.
A simple tap on any sensor visible in the list will add a sensor card to Ruuvi Station and you will be forwarded to the Sensor Settings page.
Important notice: once a sensor has been added to Ruuvi Station, it will no longer be visible on Add a New Sensor page under Nearby Ruuvi Sensors.