
What is Home Assistant (HASS.io)?
Home Assistant is an open-source home automation platform that allows you to automate and control various devices and services in your home, such as lights, thermostats, garage doors, and more. It is designed to be easily extendable, and allows you to integrate a wide variety of devices and services using a variety of available integrations, called “components” in Home Assistant terminology. In this article we tell how to add RuuviTag Wireless Bluetooth Sensors to Home Assistant in a simple way.
What are the Home Assistant main features?
- A web-based user interface for controlling and monitoring your home automation devices and services
- A powerful automation engine that allows you to define rules for automating tasks and controlling devices based on triggers and conditions
- Integration with a wide variety of devices and services, including smart home devices, weather services, and more
- The ability to create and customise dashboards and widgets to display information and control devices from a single, centralised location
- The ability to control and monitor your home automation devices and services remotely, using the Home Assistant mobile app or through a secure web interface
Overall, Home Assistant is a powerful and flexible platform that allows you to easily automate and control various aspects of your home. Personally, I run Home Assistant on an Intel NUC PC. It’s also possible to use Raspberry Pi to run Home Assistant.
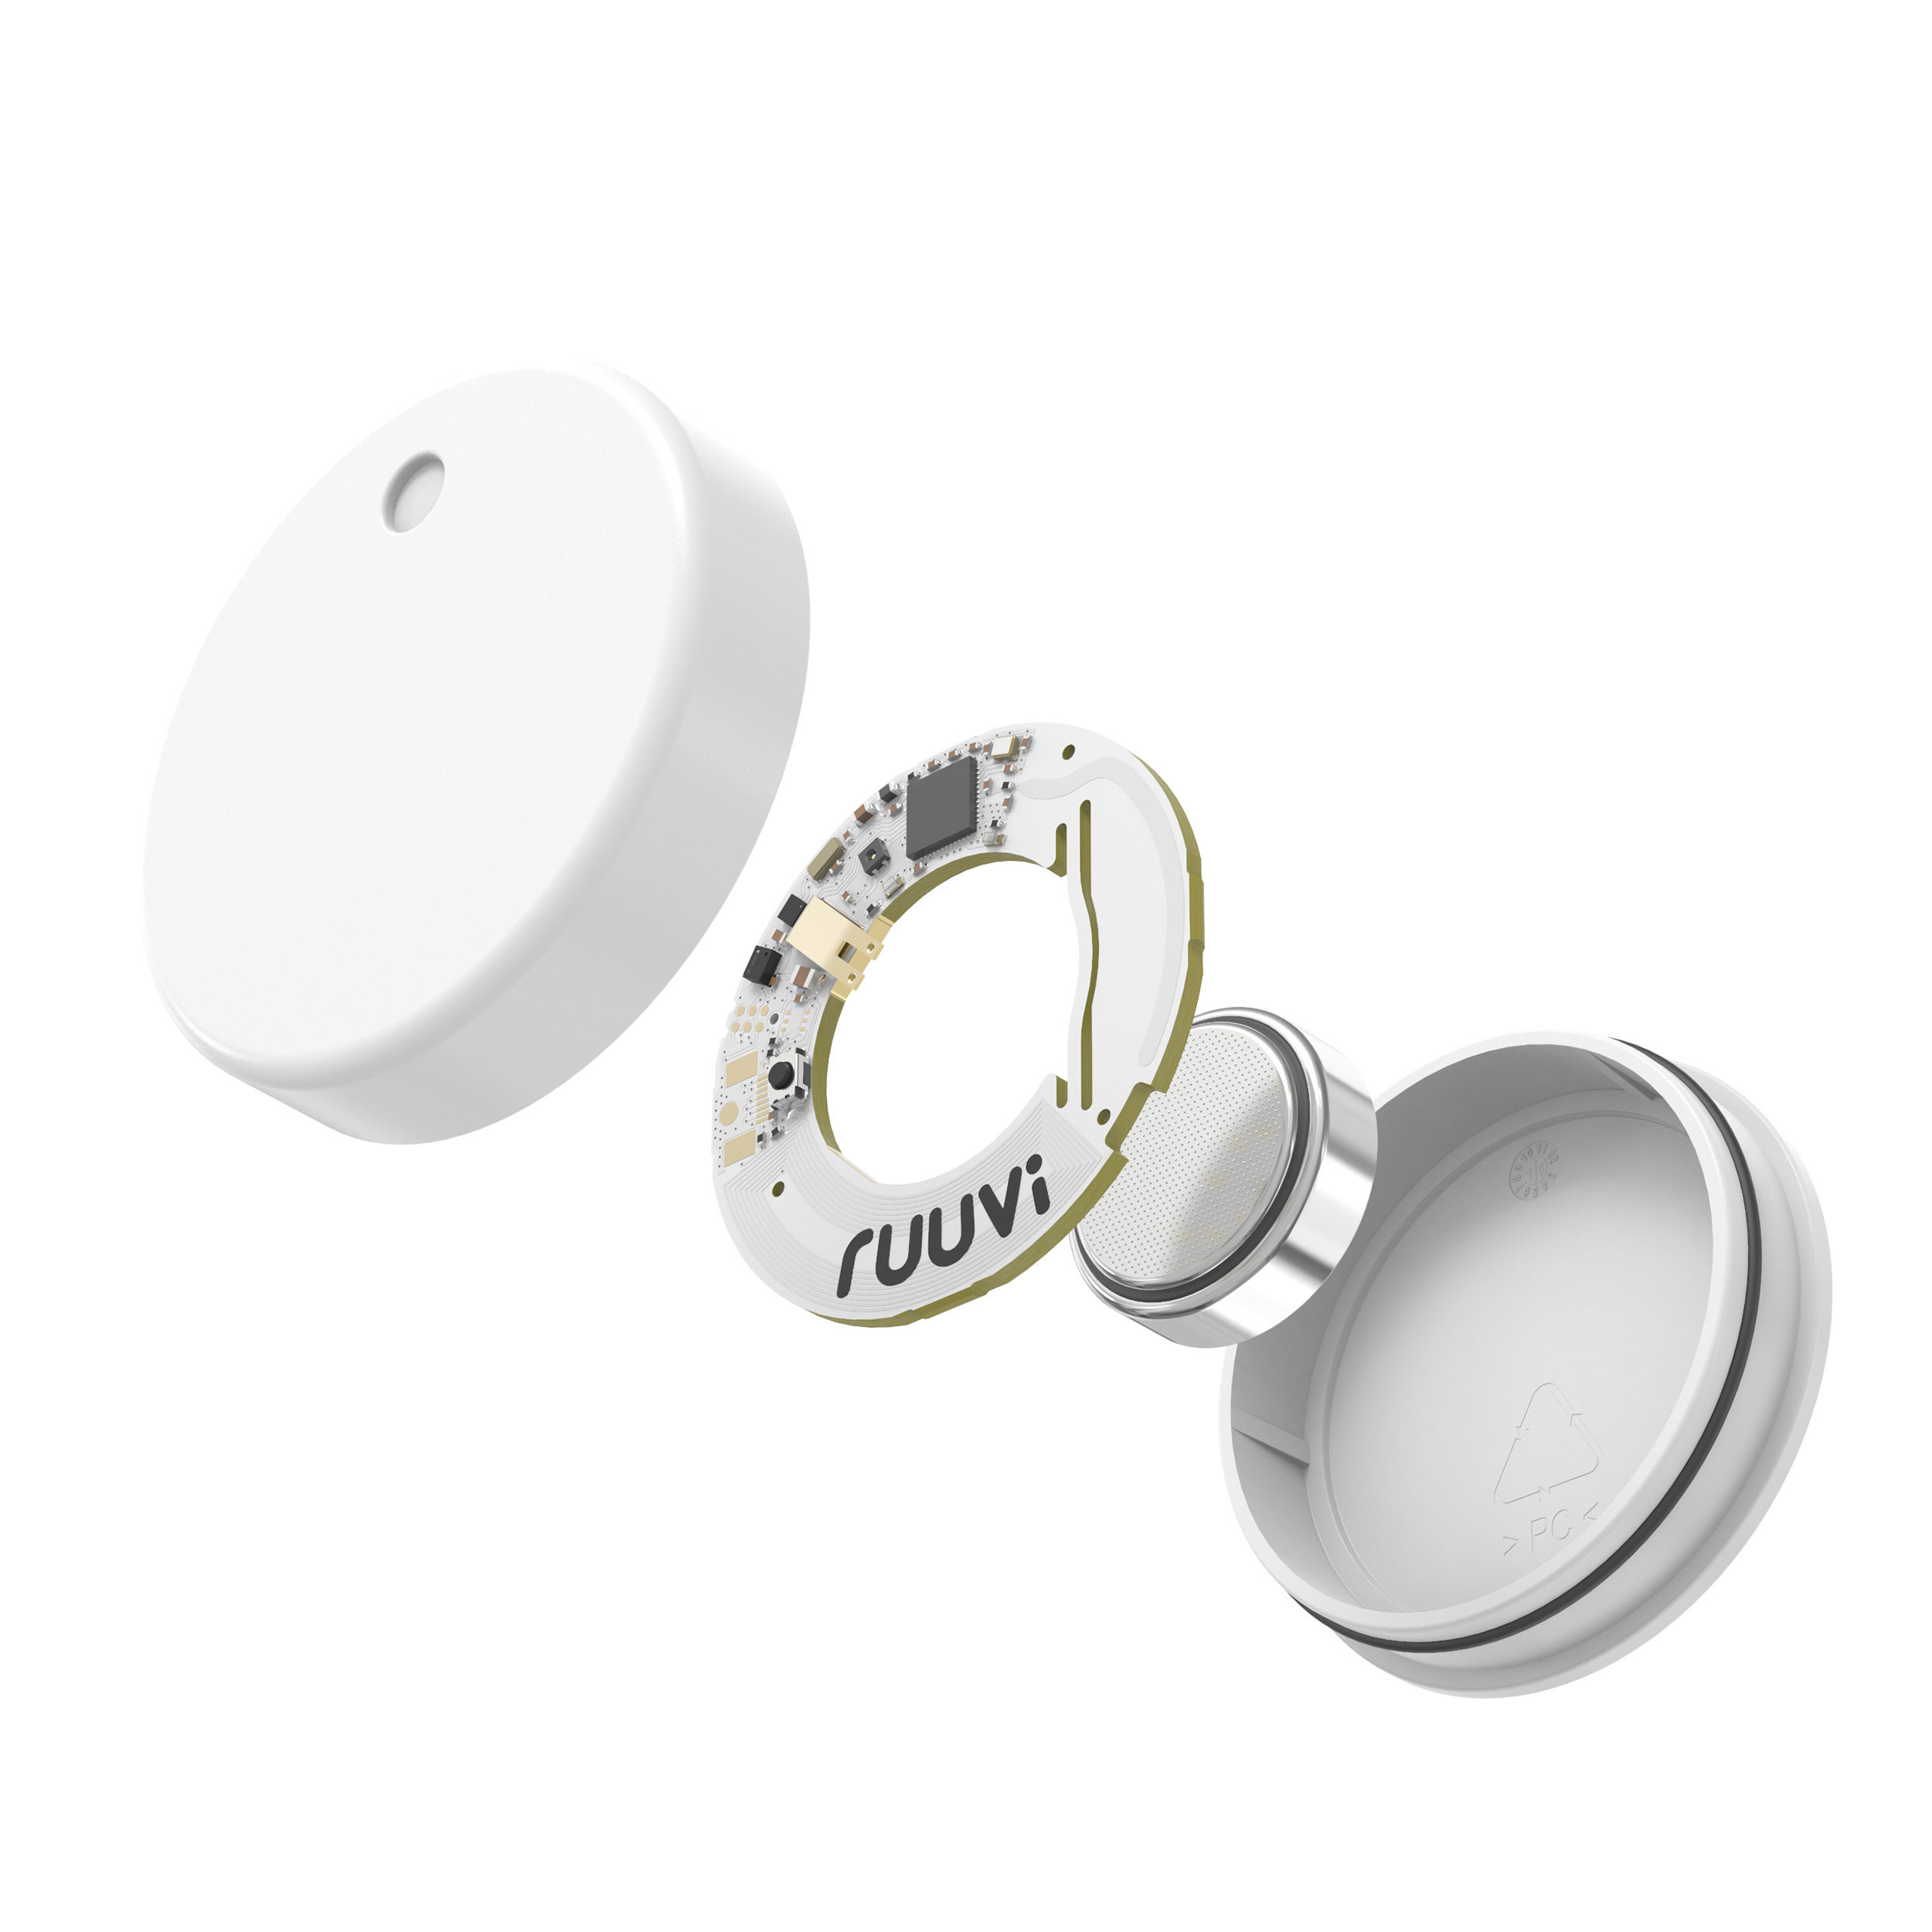
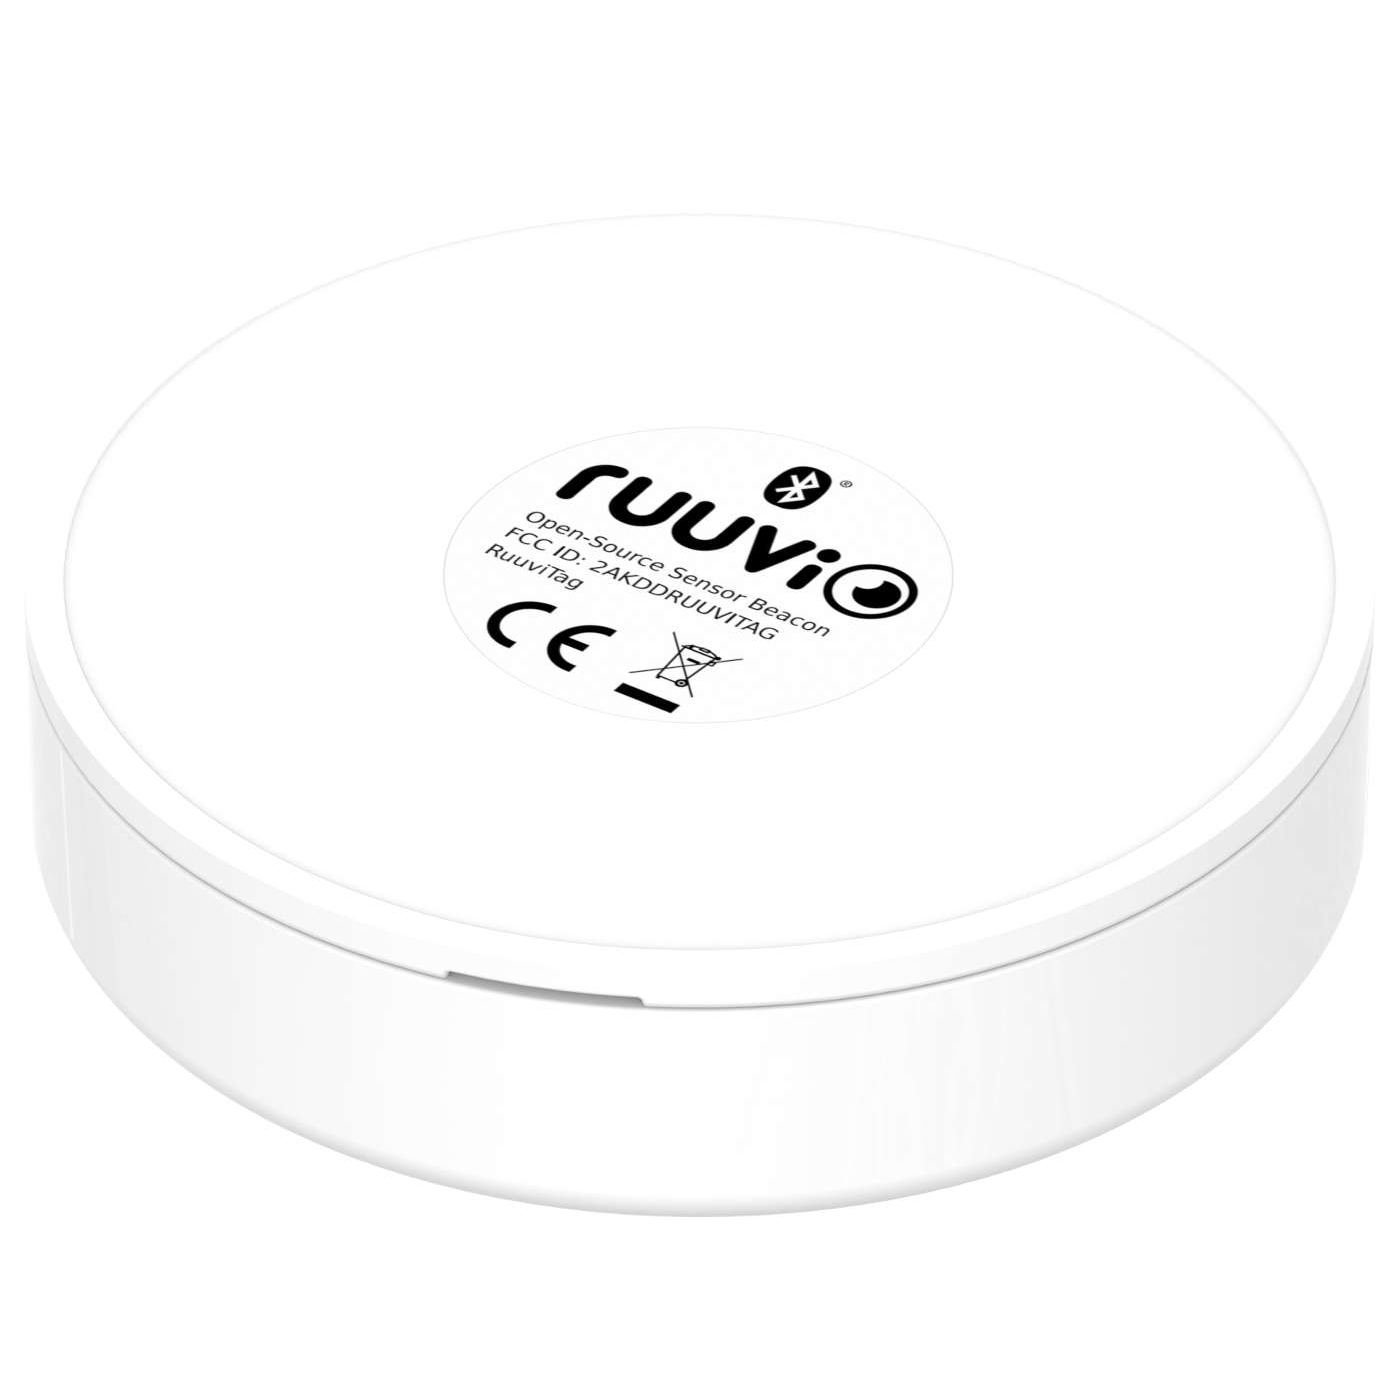
What are RuuviTag Wireless Bluetooth Sensors?
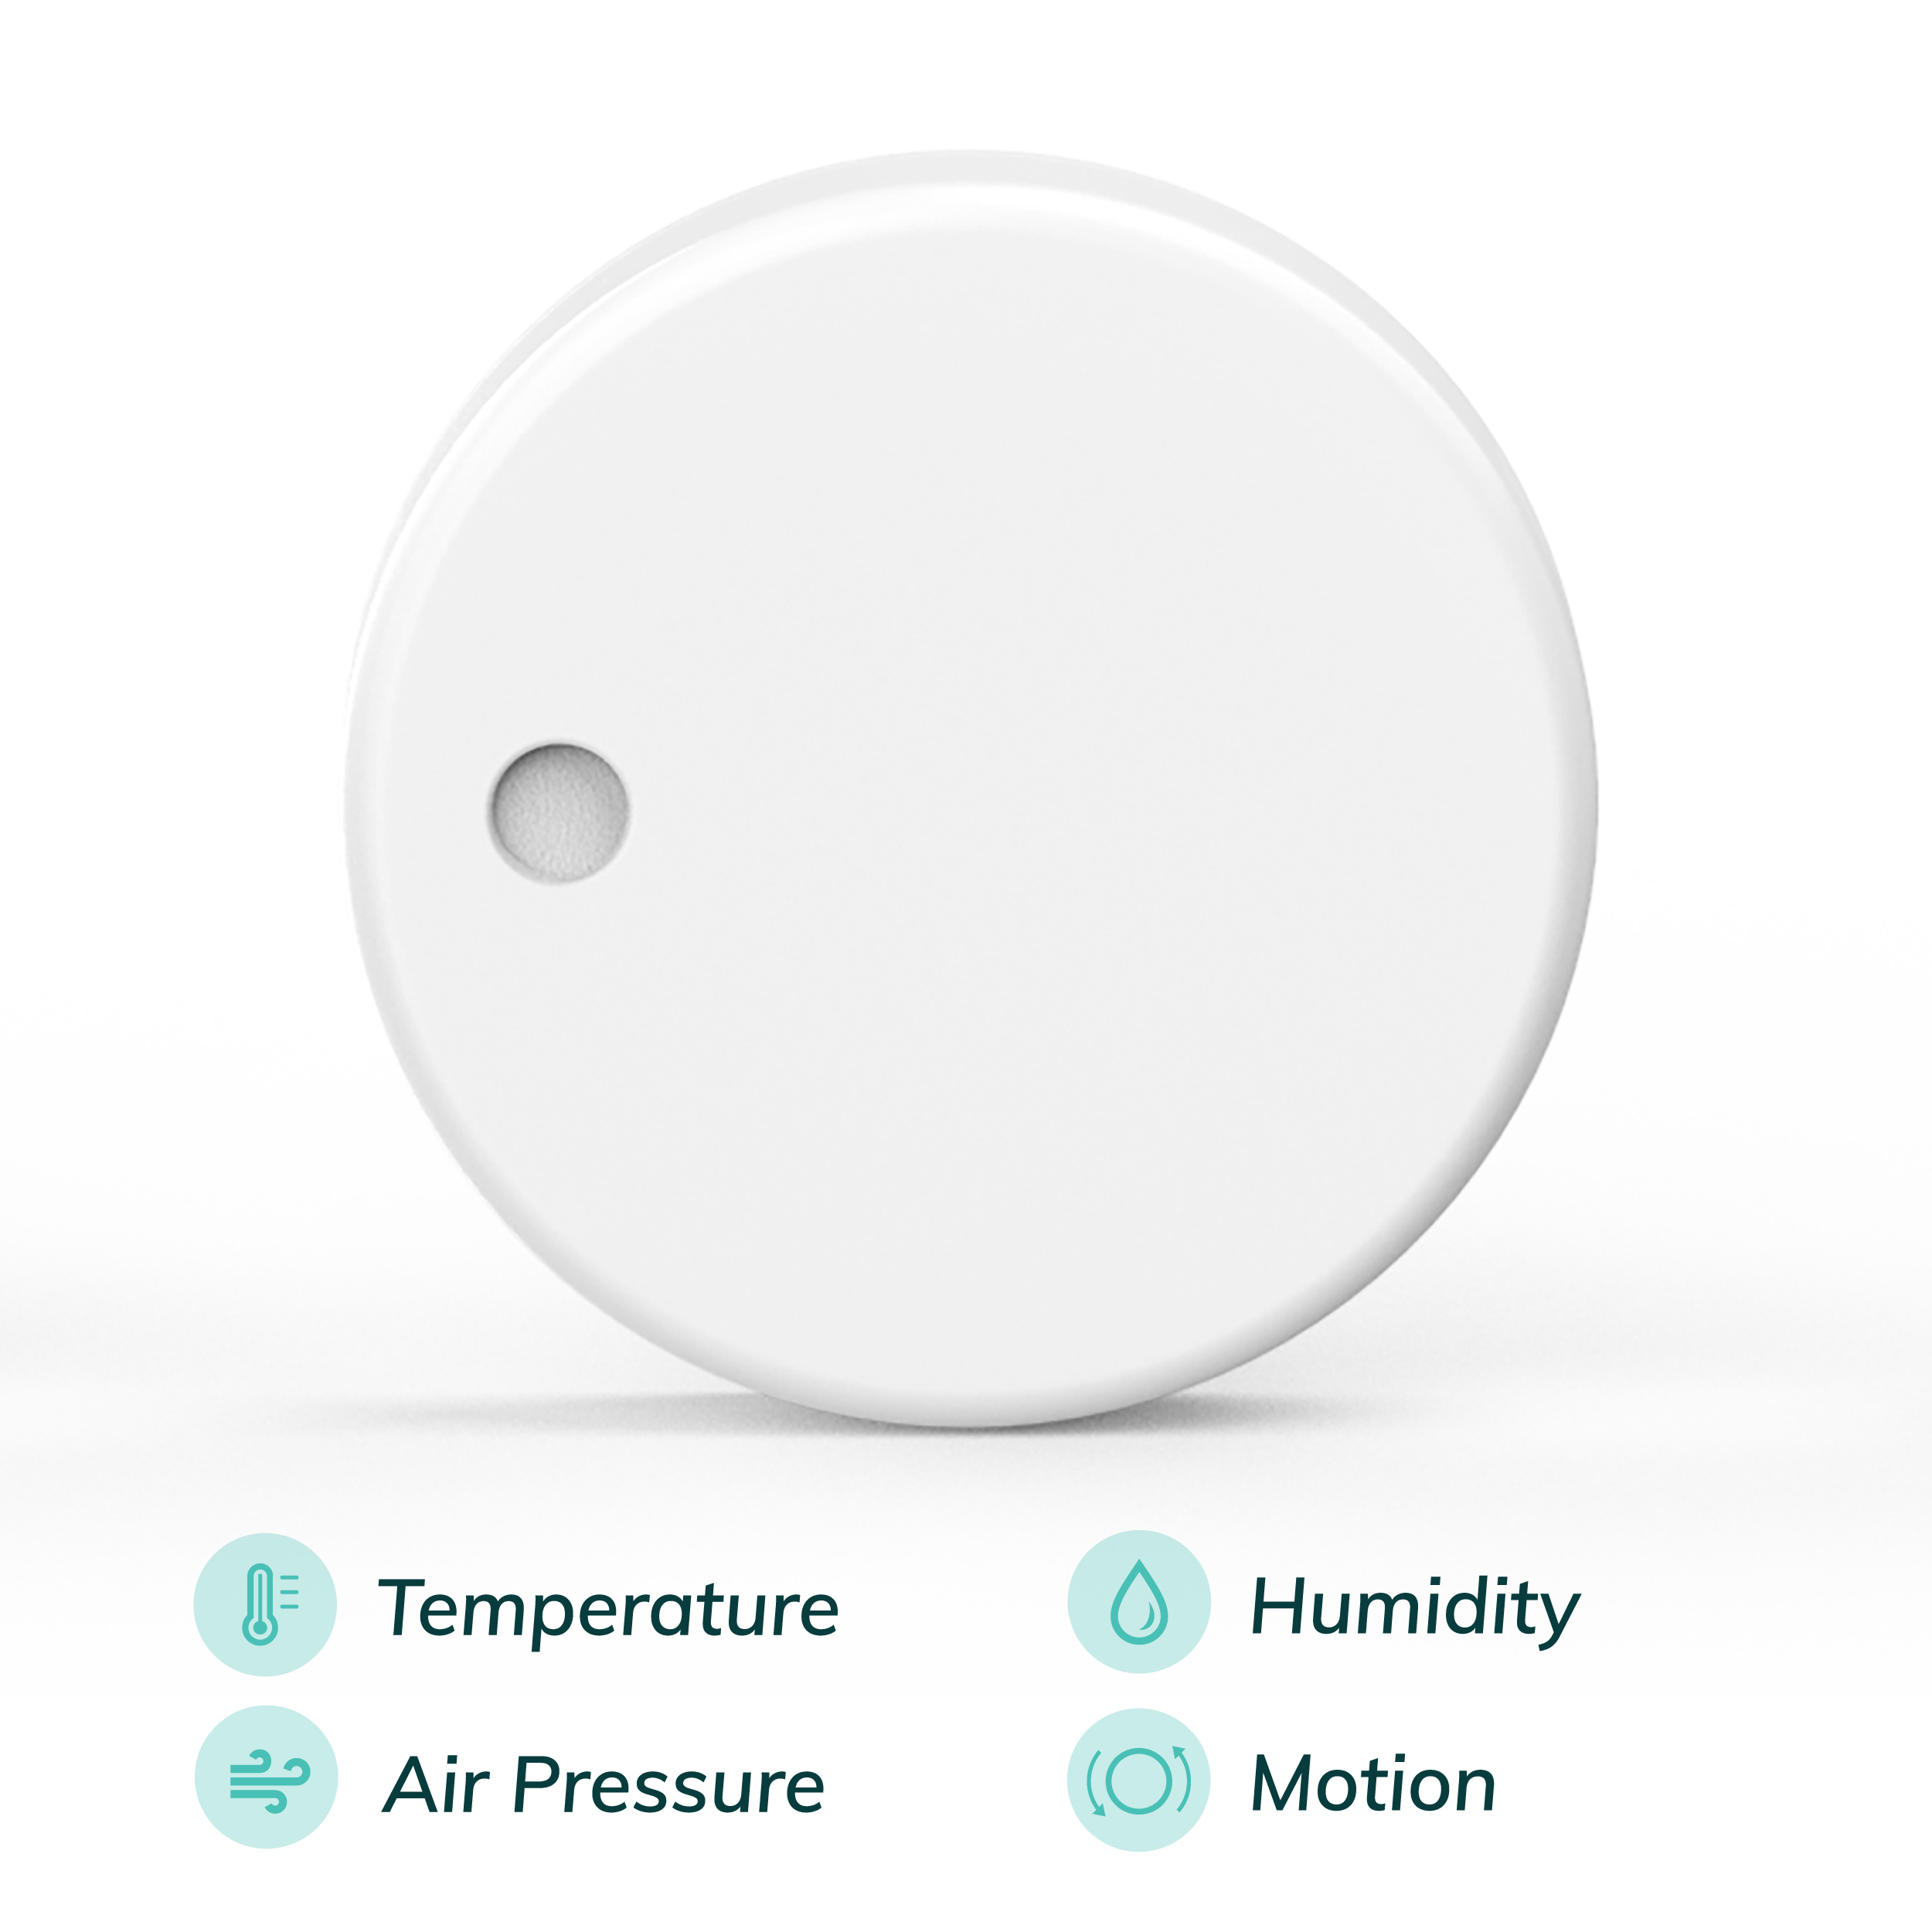
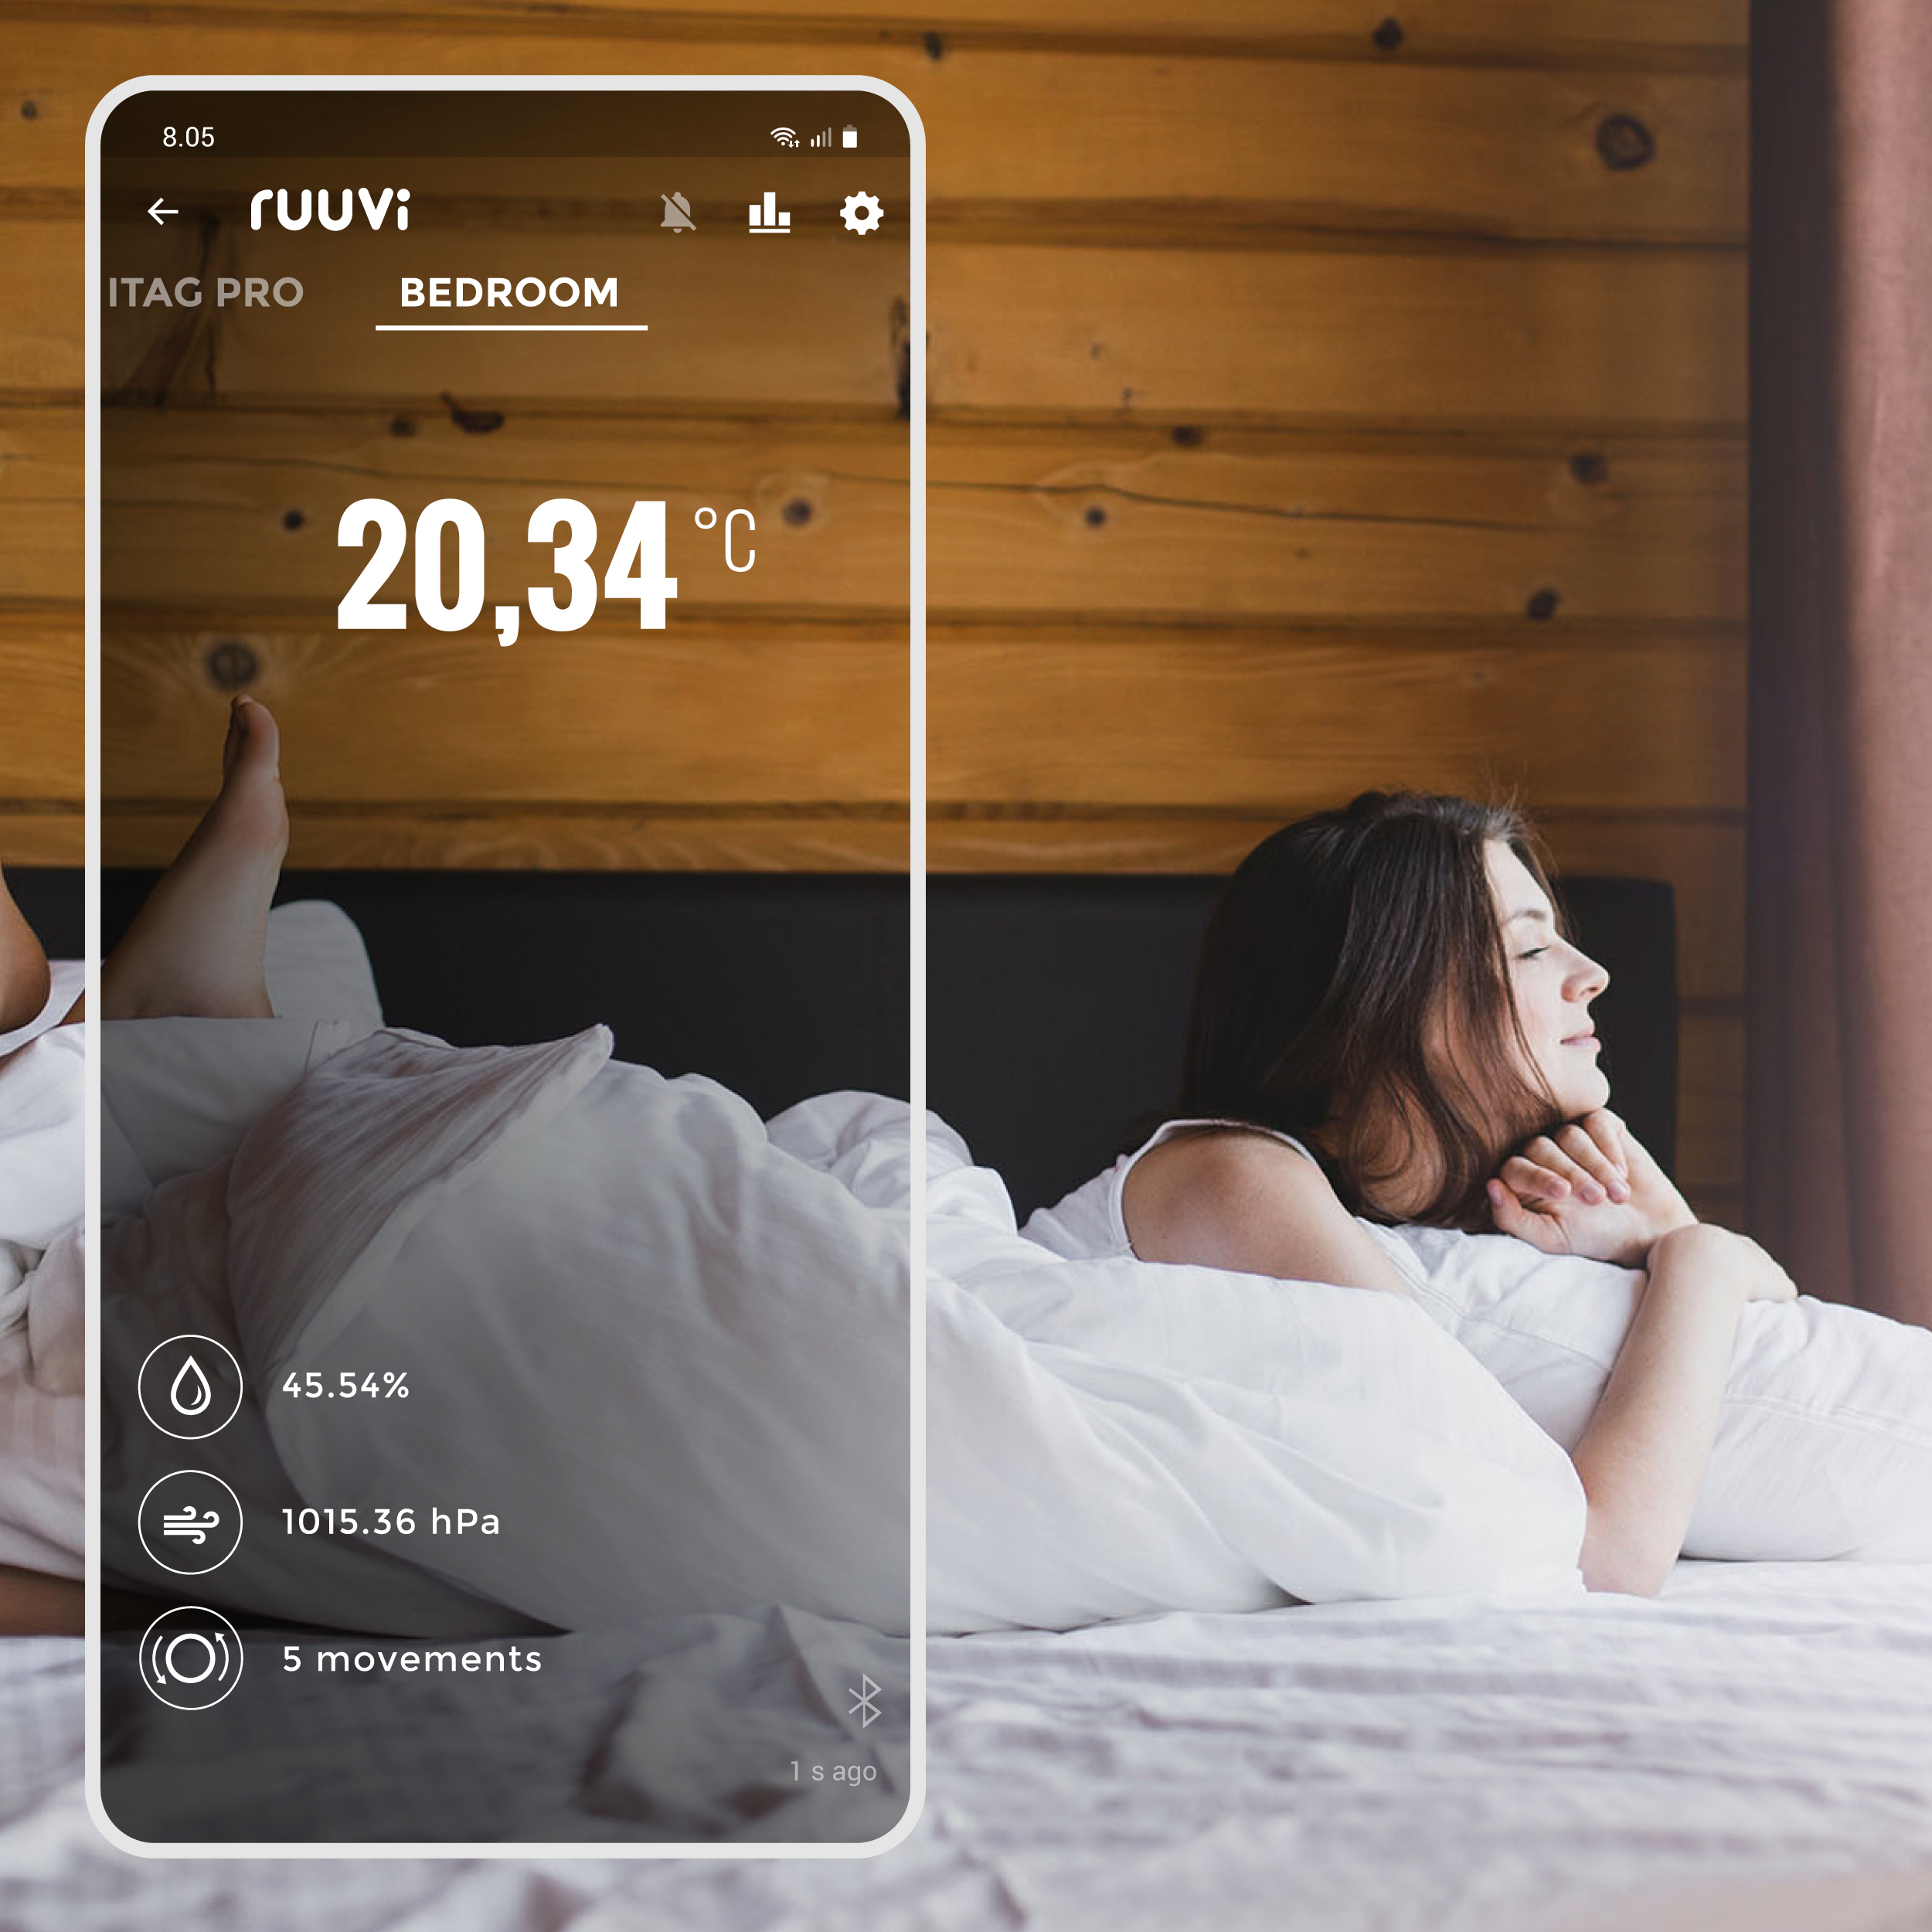
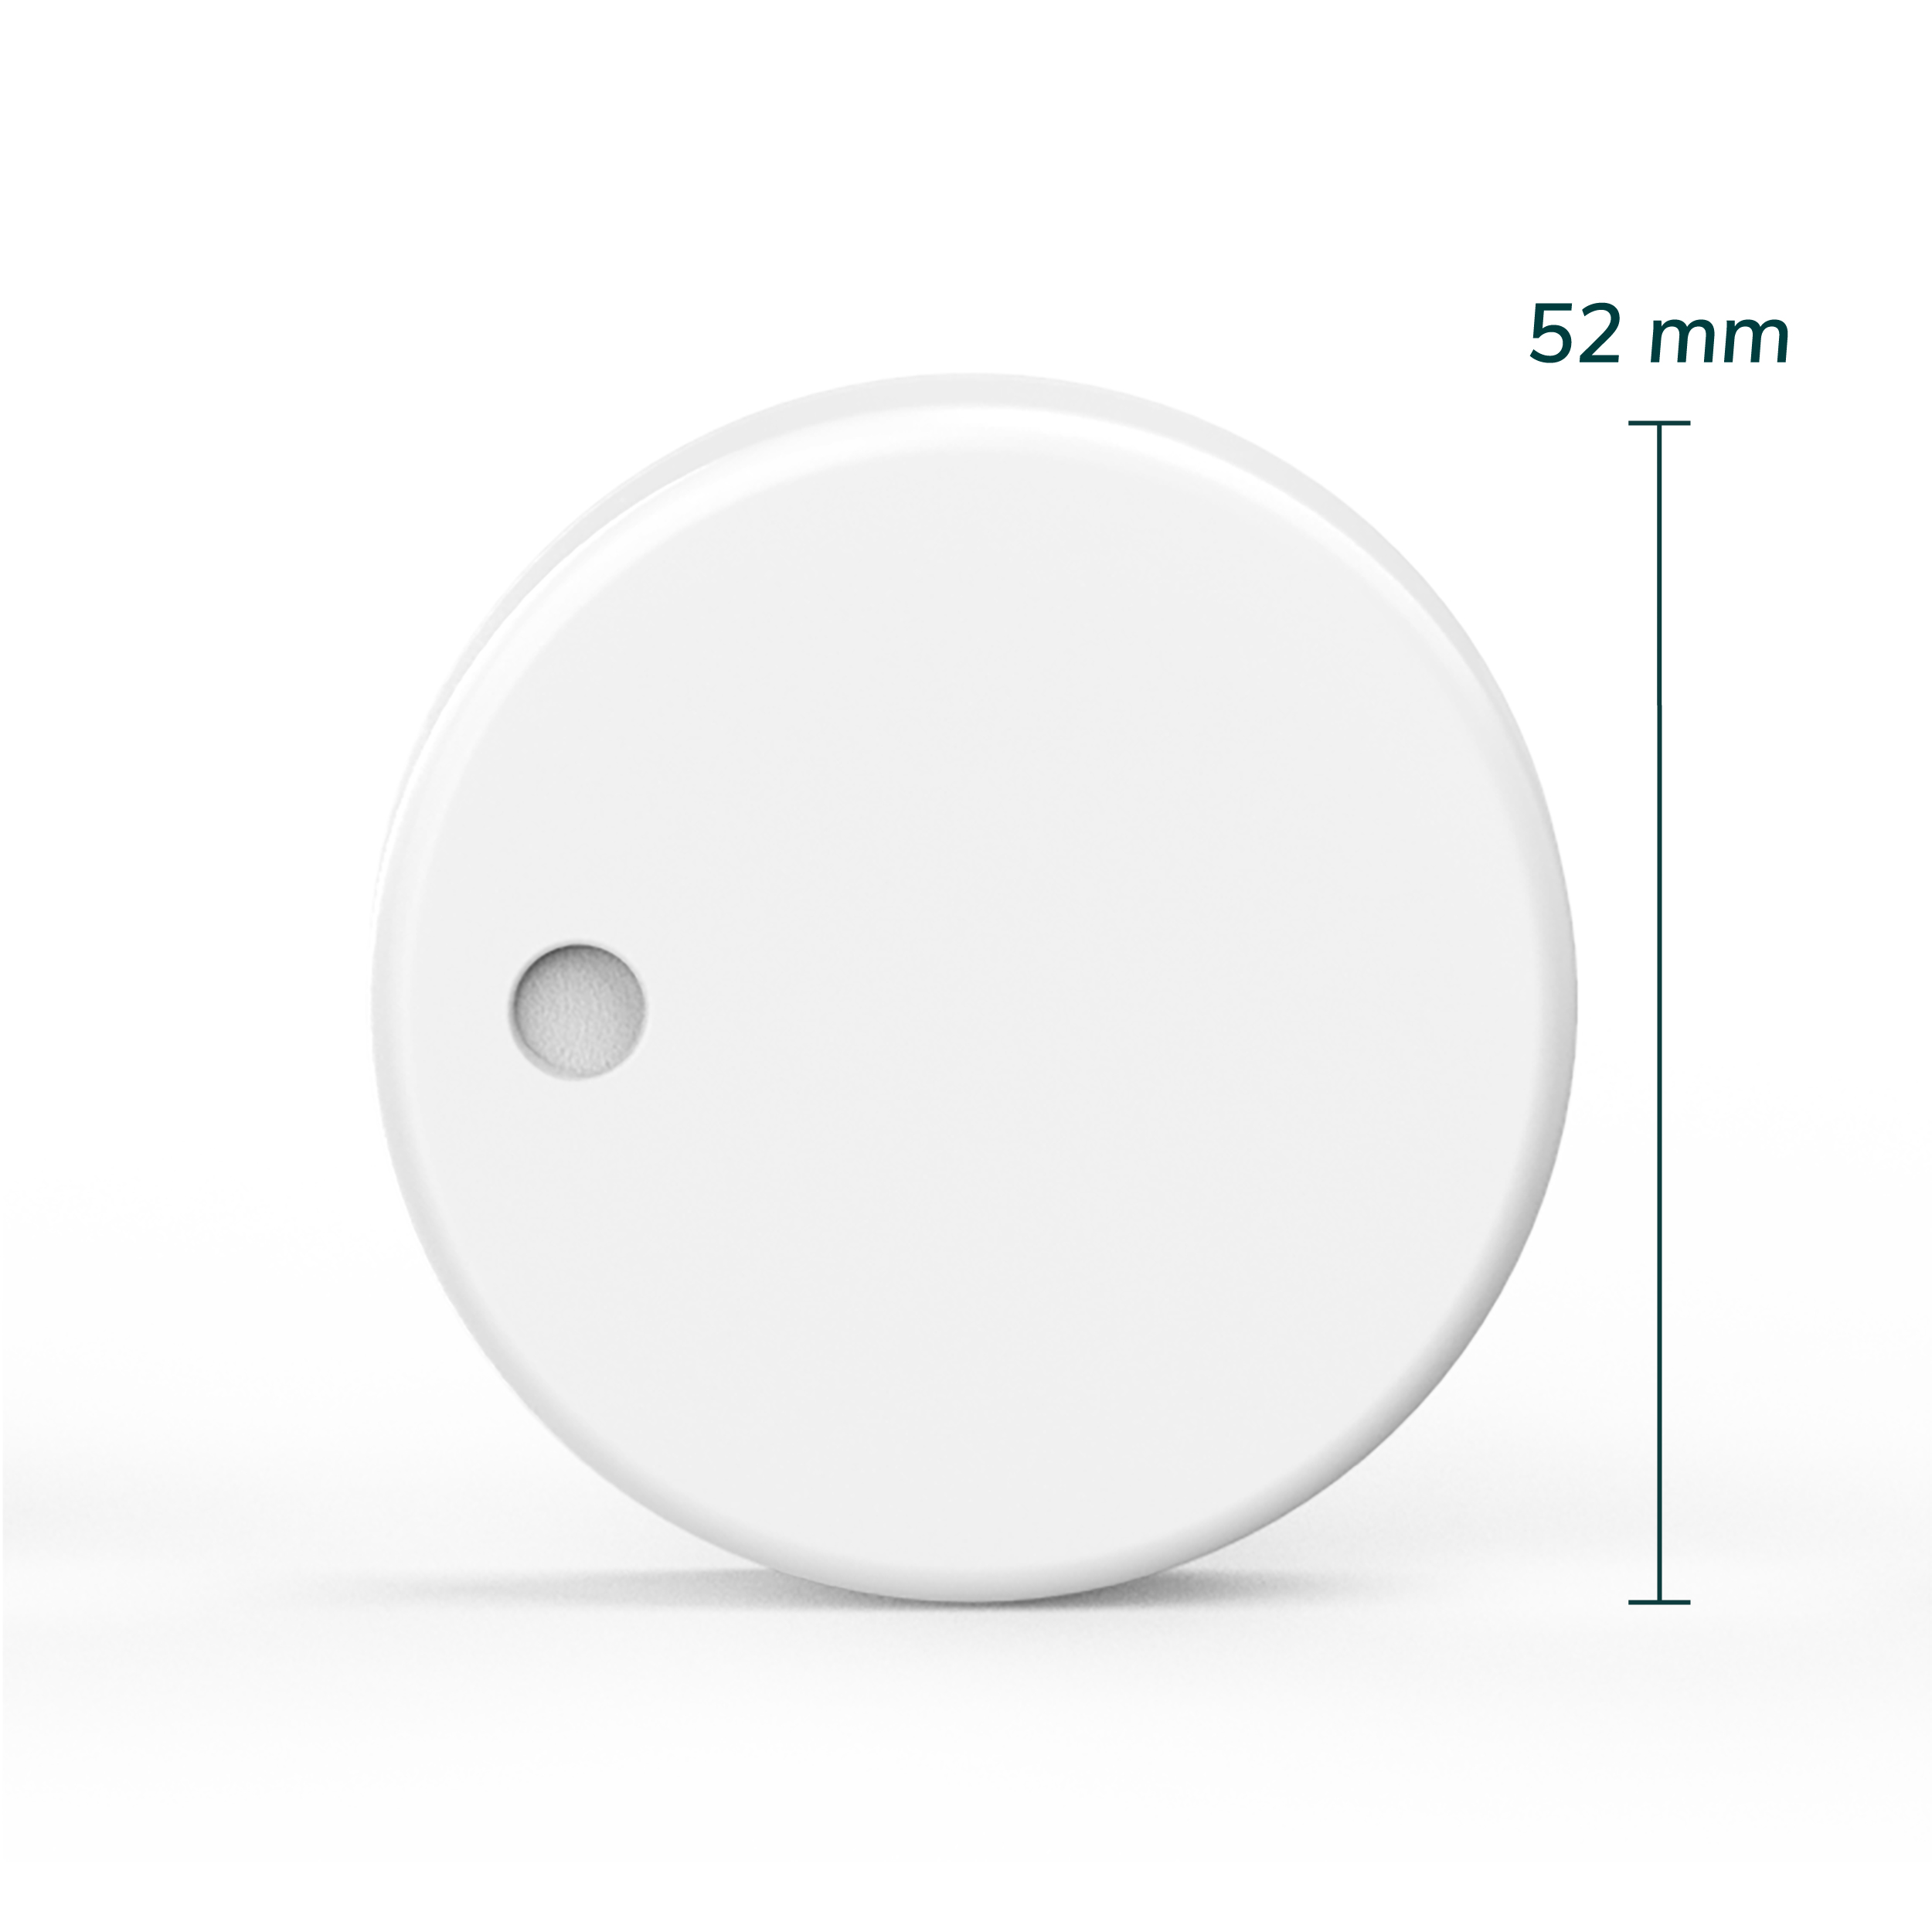
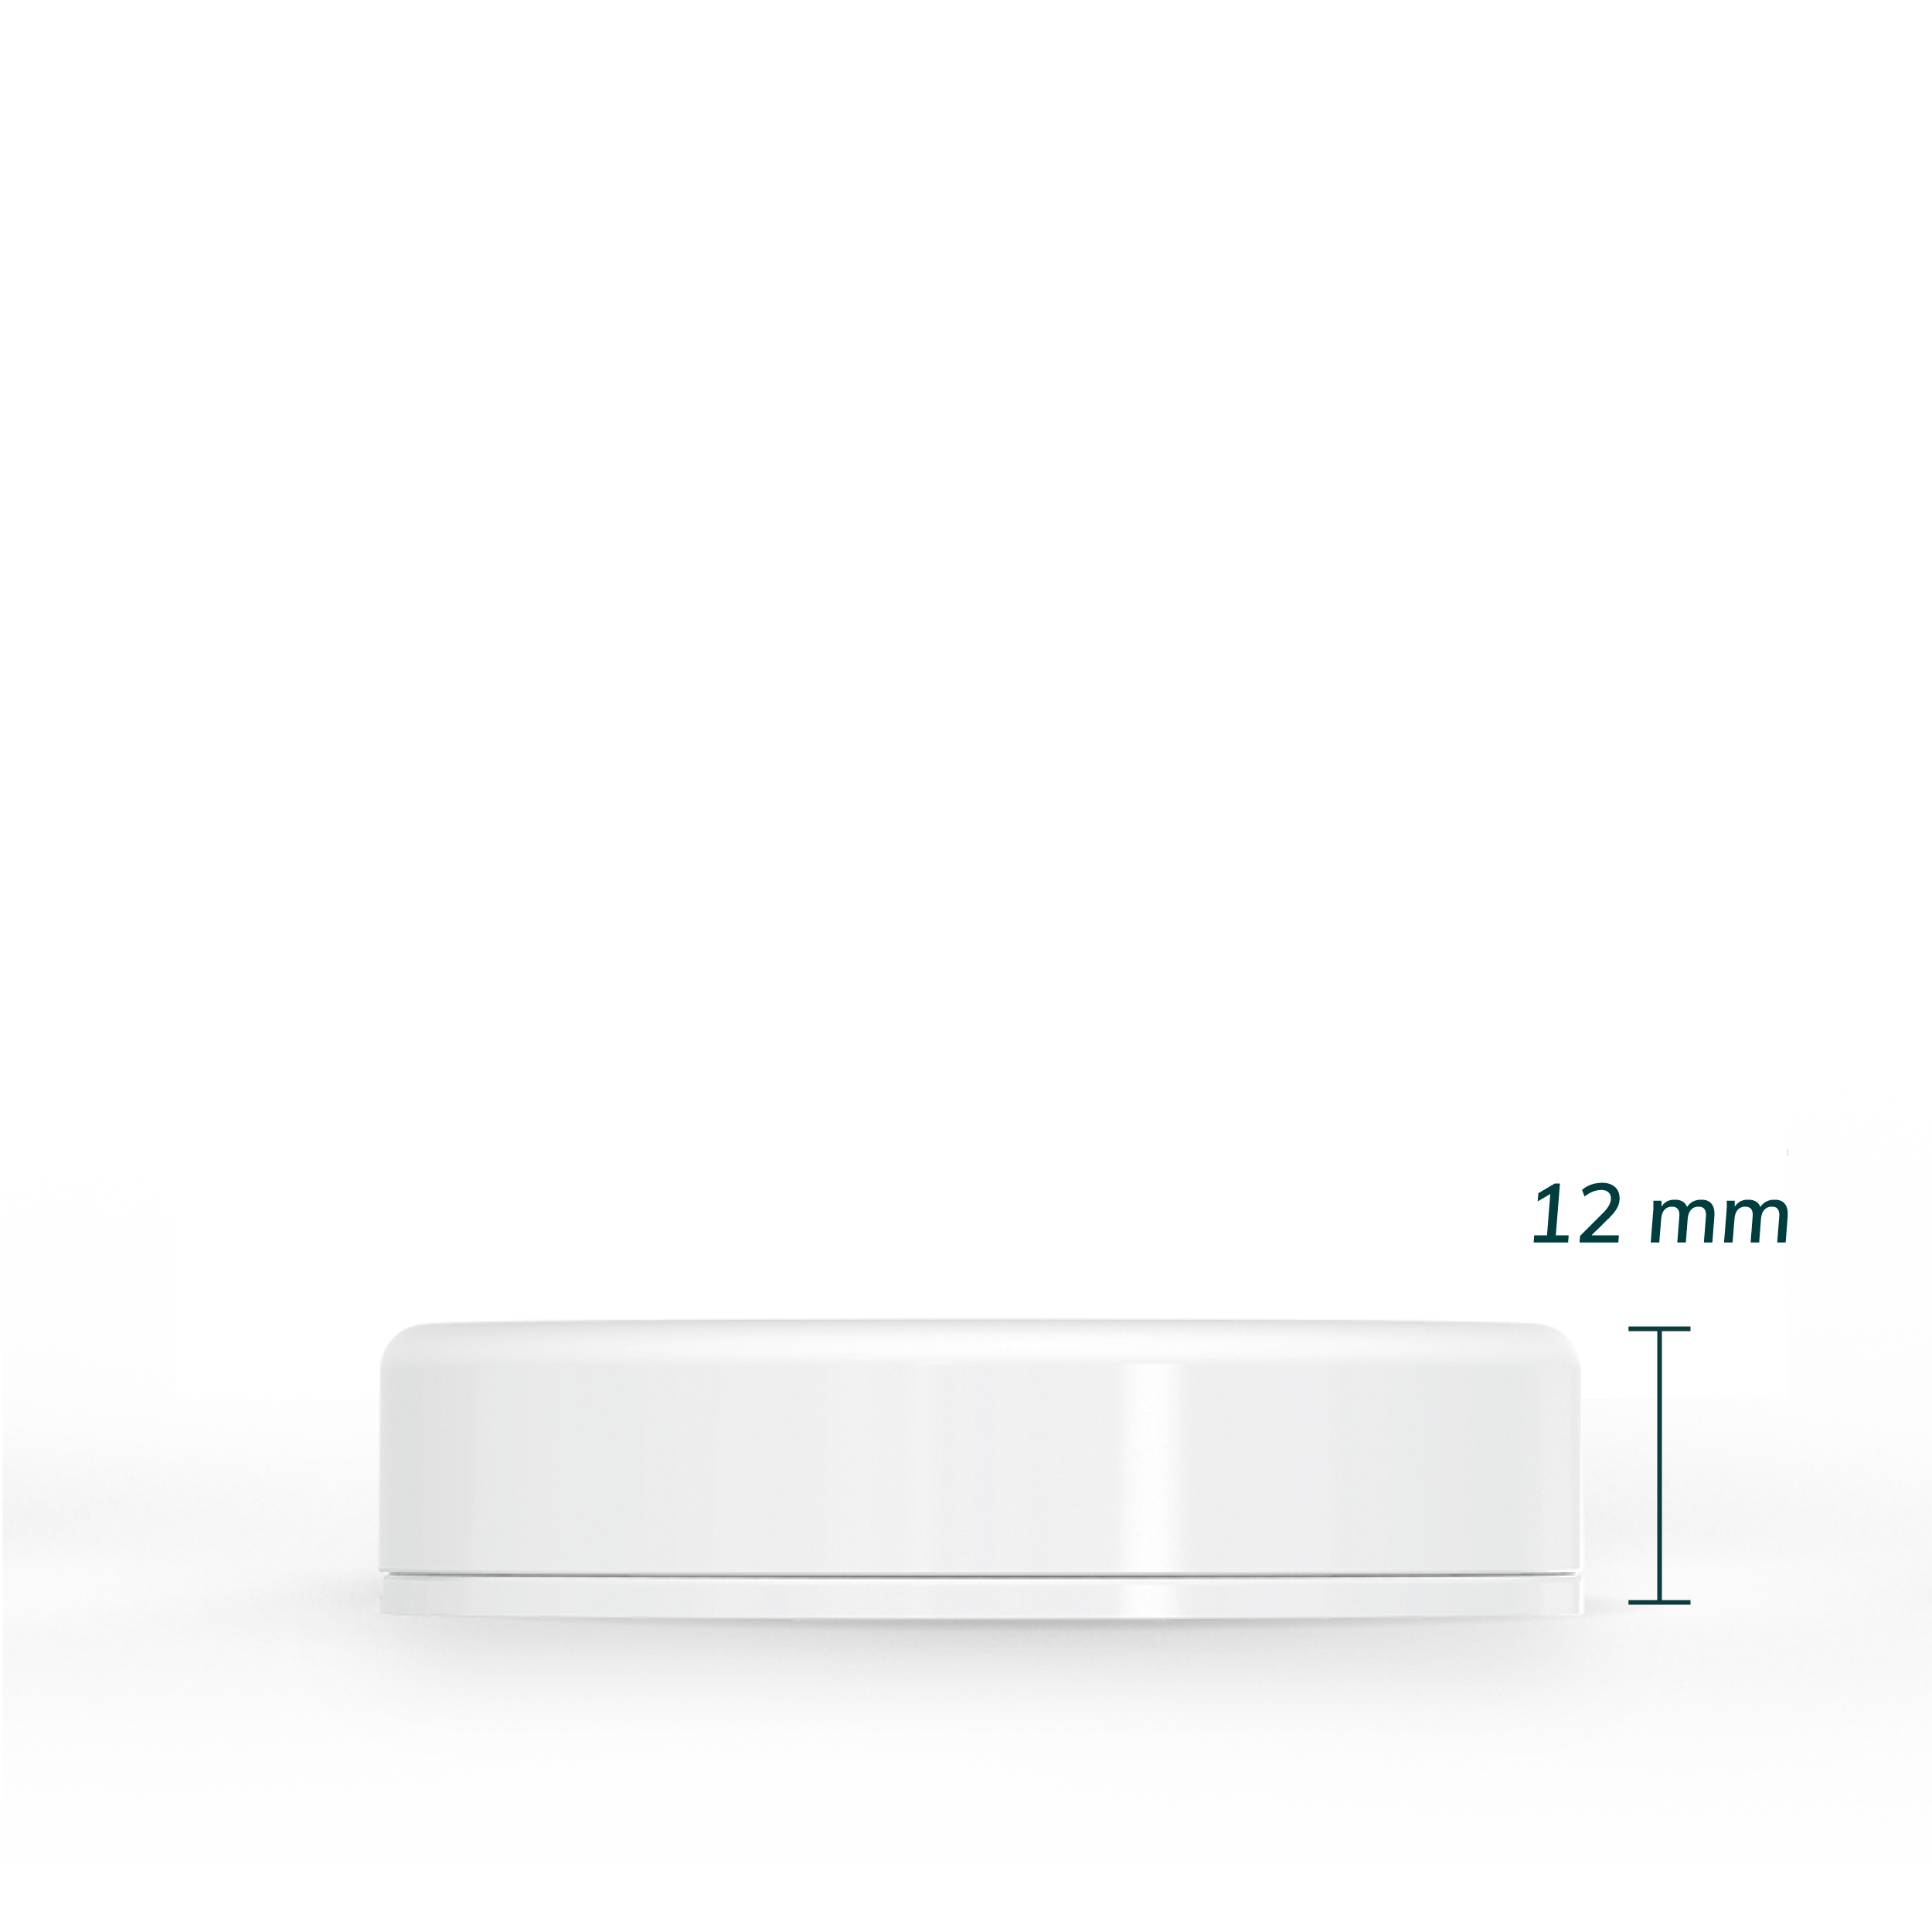
RuuviTags are small, Bluetooth-enabled sensors that are designed for a variety of applications, including environmental monitoring, asset tracking, and more. They are equipped with a variety of sensors, including a temperature sensor, humidity sensor, pressure sensor, and accelerometer. They can transmit data wirelessly to a compatible device, such as a smartphone or a computer.
One of the main benefits of RuuviTags is their low cost and long battery life, making them an attractive option for a wide variety of applications. In addition to their use as standalone sensors, RuuviTags can also be integrated with other systems and platforms, such as Home Assistant, to enable more advanced functionality and automation.
For example, you could use RuuviTags in combination with Home Assistant to monitor and control various aspects of your home environment, such as temperature, humidity, and air pressure.
How to Add RuuviTags on Home Assistant?
Thanks to RuuviTag Hass integration goes to “AKX”. Thank you for the great contribution!
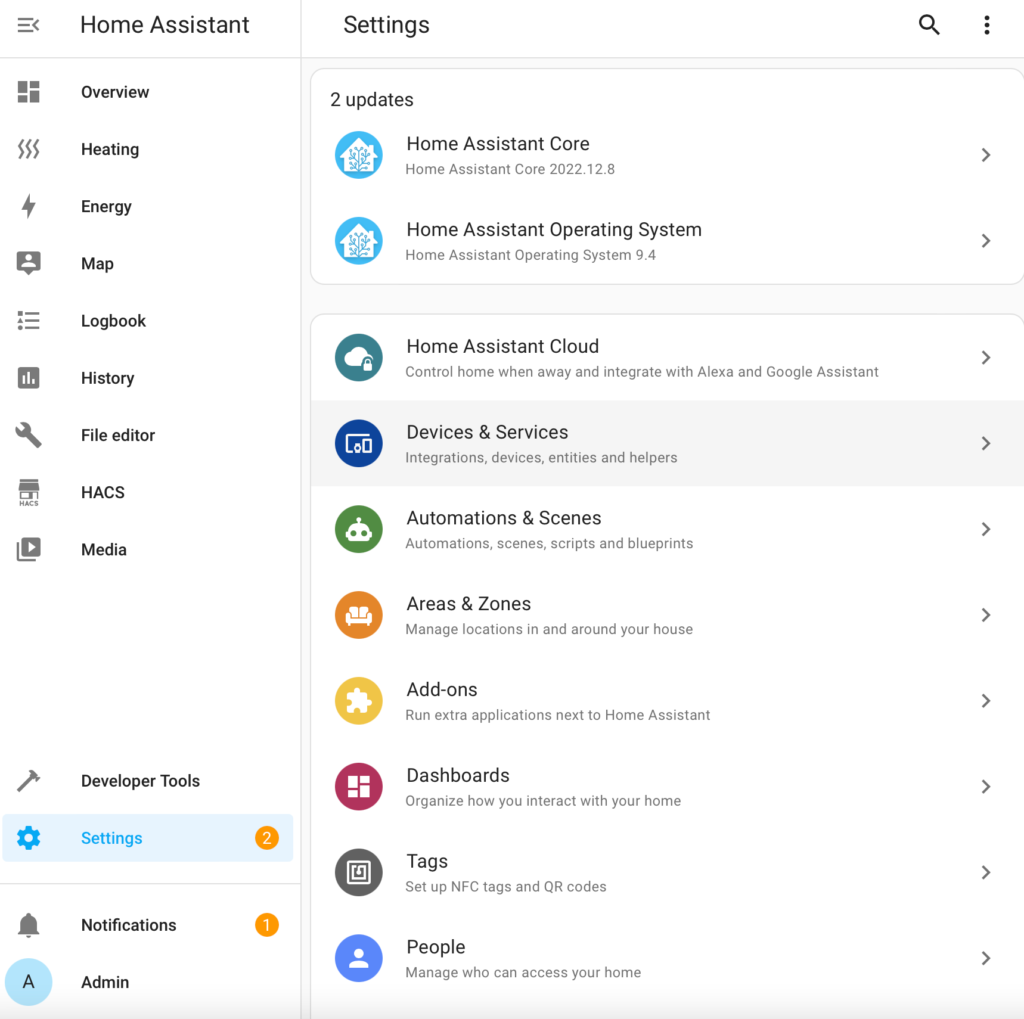
In the newer versions of Home Assistant (core , starting from 2022.12, Bluetooth and RuuviTag sensors are natively supported by Home Assistant. After updating Home Assistant to the latest version, all you need to do is to navigate to “Devices and Services” under settings:
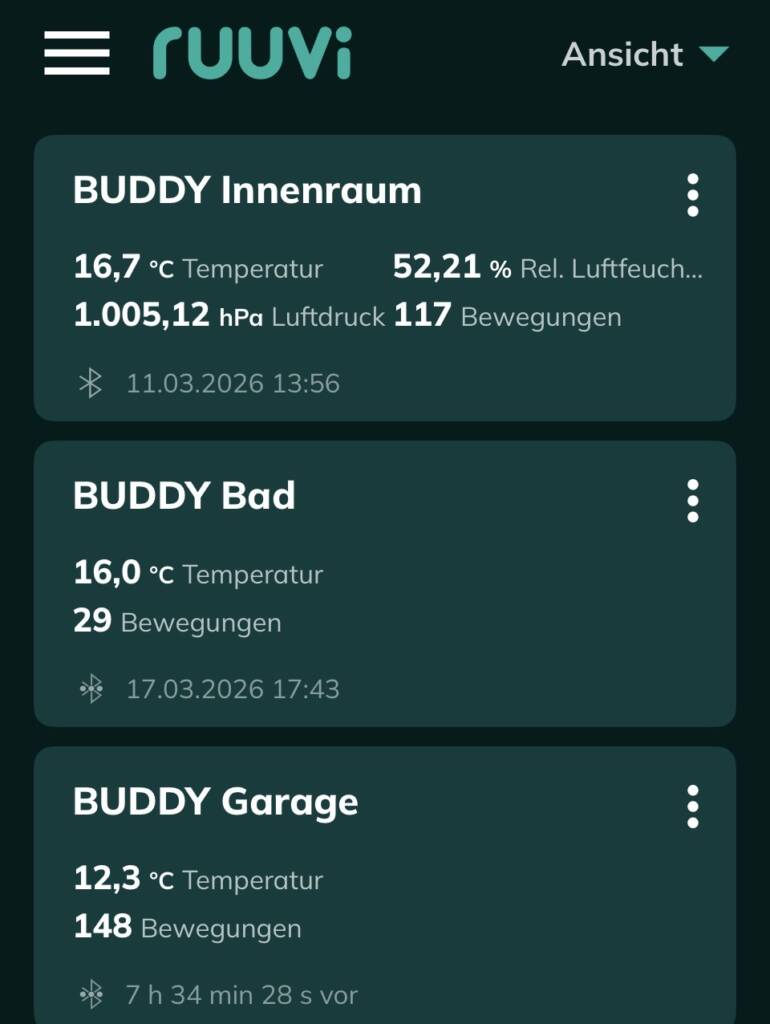
In my case I have plenty of RuuviTags nearby, and the most meaningful ones are already configured in my Ruuvi Station App so I cross check between my Integrations screen in Home Assistant and Outdoor tag in my Ruuvi Station.
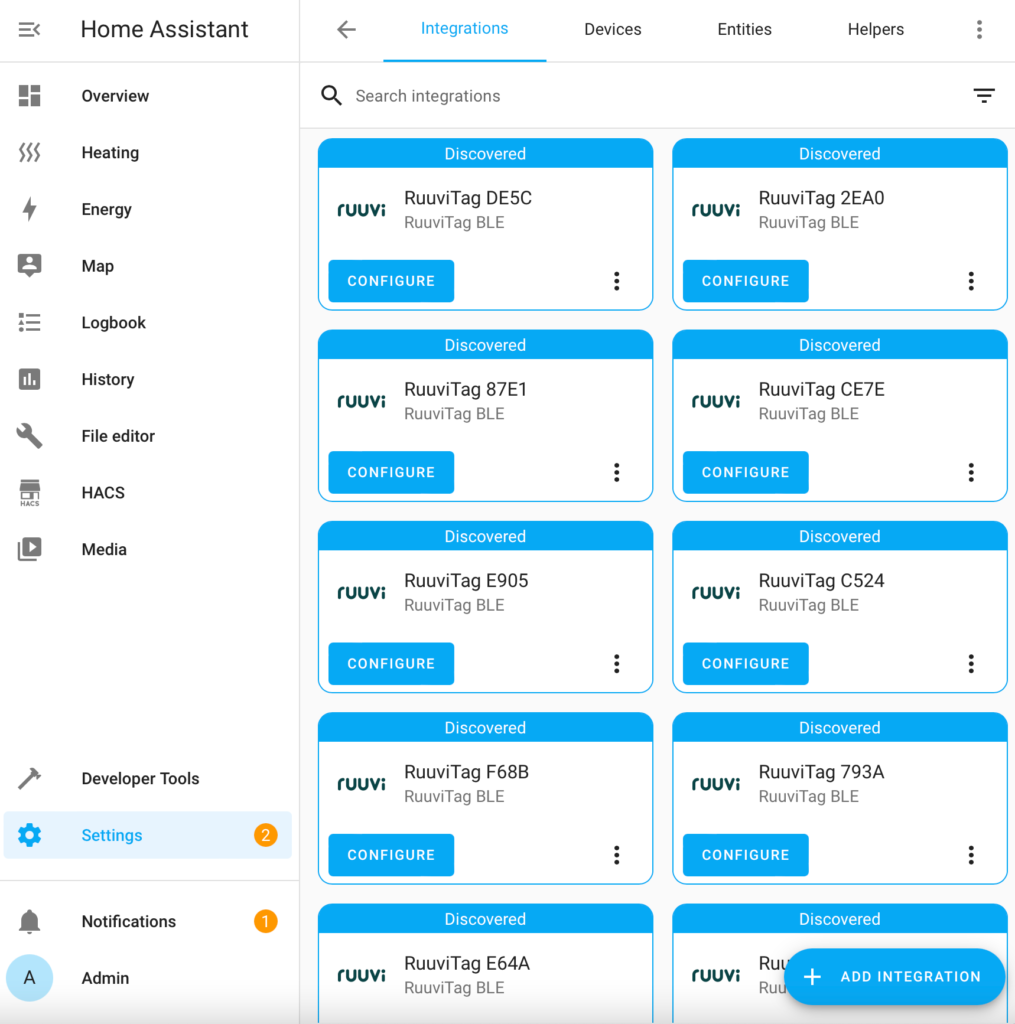
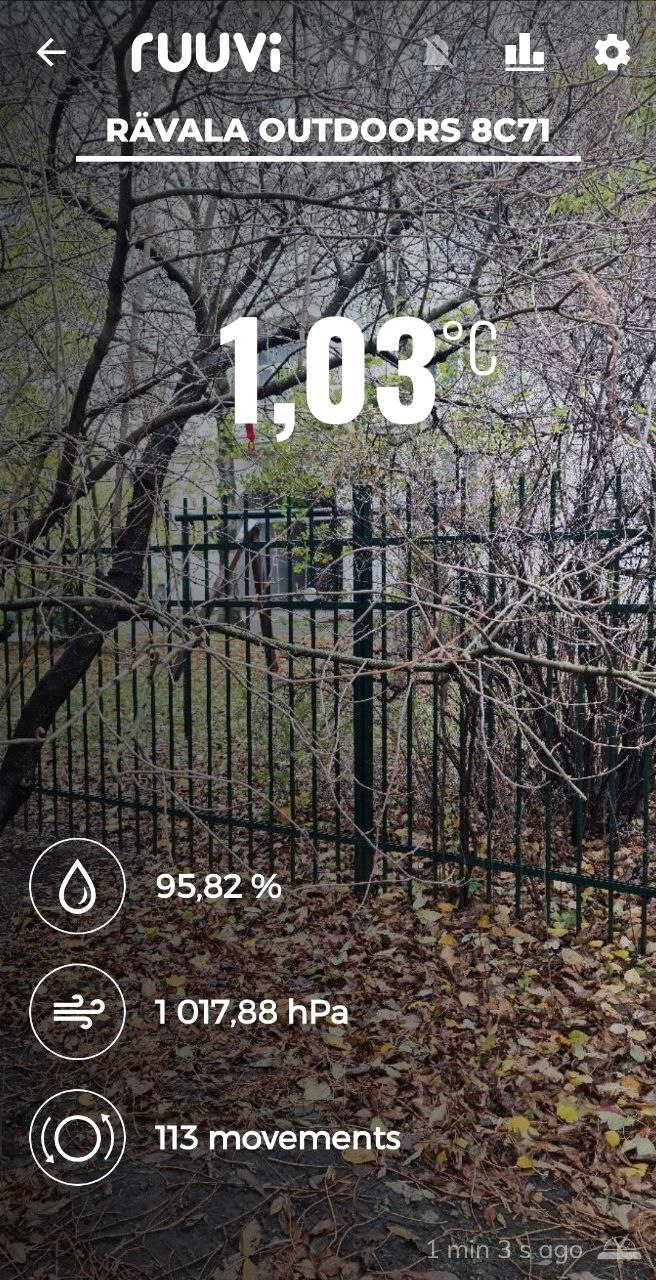
Now I know that my outdoor tag is “Ruuvi 8C71”, where 8C71 are the last four characters of the tag MAC address.
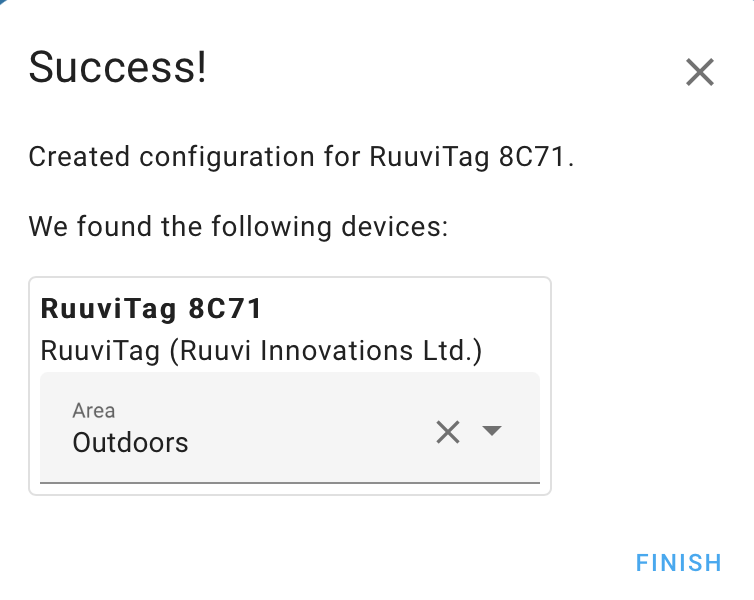
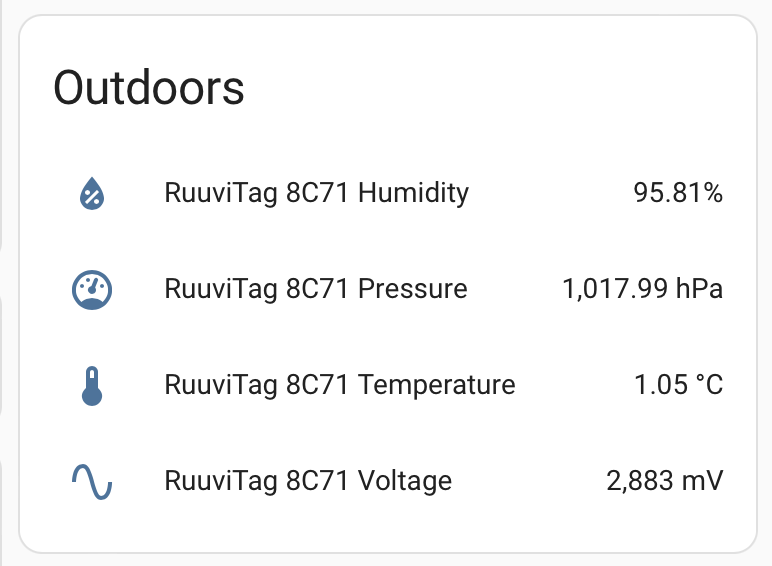
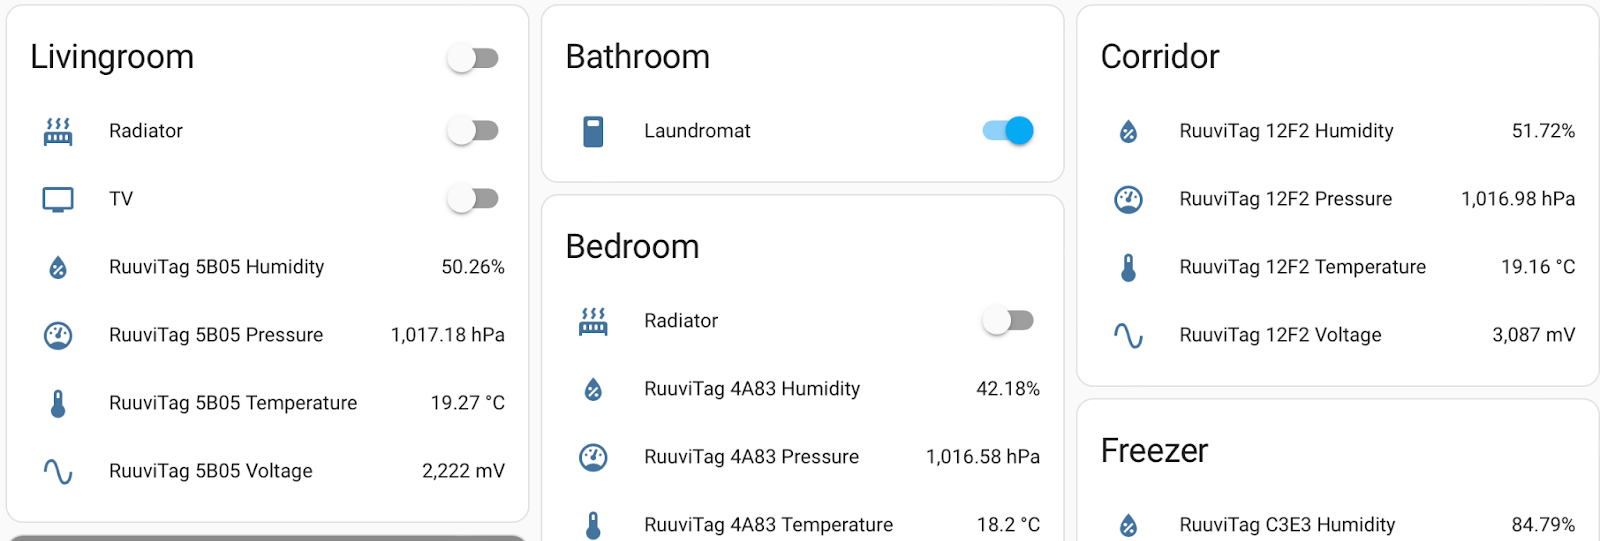
All I need to do is to assign the area of the Tag and the data pops up in my dashboard.
How to Control Home Heating with RuuviTag Temperature Sensor and Home Assistant?
My home is an older apartment which does not have built-in thermostats and heating is done by electric radiators. The radiators are plugged to wall sockets which can be turned into smart sockets by WiFi-controlled plugs.

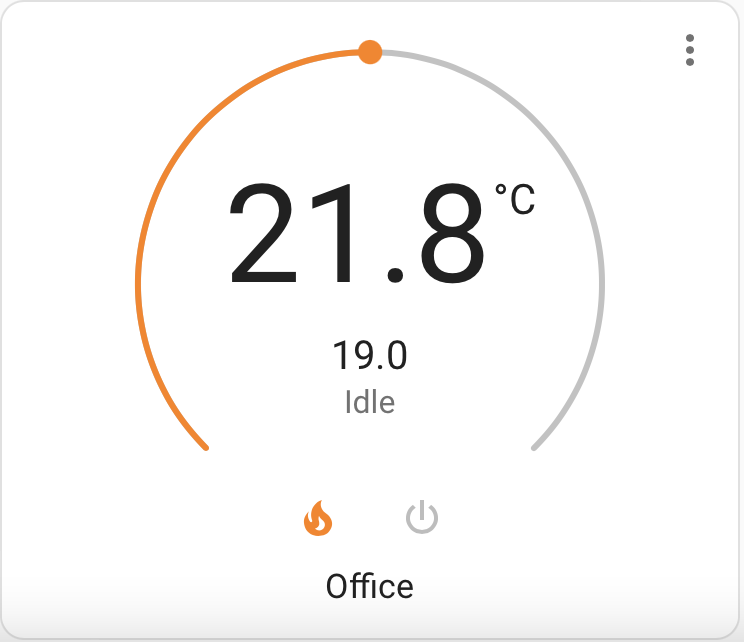
Now we have both temperature information and temperature control through smart sockets, so we can build a smart thermostat with Home Assistant automation.
For heating control we use climate integration dual_smart_thermostat. Configuring it all together is straightforward, we need to look up the switch ID of sockets controlling the radiators and sensor IDs of RuuviTags in the rooms.

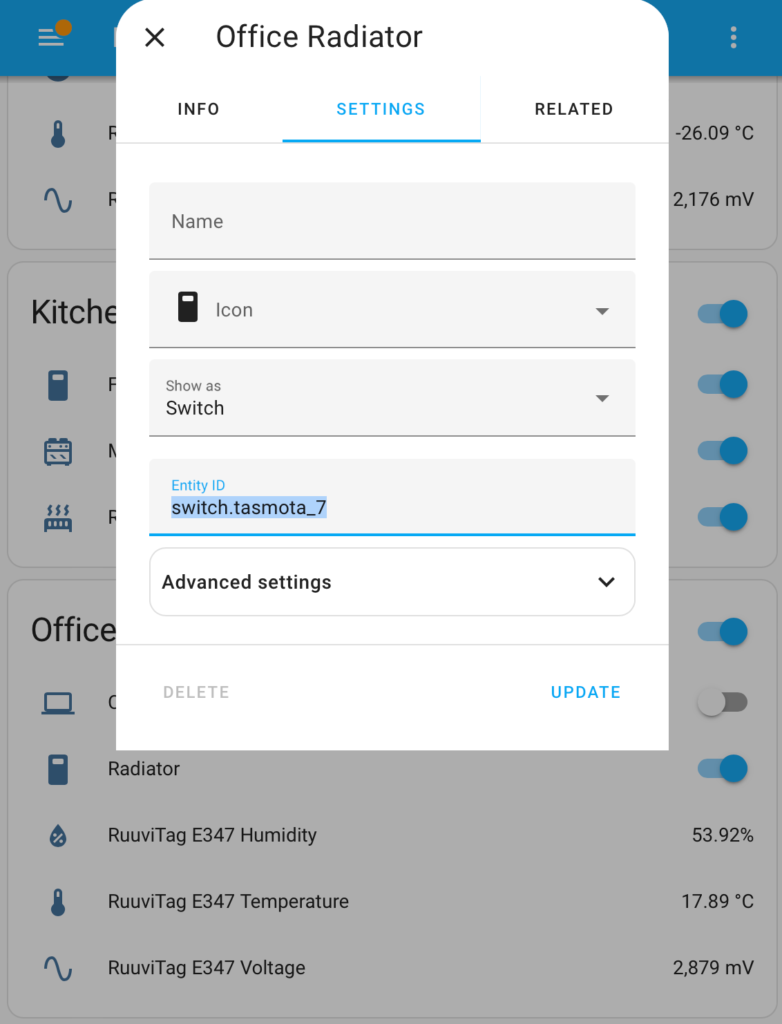
Office RuuviTag temperature entity ID is sensor.ruuvitag_e347_temperature and radiator switch is switch.tasmota_7. Now we have everything we need to write the climate control program for our office in configuration.yaml.
climate:
  - platform: dual_smart_thermostat
    name: Office
    heater: switch.tasmota_7
    target_sensor: sensor.ruuvitag_e347_temperature
    min_temp: 10
    max_temp: 28
    ac_mode: false
    target_temp: 17
    target_temp_high: 26
    target_temp_low: 10
    cold_tolerance: 0.25
    hot_tolerance: 0.25
    min_cycle_duration:
      seconds: 600
    keep_alive:
      minutes: 3
    initial_hvac_mode: "heat"
    away:
      temperature: 13
      target_temp_low: 10
      target_temp_high: 15
    home: # this preset will be available only for heat or cool hvac mode
      temperature: 19
    precision: 0.1
    target_temp_step: 0.5
After restart, we have added a heating controller to our Home Assistant!
This was a quick introduction on how to add RuuviTags to Home Assistant and how to use them in other integrations, such as thermostat control. Now, go ahead and buy a few RuuviTags and start to Measure Your World!
Ruuvi Gateway integration to Home Assistant:
Official Ruuvi Gateway support for Home Assistant is launched https://www.home-assistant.io/integrations/ruuvi_gateway/
Thank you “AKX” for this integration as well!
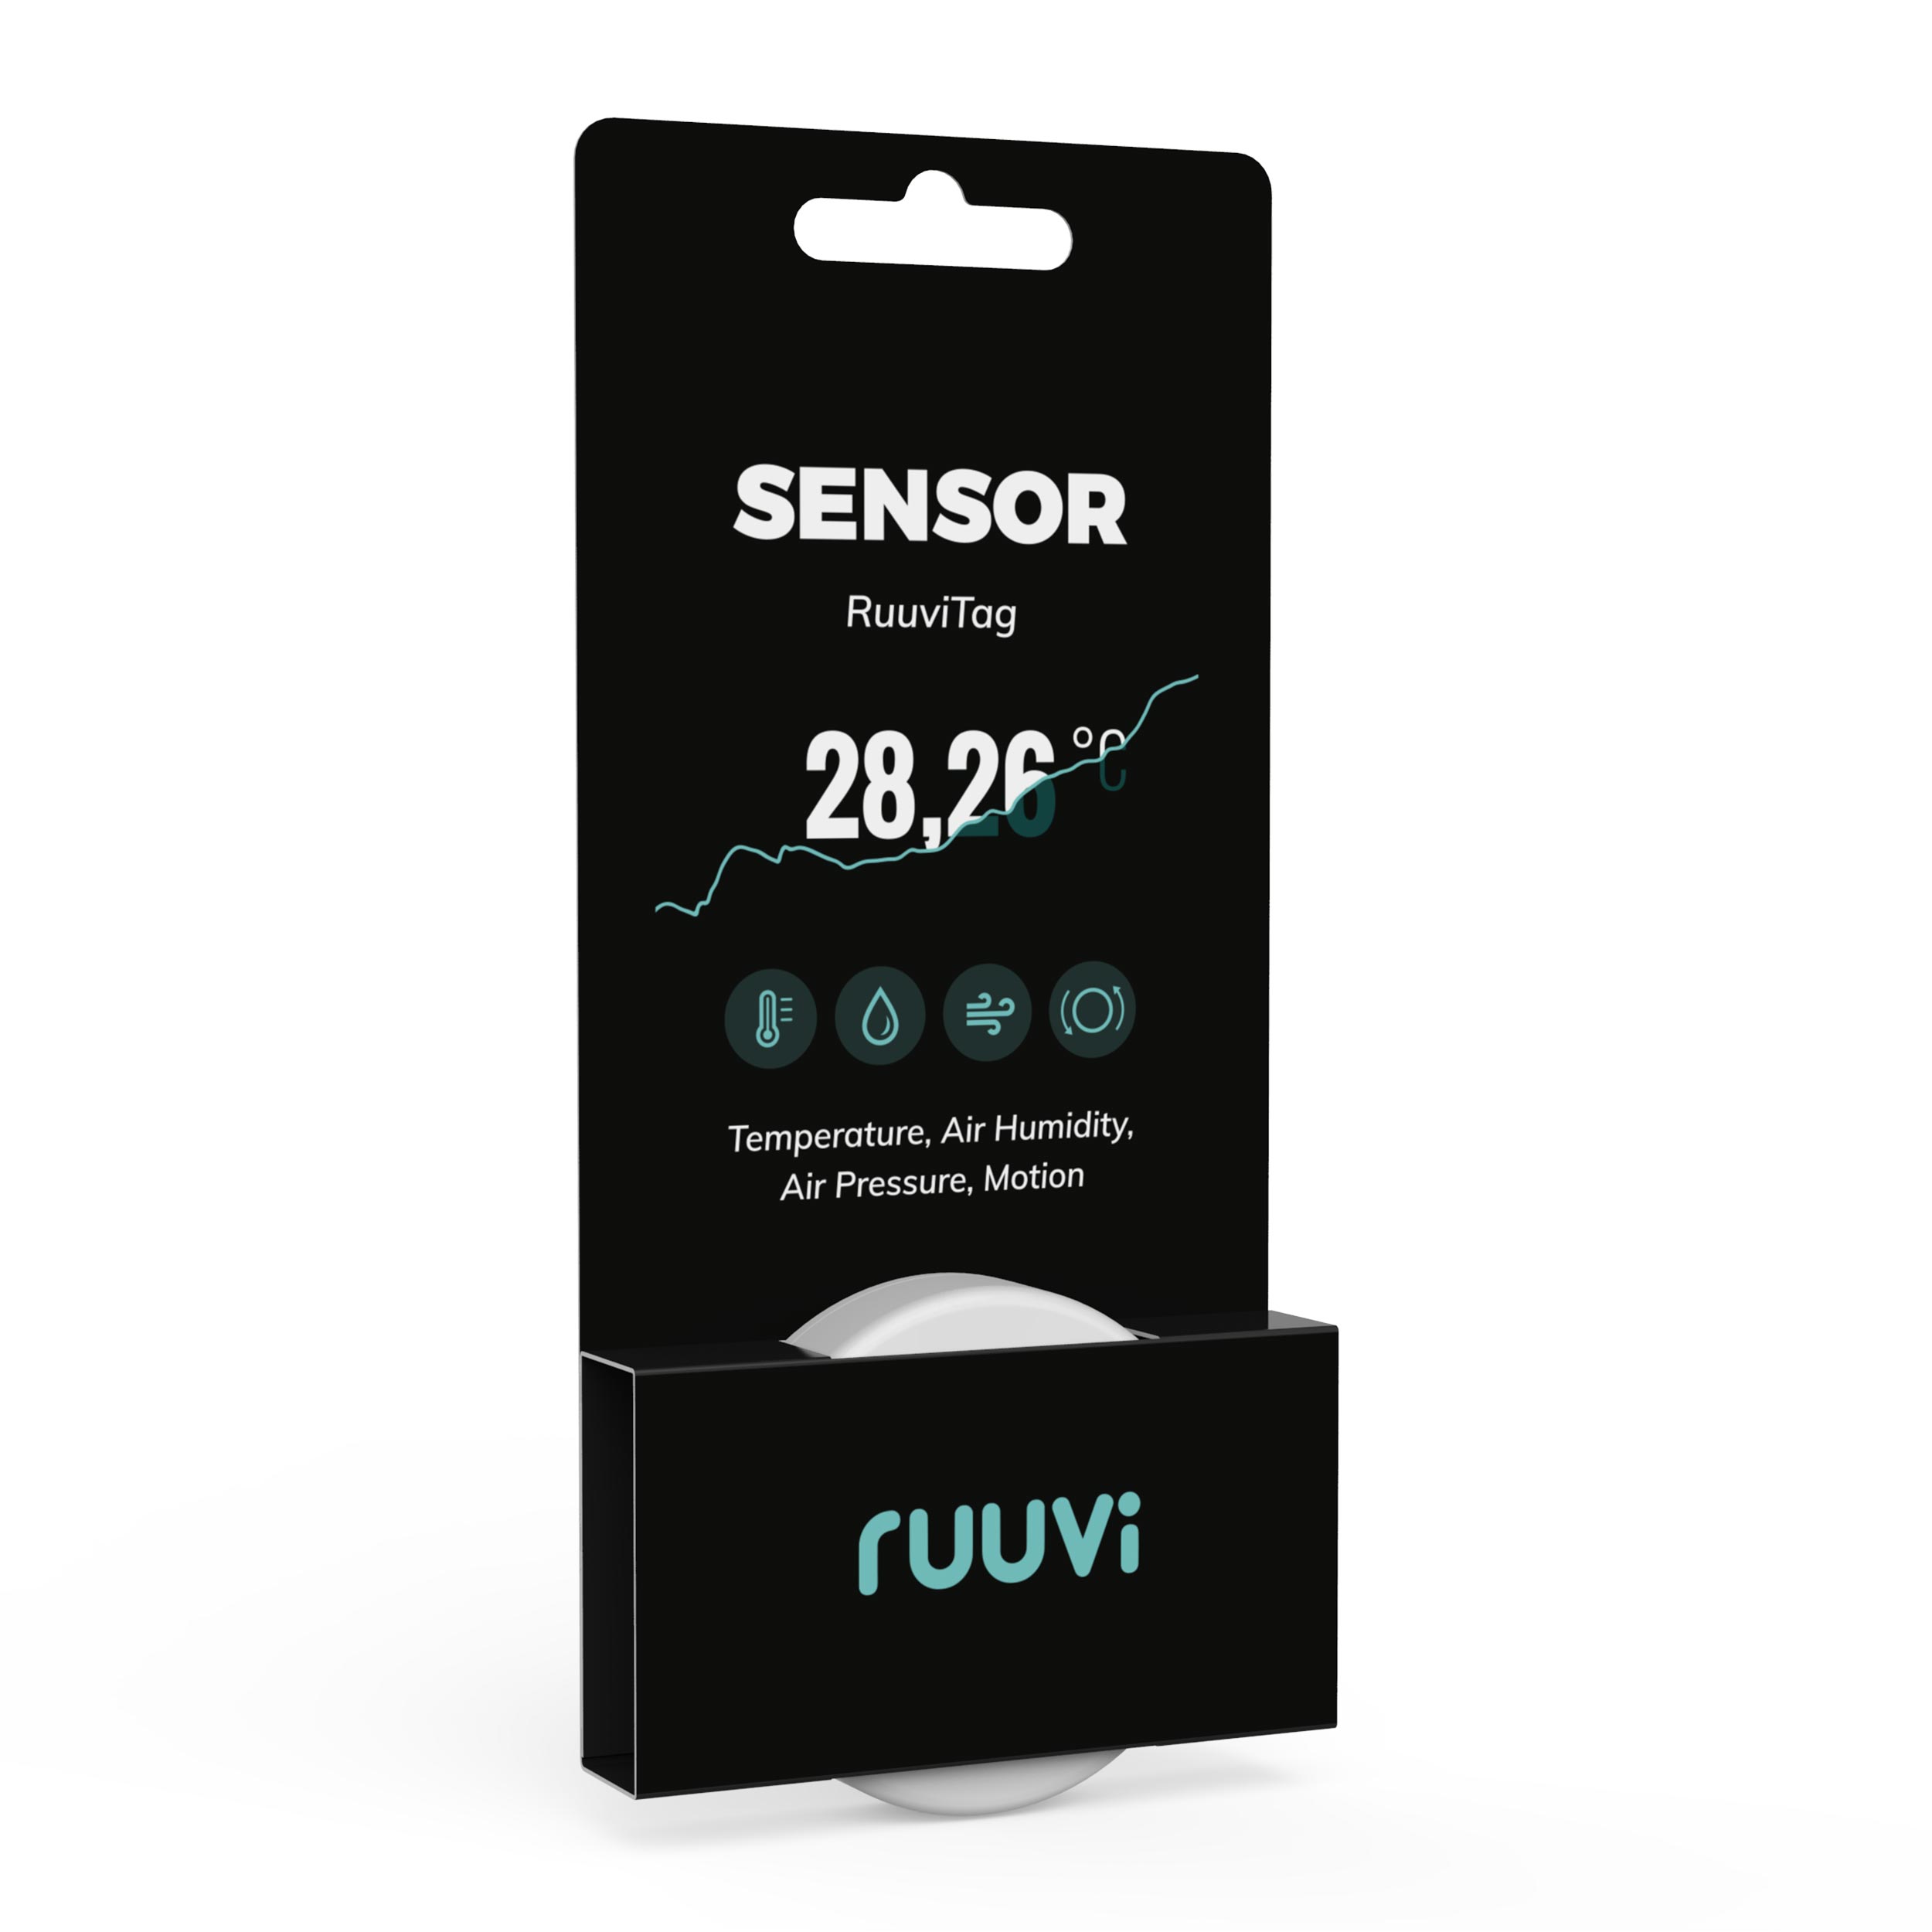

Buy RuuviTag Sensors
An Easy Integration to Home Assistant
39,90€
Ruuvi is based in Finland. If you’re an EU consumer, VAT is included. If you’re a non-EU customer, you don't pay VAT. If you're an EU business, insert your VAT ID at checkout.
In stock
RuuviTag Sensor (4in1)
| 5 star | 94% | |
| 4 star | 6% | |
| 3 star | 0% | |
| 2 star | 0% | |
| 1 star | 0% |
Customer Images
RuuviTag Sensor (4in1)
| Quantity | Unit Price(€) |
|---|---|
| 1 | 39,90 |
| 2 | 37,40 |
| 3-5 | 36,90 |
| 6-8 | 35,90 |
| 9-12 | 34,90 |
| 13-25 | 33,90 |
| 26-99 | 32,90 |
Are you looking for bigger quantities? Contact us for pricing.
After integrating four RuuviTags into my Victron Cerbo GX / VRM system in our Rapido motorhome, I can honestly say they have transformed the way I monitor the vehicle.
The setup now provides live temperature, humidity and pressure monitoring directly inside the VRM portal, allowing me to monitor critical areas including:
Battery Box
Orion DC-DC Charger Compartment
Engel Fridge
Main Rapido Fridge Area
What impressed me most was how seamlessly the RuuviTags integrated with the Cerbo GX via Bluetooth. Once connected, the data appears natively inside VRM and can be used for real alarms and automation.
I have now configured:
High temperature alarms
Low temperature alarms
VRM email notifications
Relay-triggered audible siren alarms
The system is now capable of warning me immediately if:
the lithium battery compartment gets dangerously cold
the battery box overheats
the Orion compartment becomes too hot
ventilation or airflow problems occur
The accuracy and stability of the readings have been excellent. The tags update reliably and provide a very clear picture of what is happening inside the motorhome.
One of the major advantages is that the system no longer relies on older digital-input alarm methods or complex workarounds. The RuuviTag + Cerbo GX combination feels like a modern, professional-grade monitoring solution.
The compact size, long battery life and wireless operation make installation extremely easy. No extra wiring was required for the sensors themselves.
For anyone building a Victron-based off-grid system, especially in a motorhome, caravan, marine or lithium battery installation, I would highly recommend RuuviTags.
They add a level of visibility and protection that is difficult to achieve any other way at this price point.
perfect to log my boat conditions when i’m away, and check pressure variations in real time when i sail