
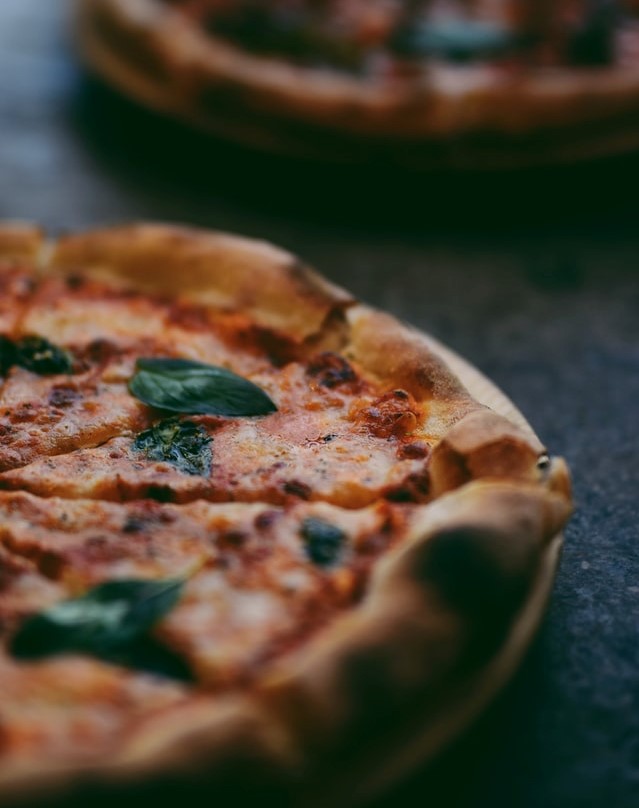
Making delicious pizzas at home is rather easy. By focusing on a few key steps, you can make homemade pizza like an Italian chef! Furthermore, by combining traditions with modern technology, you will be eating mouth-watering pizza in no time.
Baking pizzas is quite simple. All you need are a few ingredients, a bowl, an oven and plenty of time. In this article, I will go through the essentials, which are part of the whole pizza baking process.
Who can bake pizza at home?
Anyone with a kitchen can make a pizza! As mentioned before, you do not need anything special to bake a pizza. Even though restaurants use fancy wood-fired ovens with baking temperatures far beyond home ovens’ capabilities, they are definitely not essential. For example, you can achieve a beautiful neapolitan-style crust with just a regular oven.
All the necessary ingredients simply are:
- Water
- Flour
- Salt
- Yeast or sourdough
- A bowl
- An oven
- Baking trays and parchment paper
can make pretty good pizza. But you can still develop your skills tremendously to really master the pizza making process.
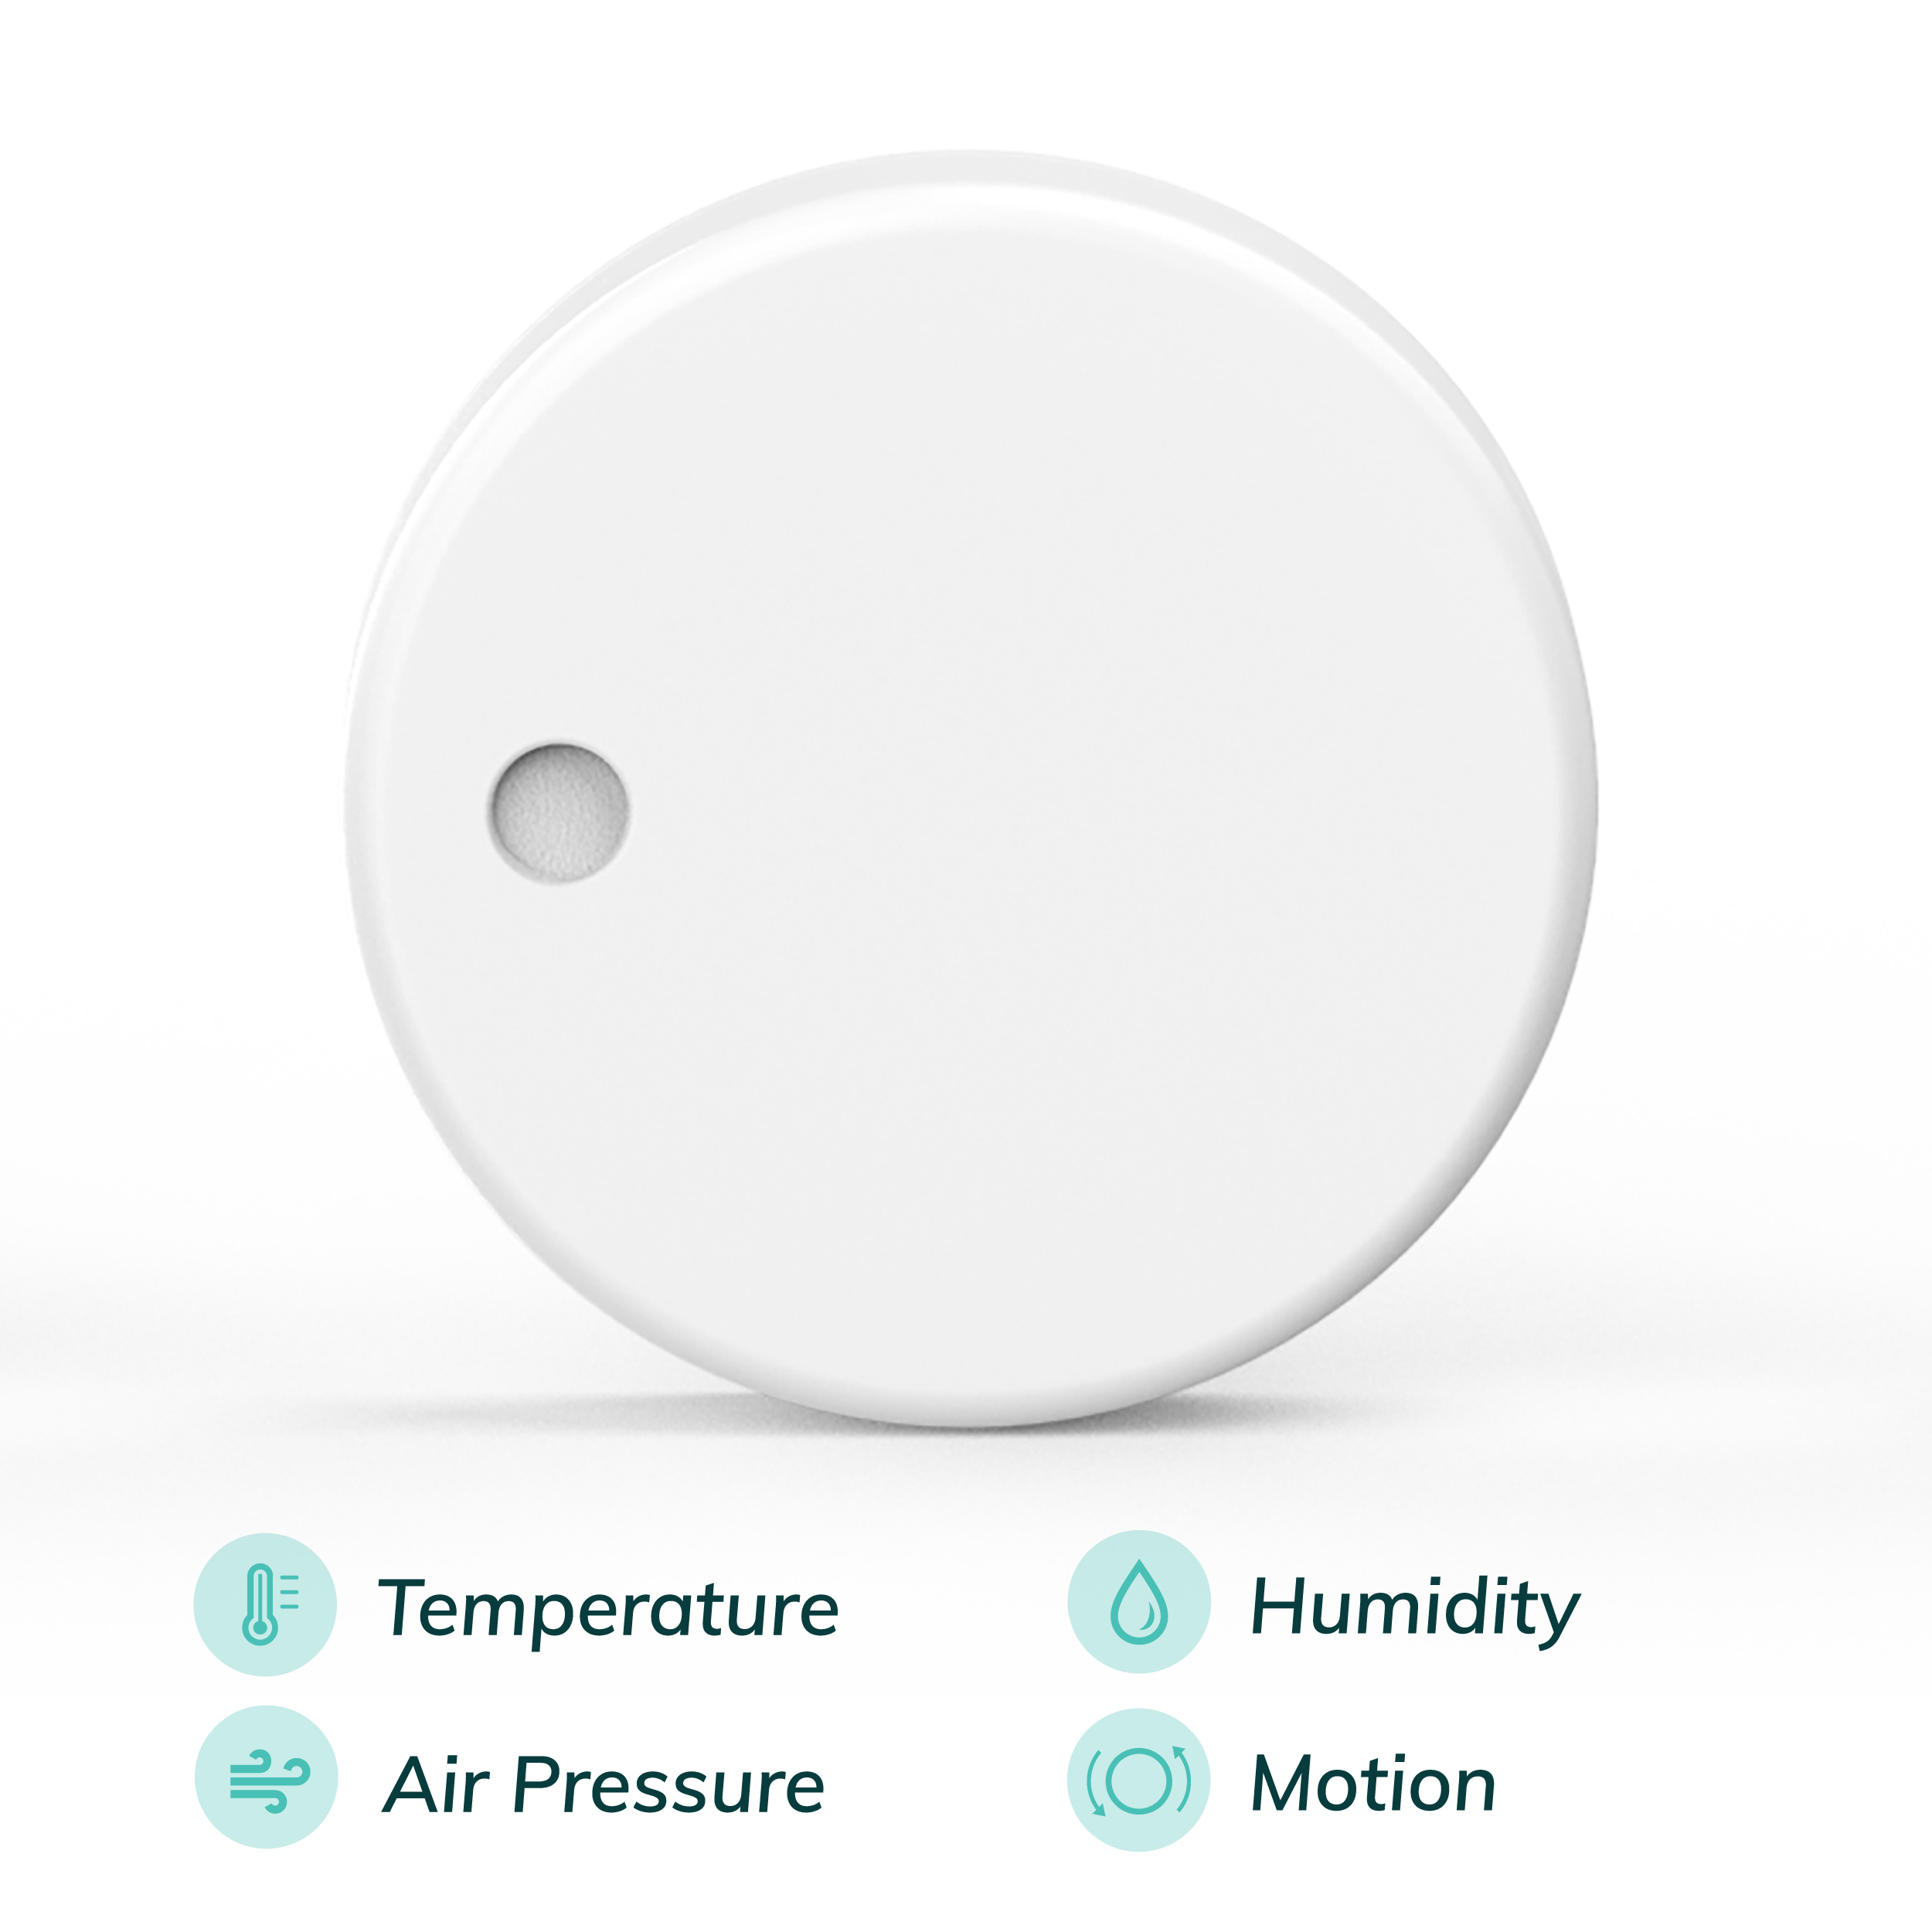
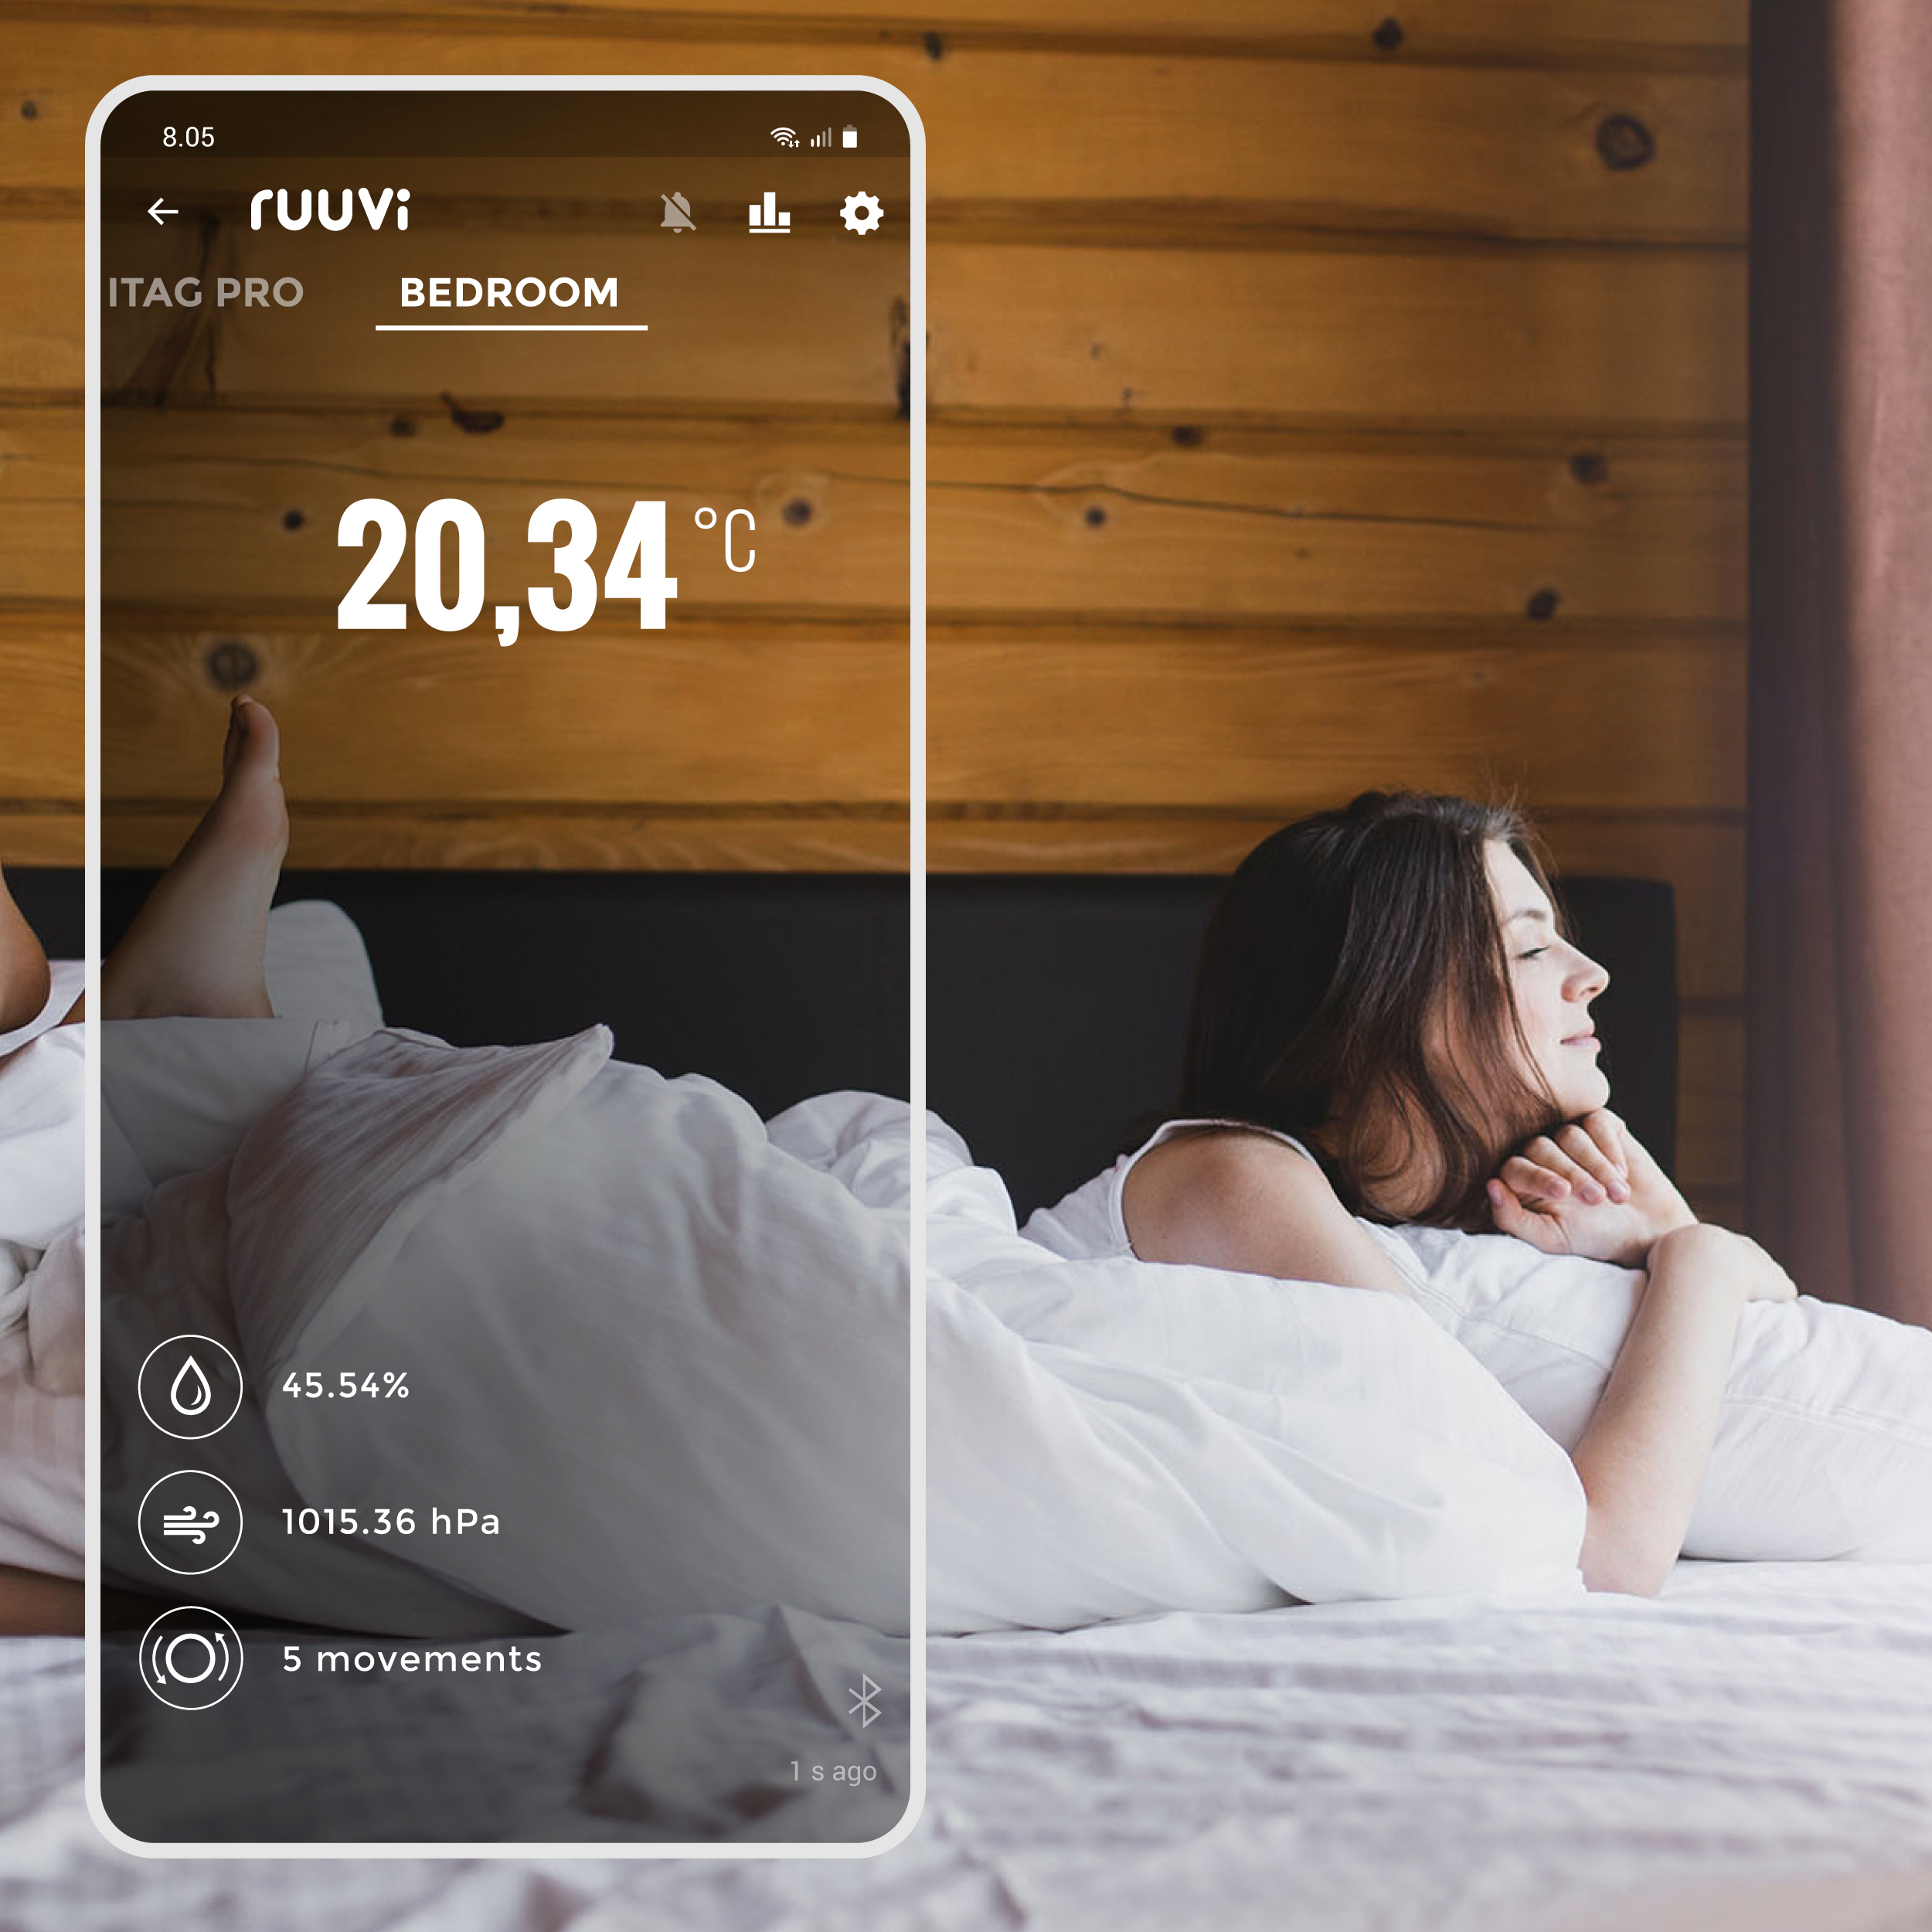
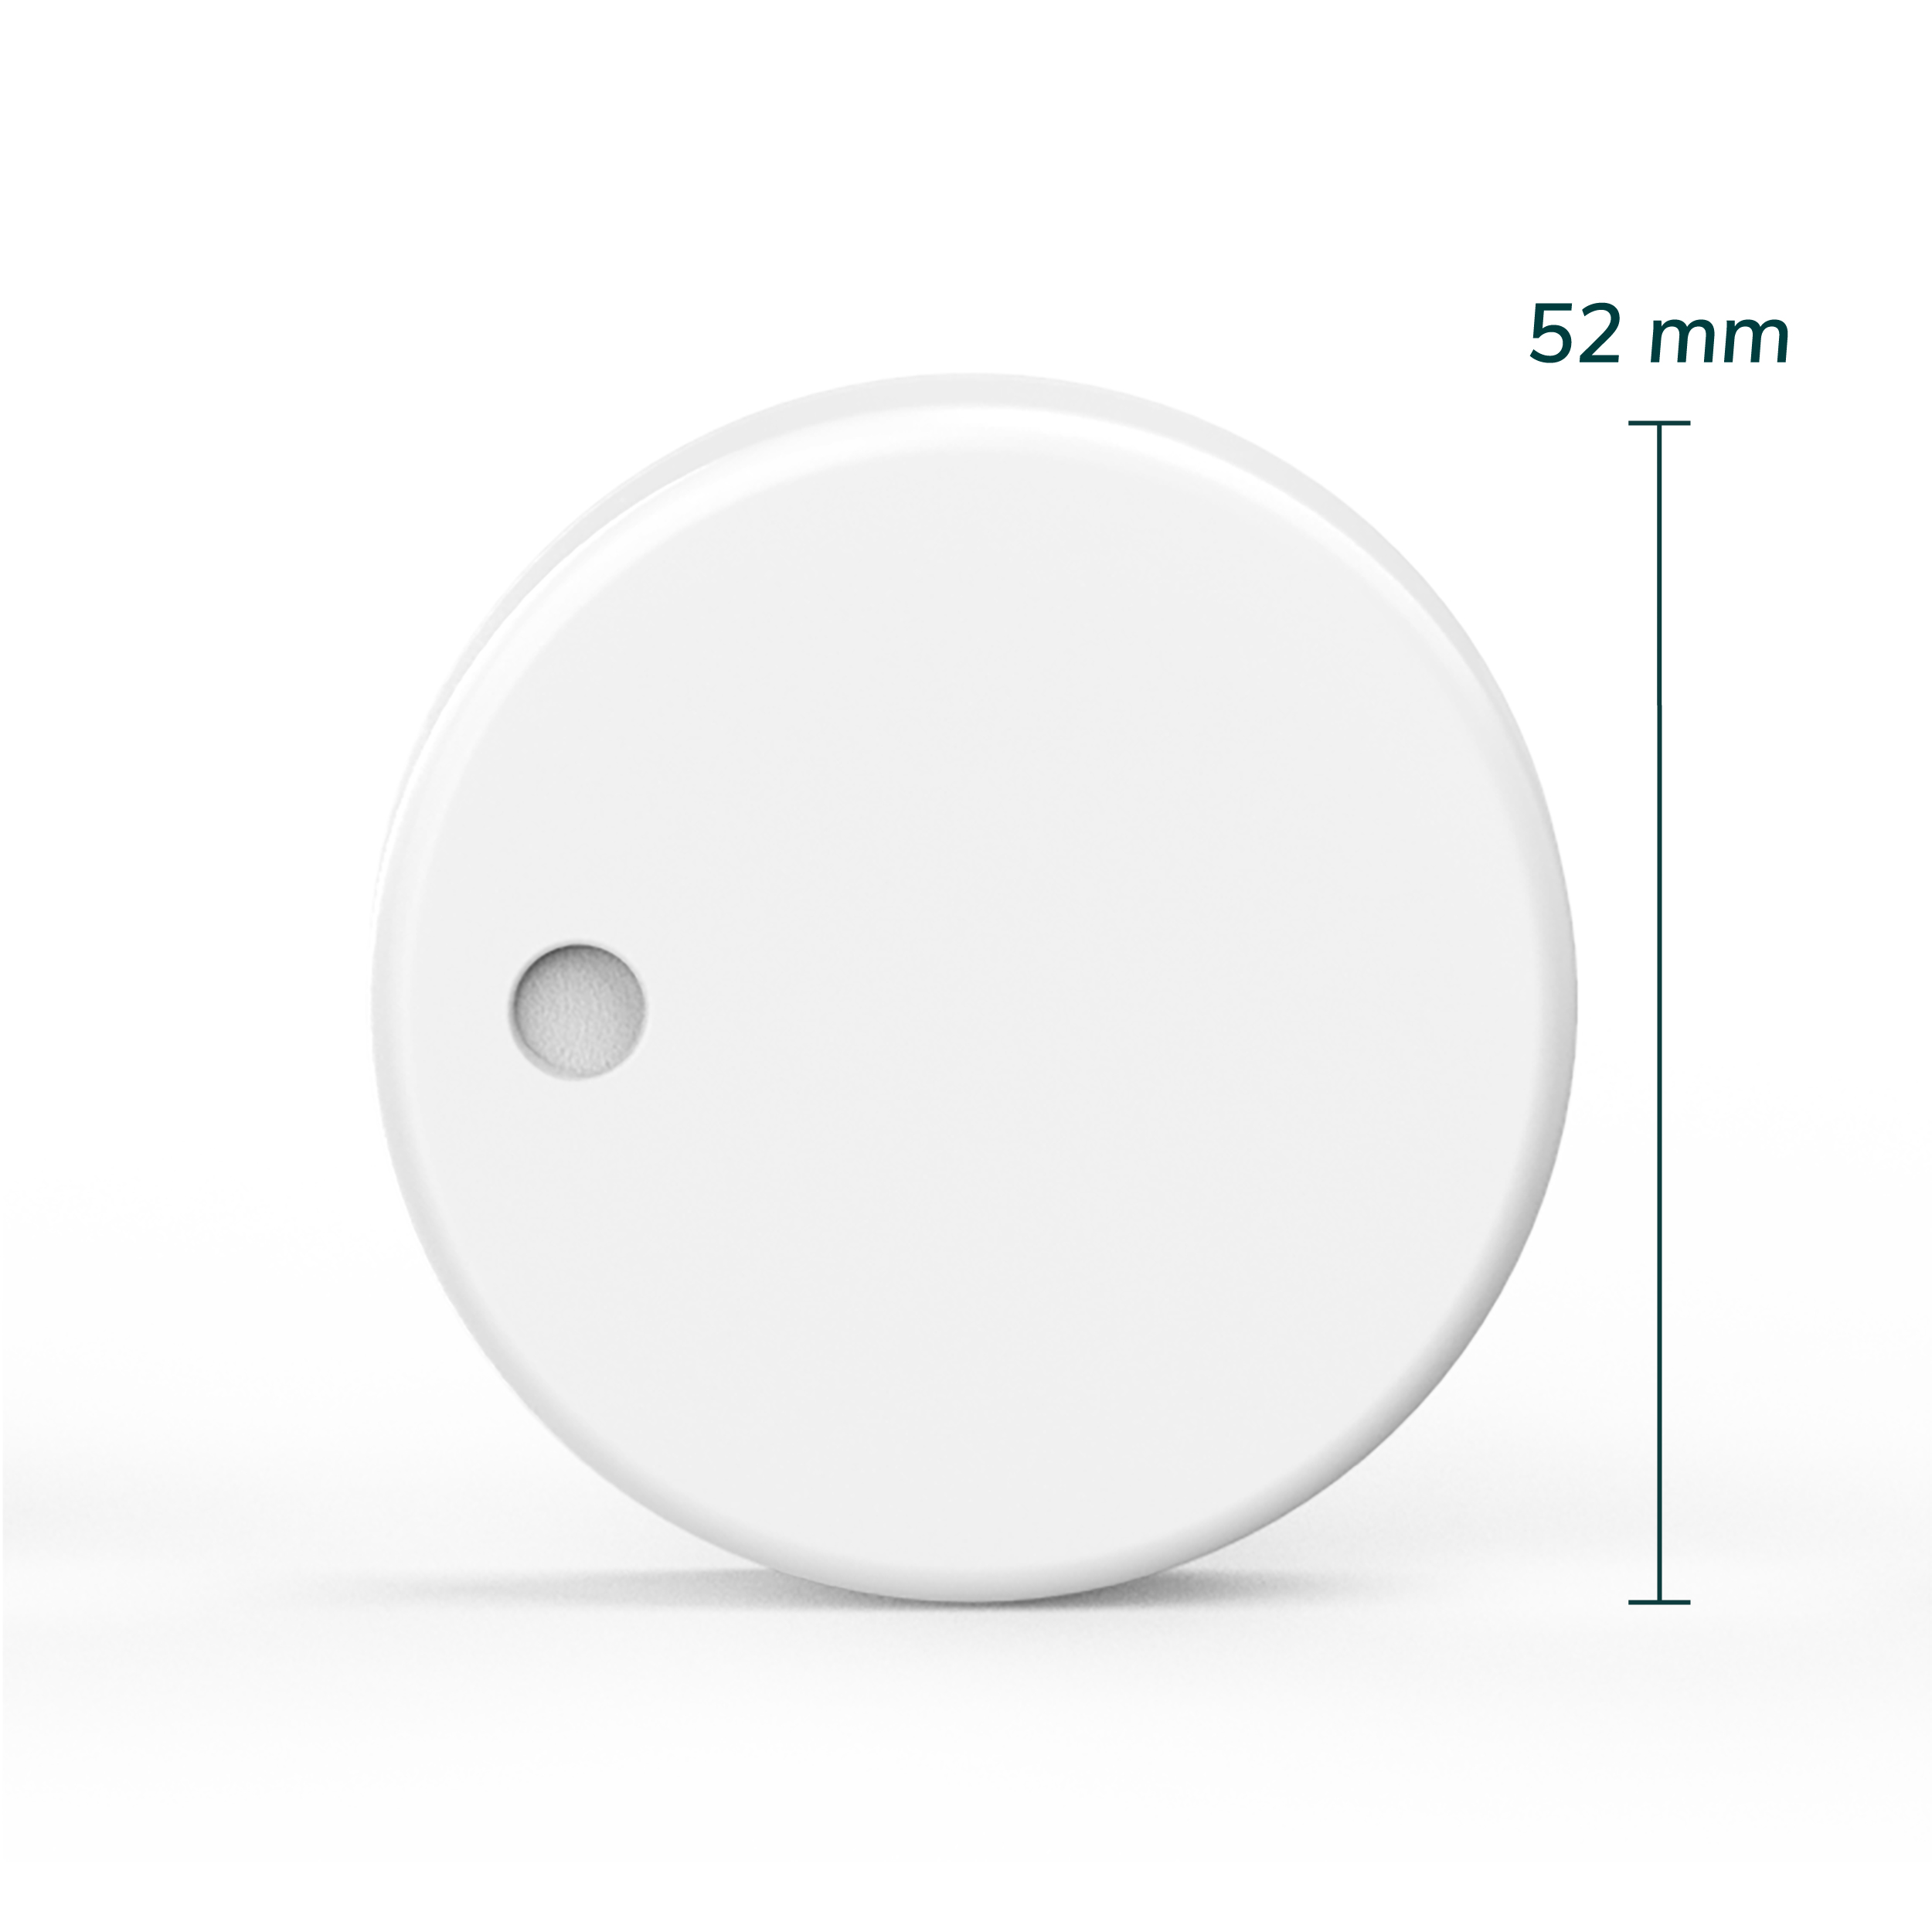
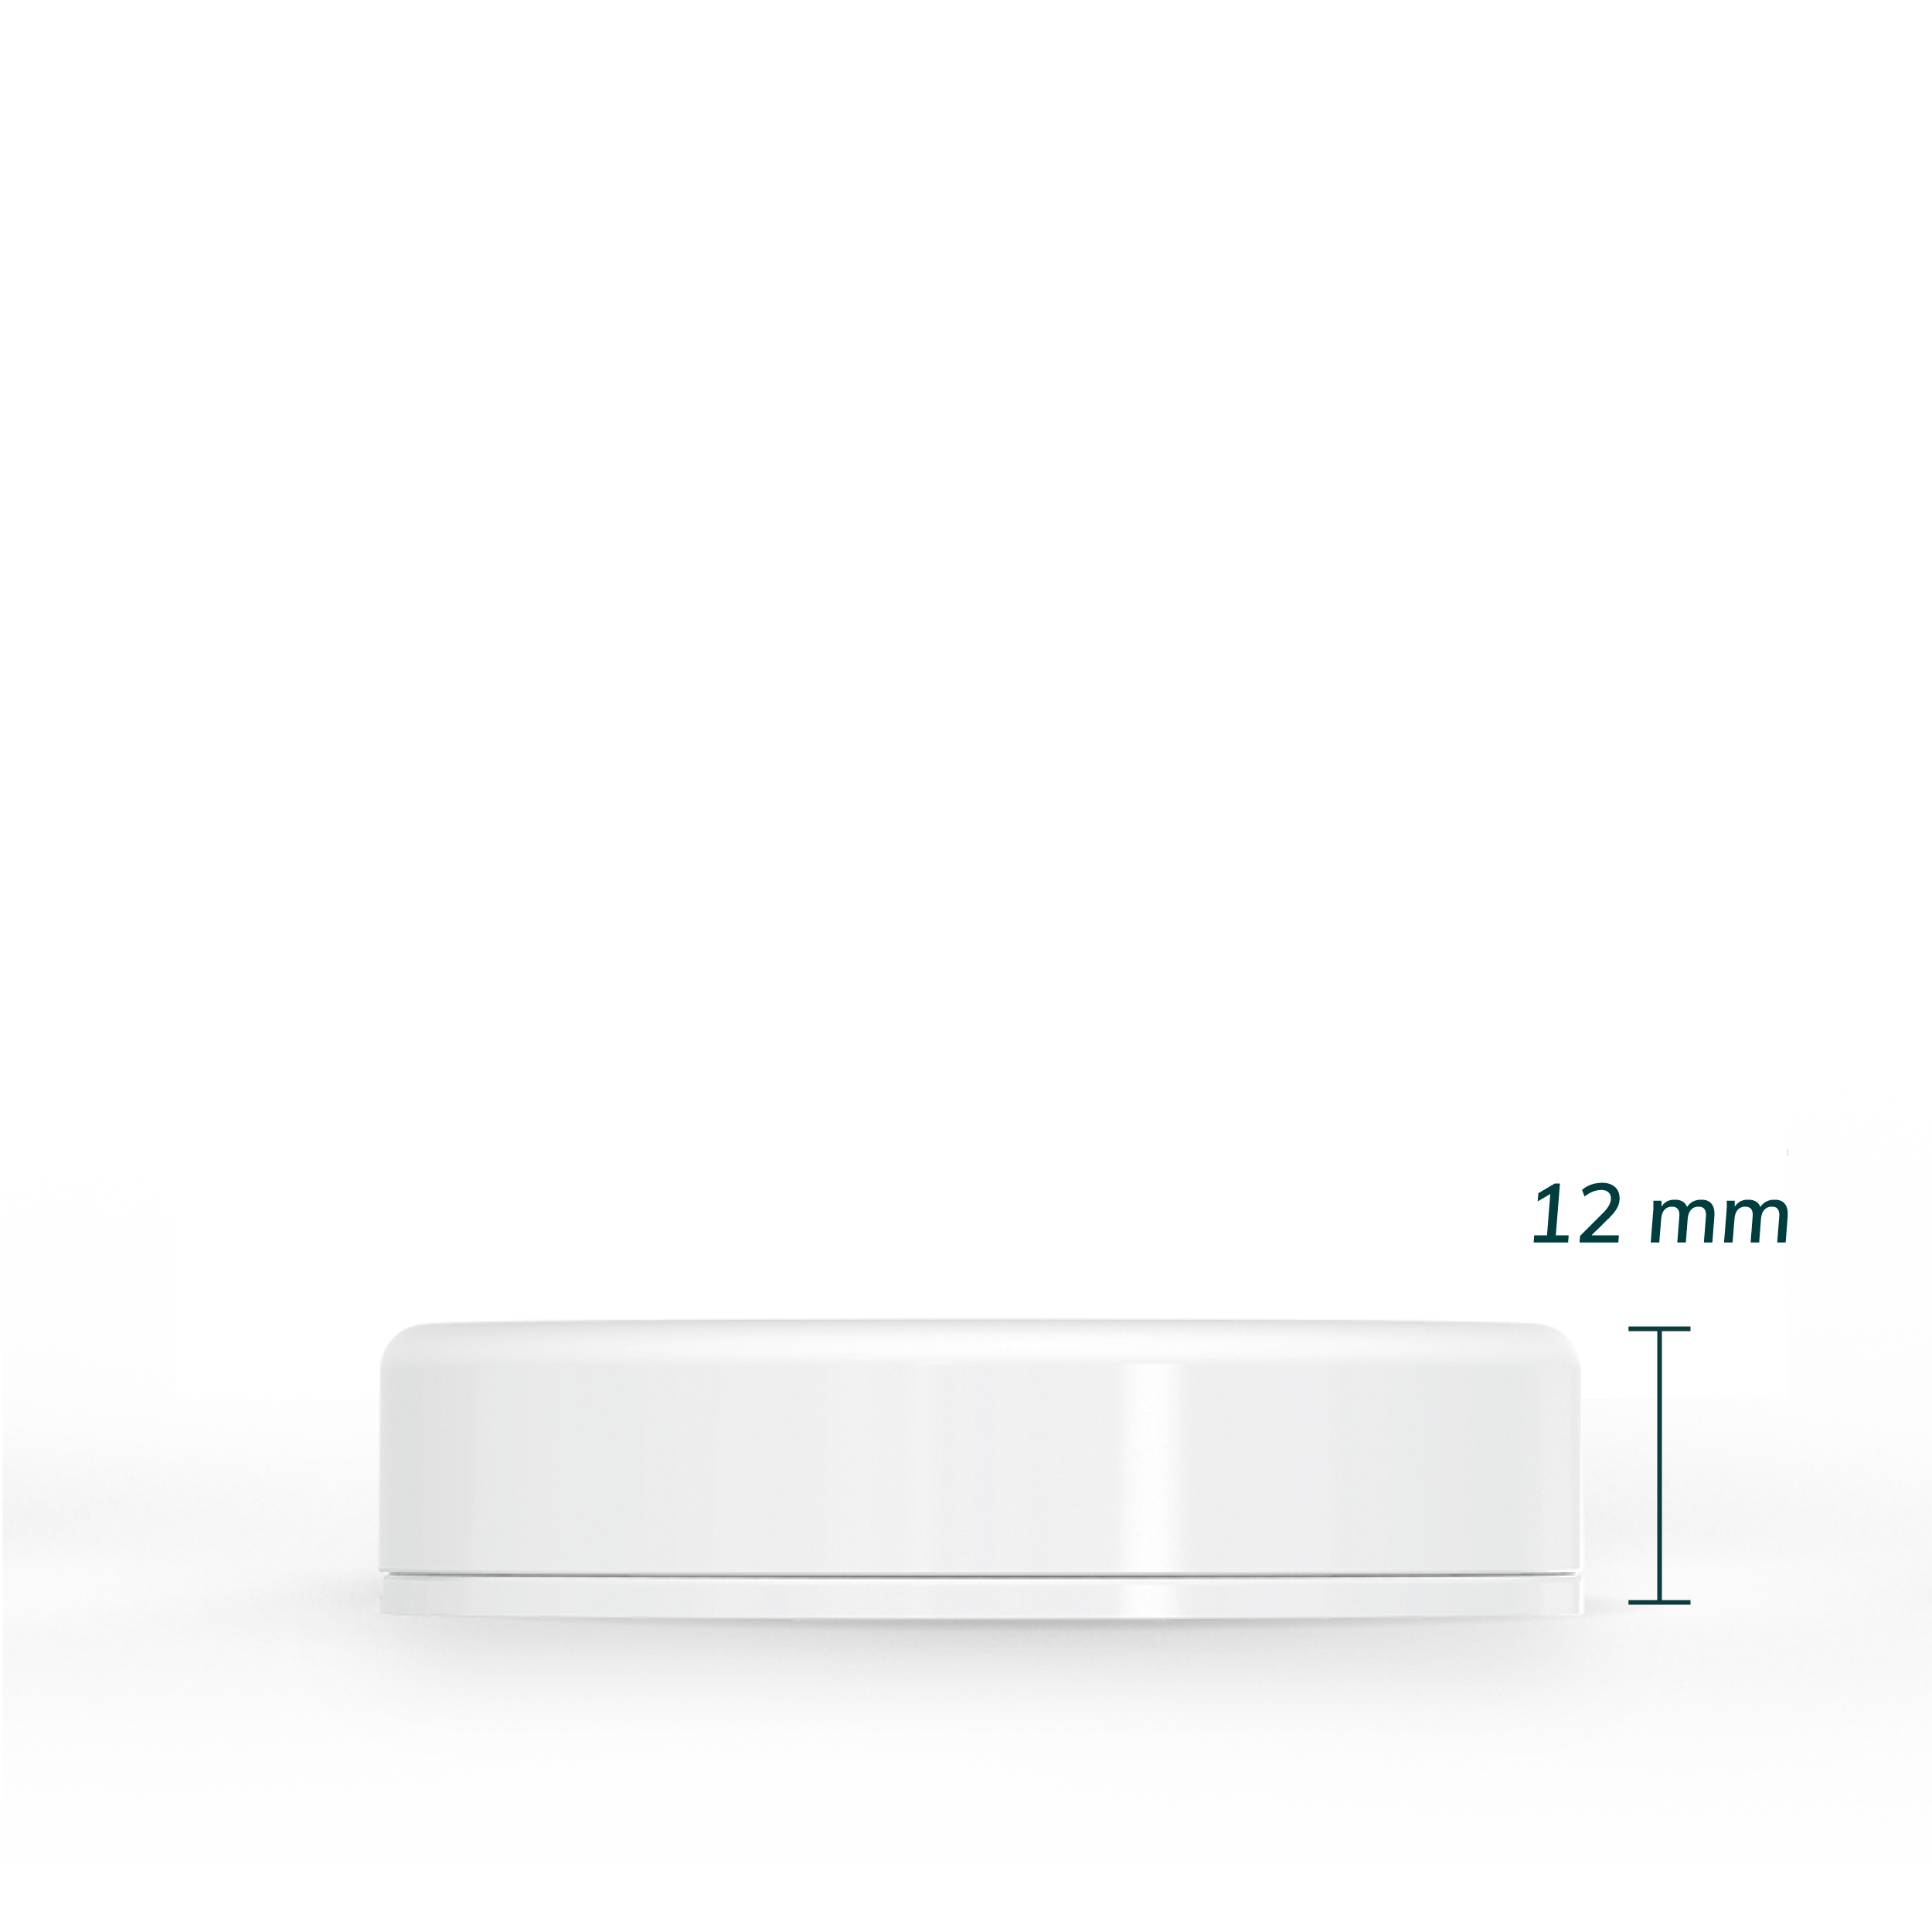
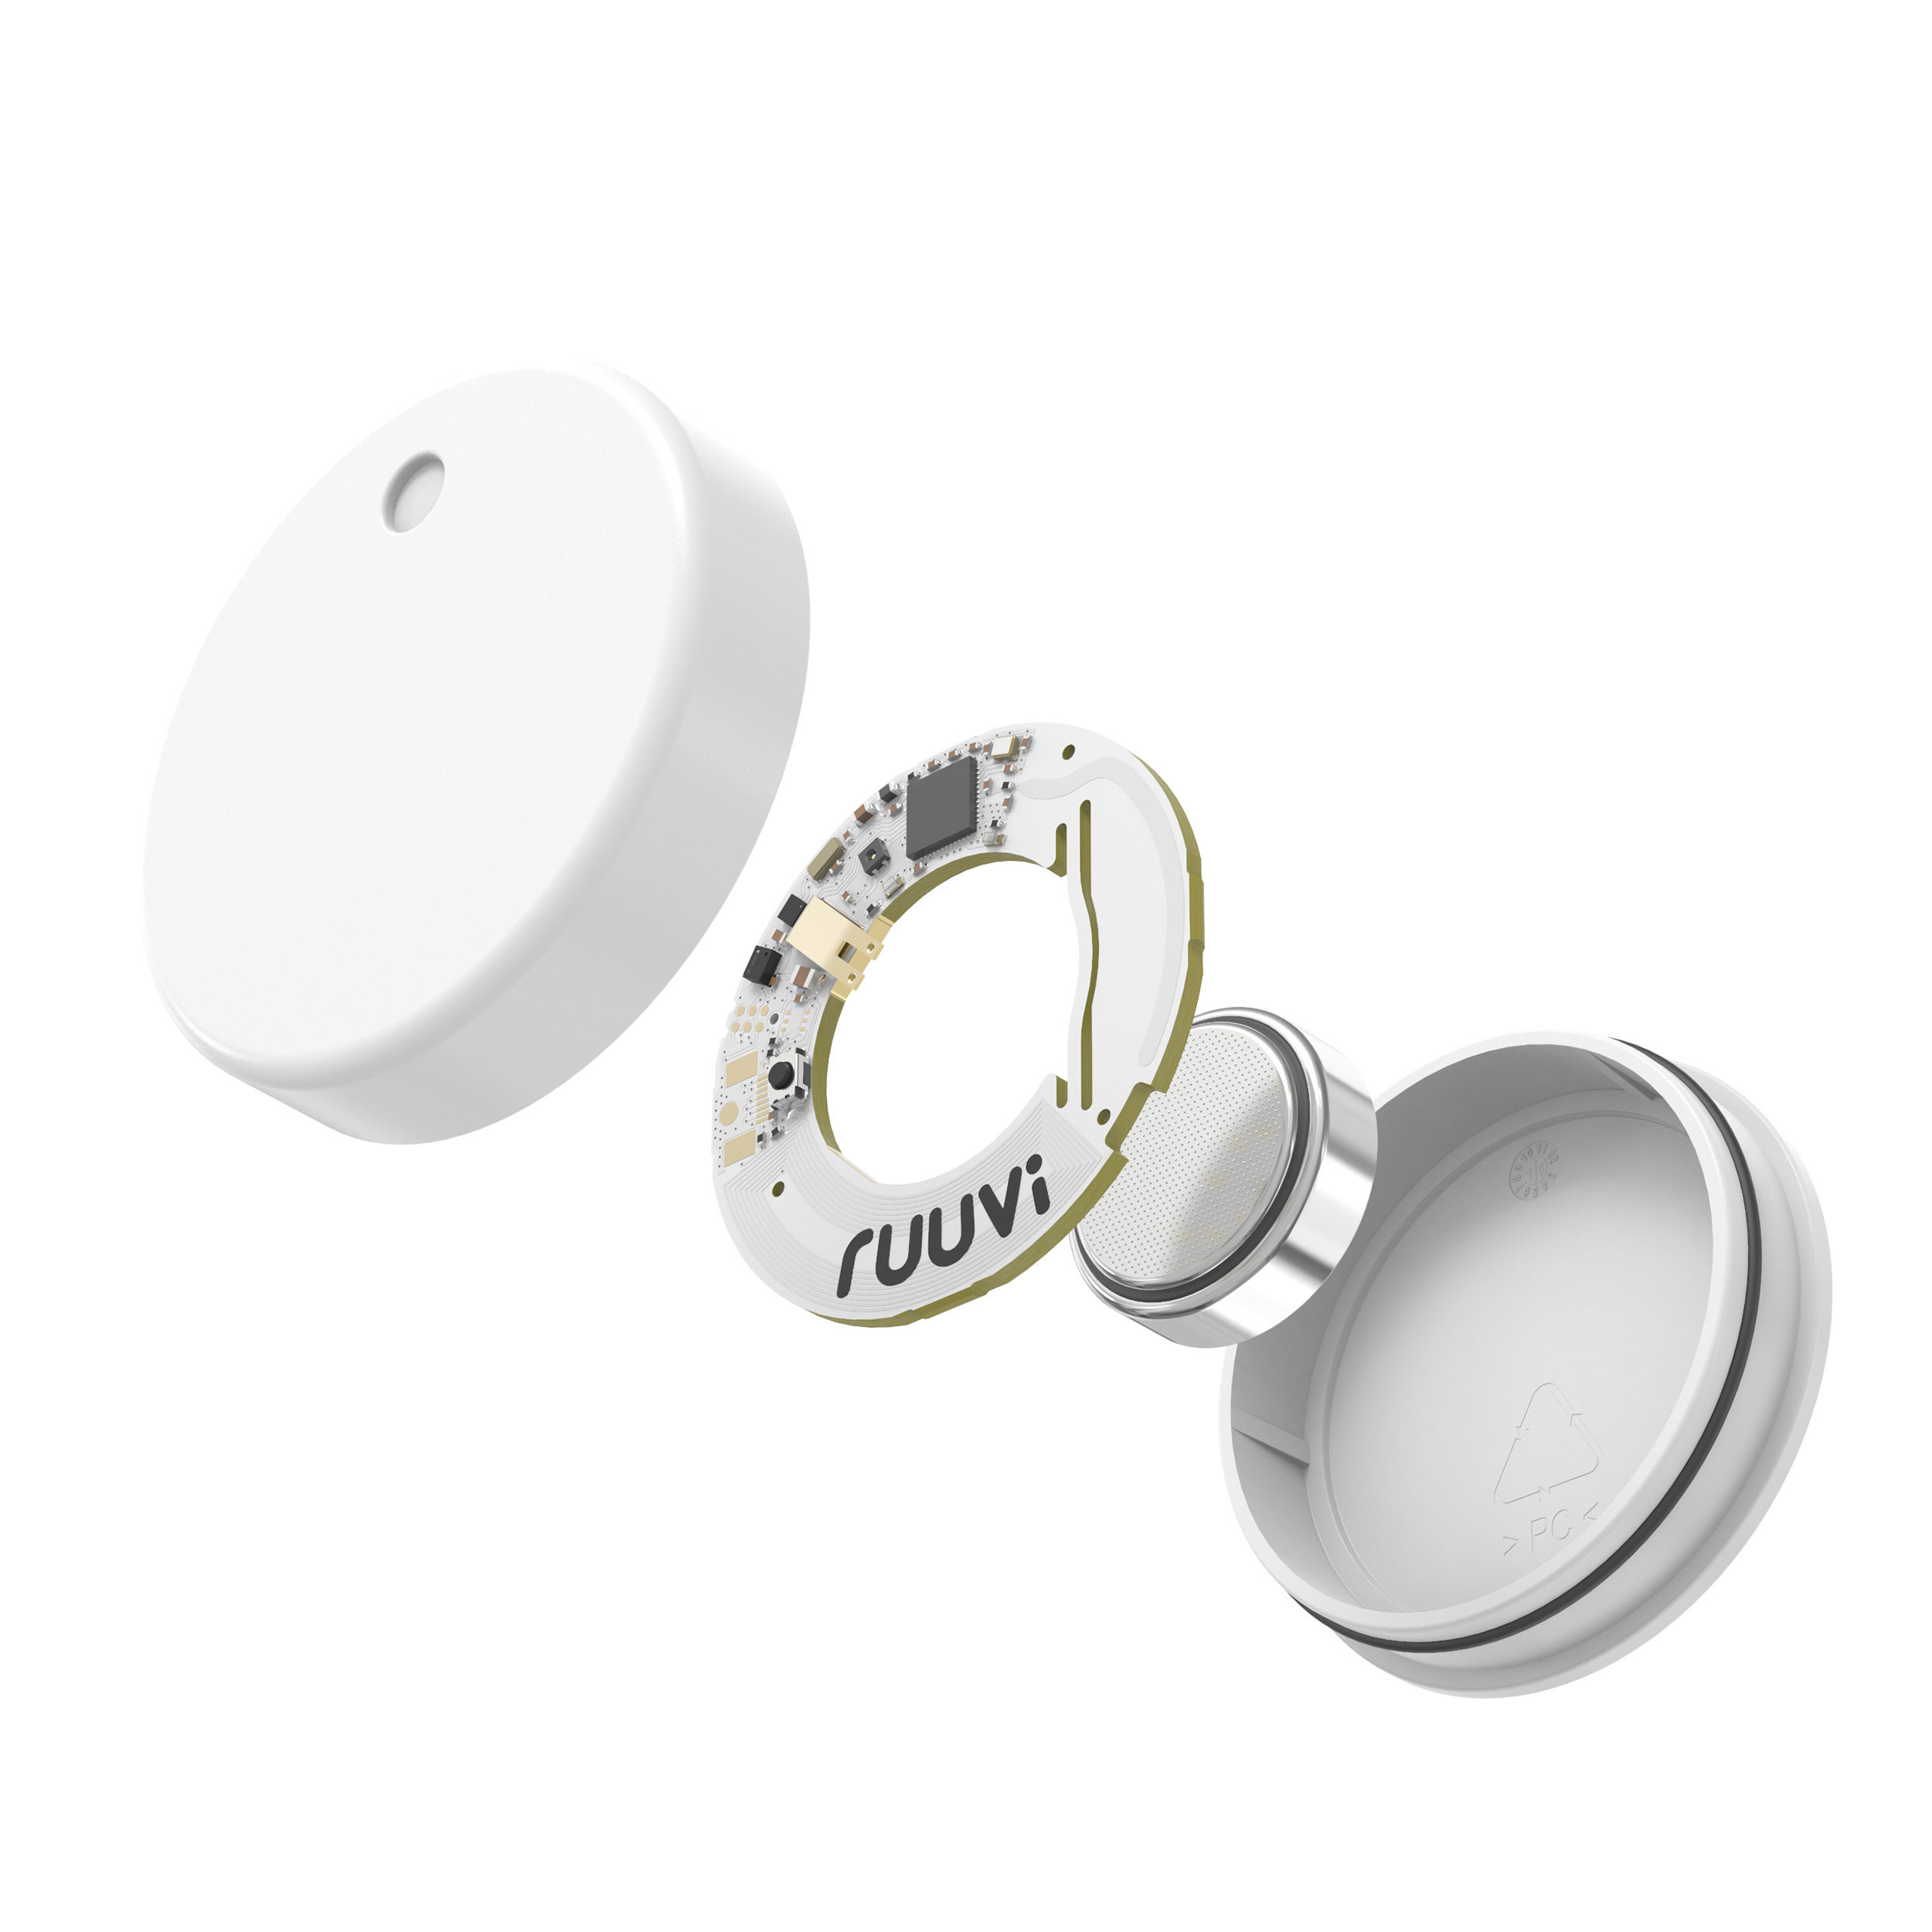
Personally, I have invested in a pizza stone and a smart temperature/humidity sensor, RuuviTag. With these tools, I was able to bake even tastier pizzas. I have also planned to purchase an Ooni pizza oven. But let’s dive deeper into more specific instructions.
Shaian Ramesht.
Which flours to use
Typically, the best choice is the 00 flour. It is finely ground and usually rich in protein. The 00 flour is used in most Italian foods, such as pizzas and pastas. It tends to be a bit more expensive than regular all-purpose flour, but you will really notice the difference.
Using all-purpose flour is fine as well. It does not have such a crispy texture as 00 flour once baked. If you are out of 00 flour and want to make a pizza immediately, all-purpose flour will work just fine.
Once you get used to making pizzas, try to alter ingredient combinations in your dough. In other words, experiment with other formulas to find your favorite pizza dough! I like to add whole grain flours to add a bit of a darker texture and a richer flavour. In my opinion, these different combinations and constant trial-and-error process are a huge part of my pizza making passion.
For more in depth information about differences in flours, take a look Here!
What does fermenting and proofing mean?
Fermenting and proofing are parts of this baking process, where time is the main chef.
Fermenting is the phase in which you have added the yeast or sourdough starter to the rest of the dough. In the fermentation phase, the yeast starts to consume flour enzymes and releases gas into the dough. In other words, the dough starts to rise and form tiny bubbles of gas inside it. This will, for example, result in the raised pizza crust after it’s baked.
Proofing comes after fermentation. In this phase, the gluten in the dough will develop into a more tangled web. It gives the dough strength.
Cold proofing means that the dough is placed in a fridge, or in some cases in the freezer. Cooling the dough slows down the fermentation process so that the dough does not overproof. Gluten will still develop and strengthen the dough. While making pizza, you can put your divided dough balls in the fridge for a couple of days.
Both the fermentation and proofing depend heavily on where the dough is placed. This is why it is important to measure the air temperature and humidity of where it’s been placed, and to understand their effects on the final product. Hence, a smart sensor is a key to measure and alter the conditions of your dough when necessary.
Pizza making hack
Fermenting and proofing are dependent on the temperature and humidity in your house. To really master the art of pizza making, you have to know how long it takes to ferment the pizza dough. Measuring dough conditions using your instincts is the best way when you are very experienced, but can be a rather complicated and exhausting way to determine the correct rising time.
With the help of smart sensors such as Ruuvi products, you can scientifically measure your environmental conditions with great accuracy. With some experience, you will recognize when the fermenting is done based on the environmental conditions in your home.
To learn more about Ruuvi sensors, take a look at Here!
Also, for video instructions, check out our youtube Video!
Pizza making tutorial
Ingredients:
To make two pizzas, you will need:
- 170g or roughly 1.7dl lukewarm water
- 230g or roughly 4.7dl 00 flour
- ½ teaspoon dry yeast
- ½ teaspoon granulated sugar
- 8g or 1¼ teaspoons salt
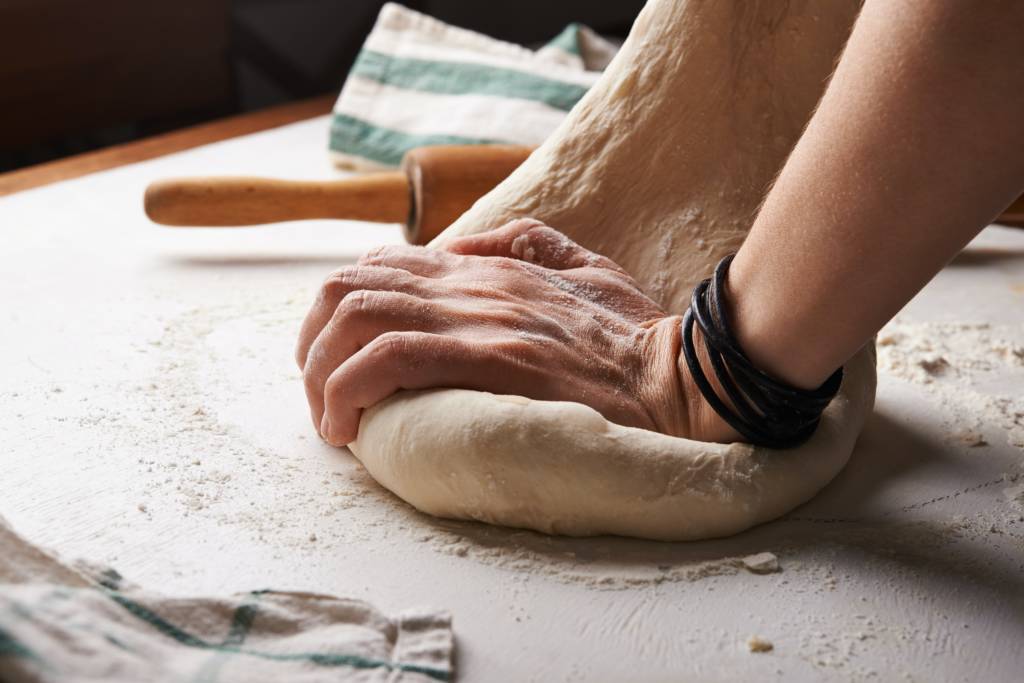
- In a large bowl, combine dry ingredients. Then add lukewarm water and start to combine by hand. Stir until there is no dry flour left, so that the dough is cohesive but not smooth.
- Cover the bowl with plastic wrap or a damp kitchen towel. Let the dough rise for approximately 8 hours at room temperature. This fermenting time varies according to the conditions in your home. In general, heat quickens the process. So, if you have above 22 °C at your place, the fermenting time can be shorter.
You may also place the dough to ferment in a fridge and bake it the next day.
- After 30 minutes of rest, grab one side of your dough, pull it far up so that it stretches but does not rip, and tuck it on the other side of your dough. Repeat this step on all sides to capture the air inside the dough. This stretching also strengthens the dough. Tuck all the stretched side under the dough so that the surface is smooth.
- After 8 hours, turn your oven to 250 °C or 482 °F. Place the pizza stone or baking steel inside the oven to preheat. If you only have a baking tray, put it upside down at the top of the oven to heat it properly. You may also use the broil element to heat it further.
- While the oven is preheating, divide your risen dough into two equal portions.
- With each divided portion, start to stretch and fold the dough on a well-floured surface. Grab one side of the dough, gently stretch it and then tuck it to the center of the dough. Repeat this on every side.
- Flip the dough, so that the seams are facing the surface. Gently roll the dough towards you to shape a ball. You may use a dough scraper if you have one.
- Cover these balls with a kitchen towel and let them sit for 45 minutes. In the meantime, the oven will become hot enough.
- Place a parchment paper on a flat surface of your choice, which is suitable for placing the pizza in the oven. A large cutting board does the trick for me.
- Flour the paper and place one dough ball on it. With your fingertips, start to gently flatten the dough so that it is a few centimeters thick at the center. Push the dough towards the edges so that it has more dough on the outer perimeter of the ball. The desired diameter is roughly 25-30 cm.
- Once you form the dough into a round pizza shape, add a thin layer of tomato sauce. It is important not to use too much sauce, as it will cause the pizza to become soft. Add the rest of your desired toppings and the pizza is ready to go into the oven!
- Slide your pizza into the oven with the large flat object. Make sure to trim your parchment paper so that there is no excess paper to could burn in the hot oven. Cook the pizza for 5-7 minutes depending on your toppings and oven temperature. You have to regularly examine the pizza to make sure to notice once it is ready. I prefer to take it out of the oven once a bit of the crust starts to blacken.
- Take the pizza out of the oven and you are ready to enjoy your own homemade pizza!

Conclusions
Making delicious pizza is not hard. It takes a bit of learning and experience to make gorgeous pizzas at home. But to really achieve that authentic Italian level of performance, you need to practise and experiment. With modern technological innovations giving you surgical level accuracy on environmental measurements, you can really learn what to improve on your journey in this fine art.

Buy RuuviTag And Master Pizza Making
Monitor your pizza dough's journey from wheat to oven easily with RuuviTag
39,90€
Ruuvi is based in Finland. If you’re an EU consumer, VAT is included. If you’re a non-EU customer, you don't pay VAT. If you're an EU business, insert your VAT ID at checkout.
In stock
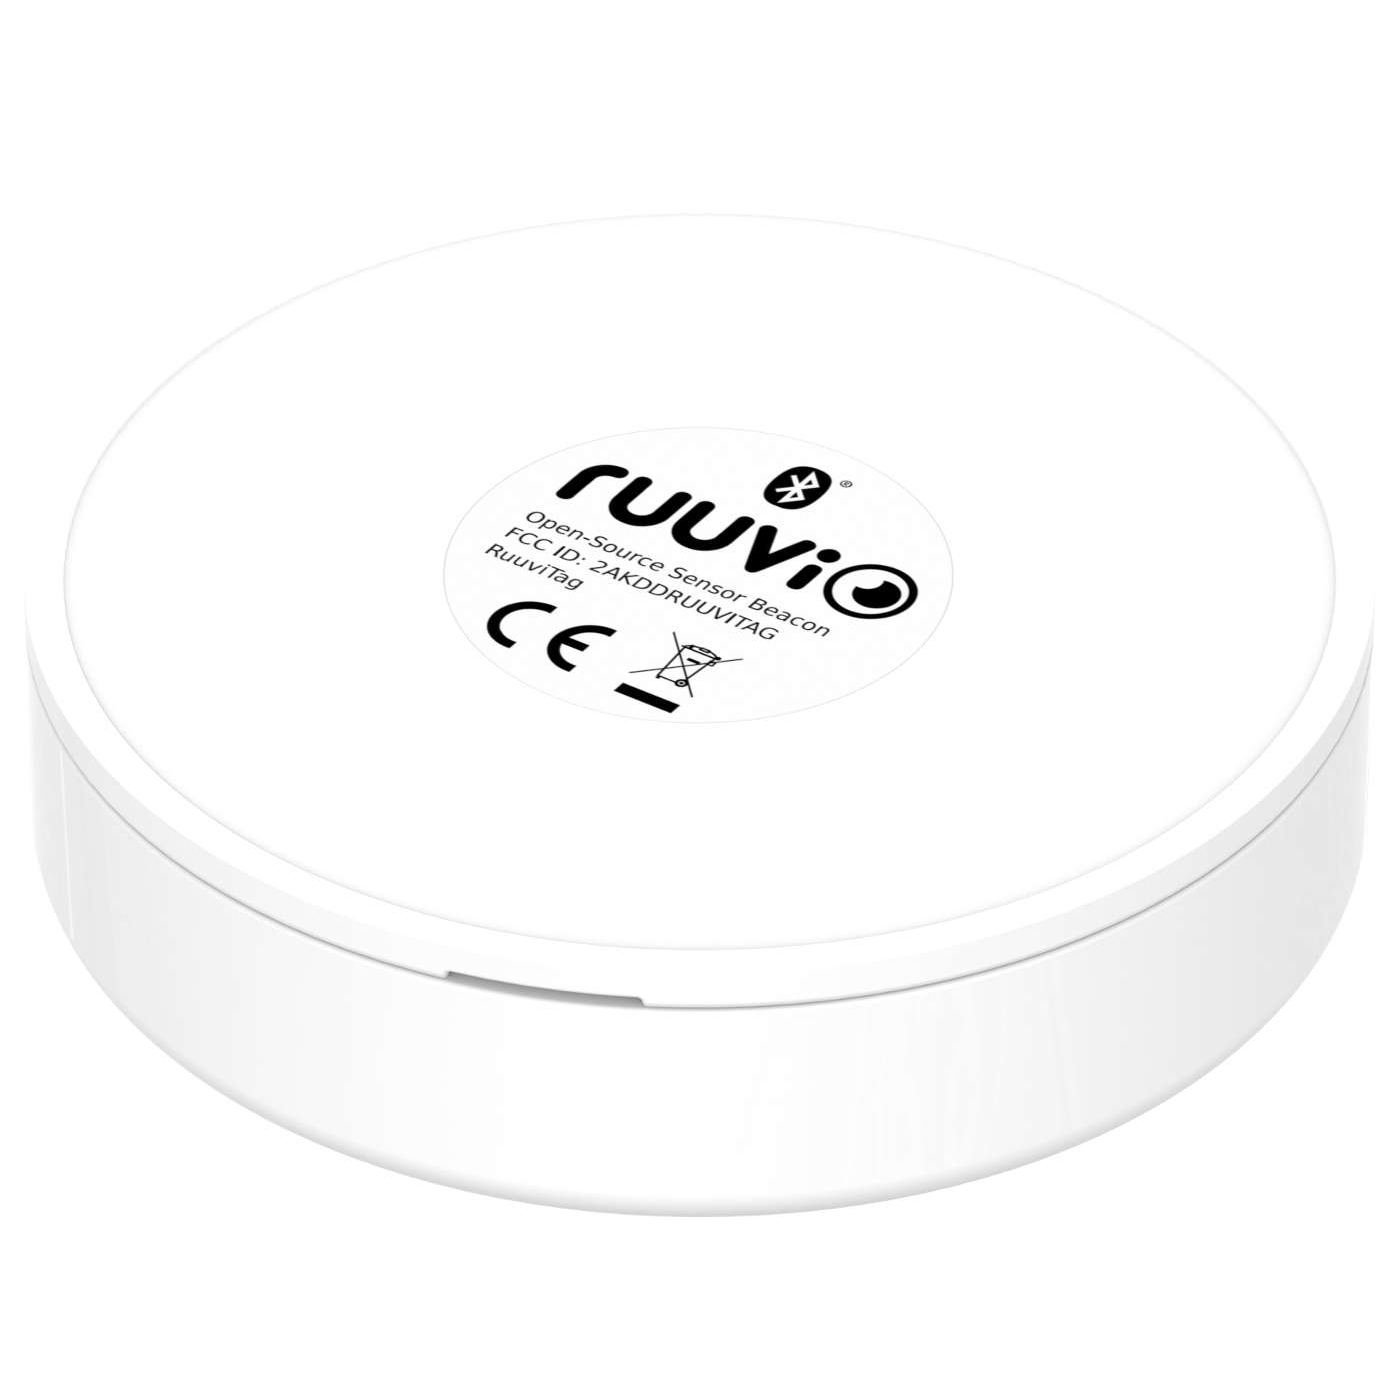
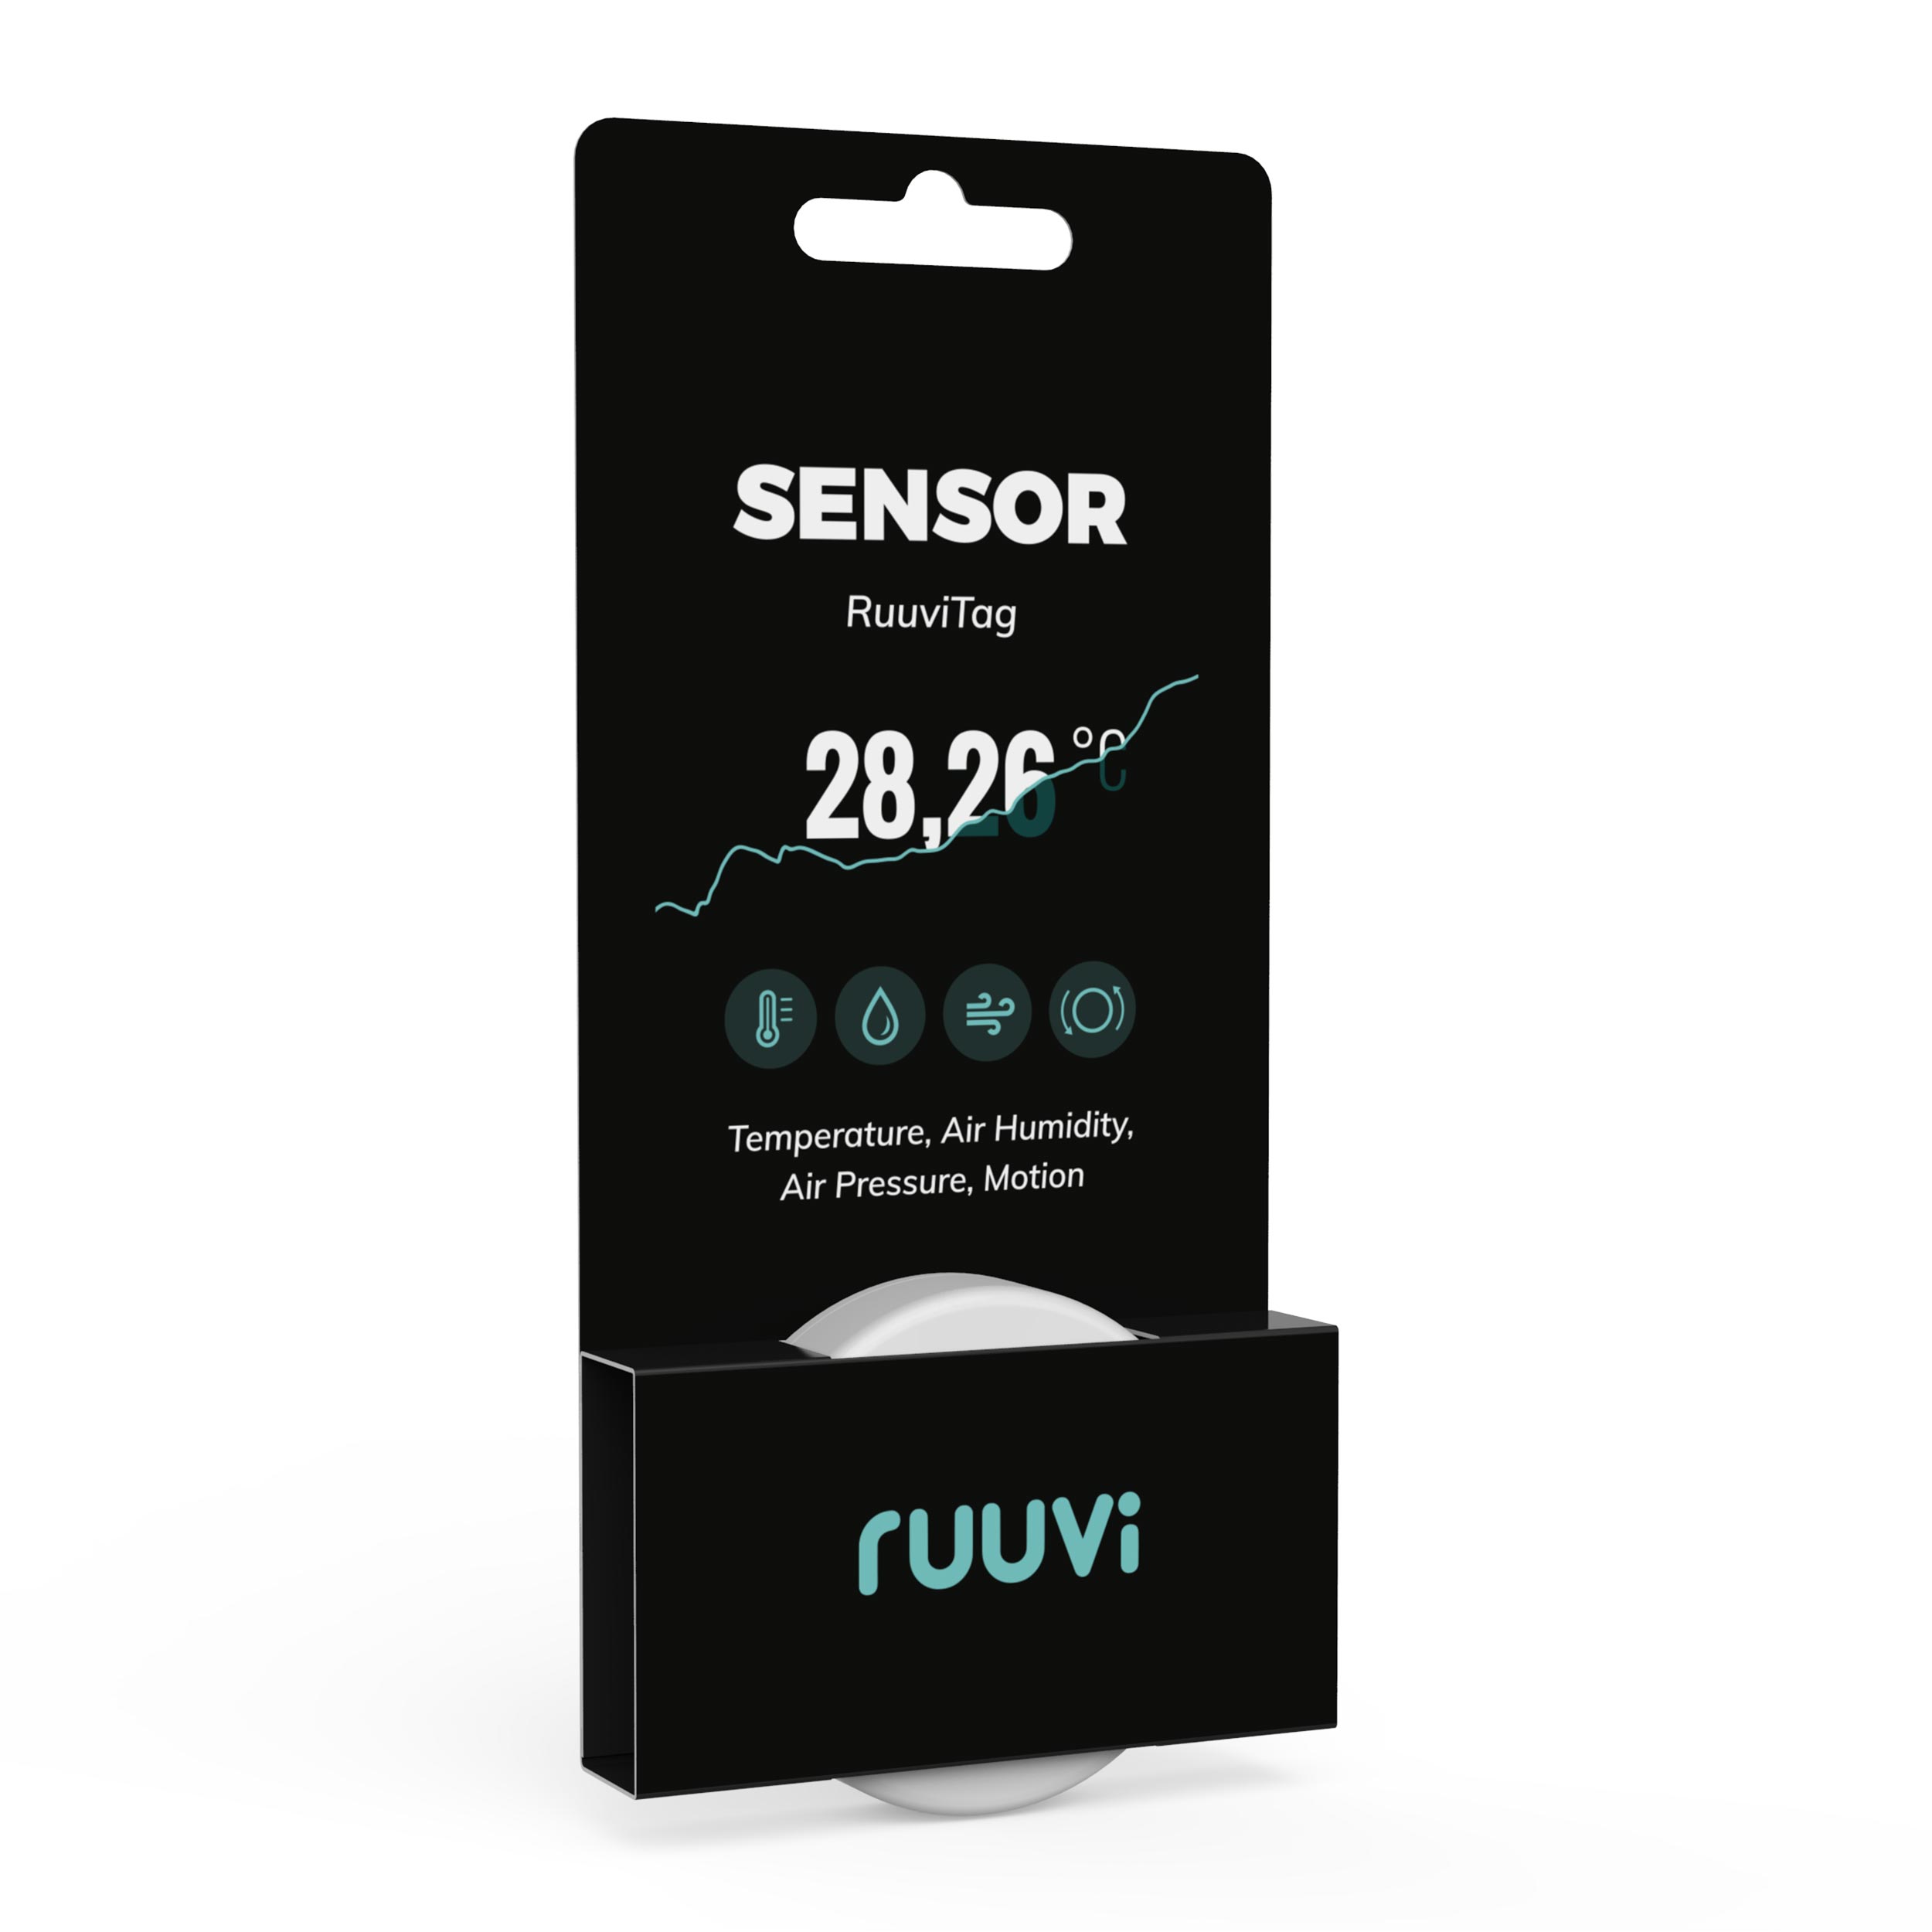
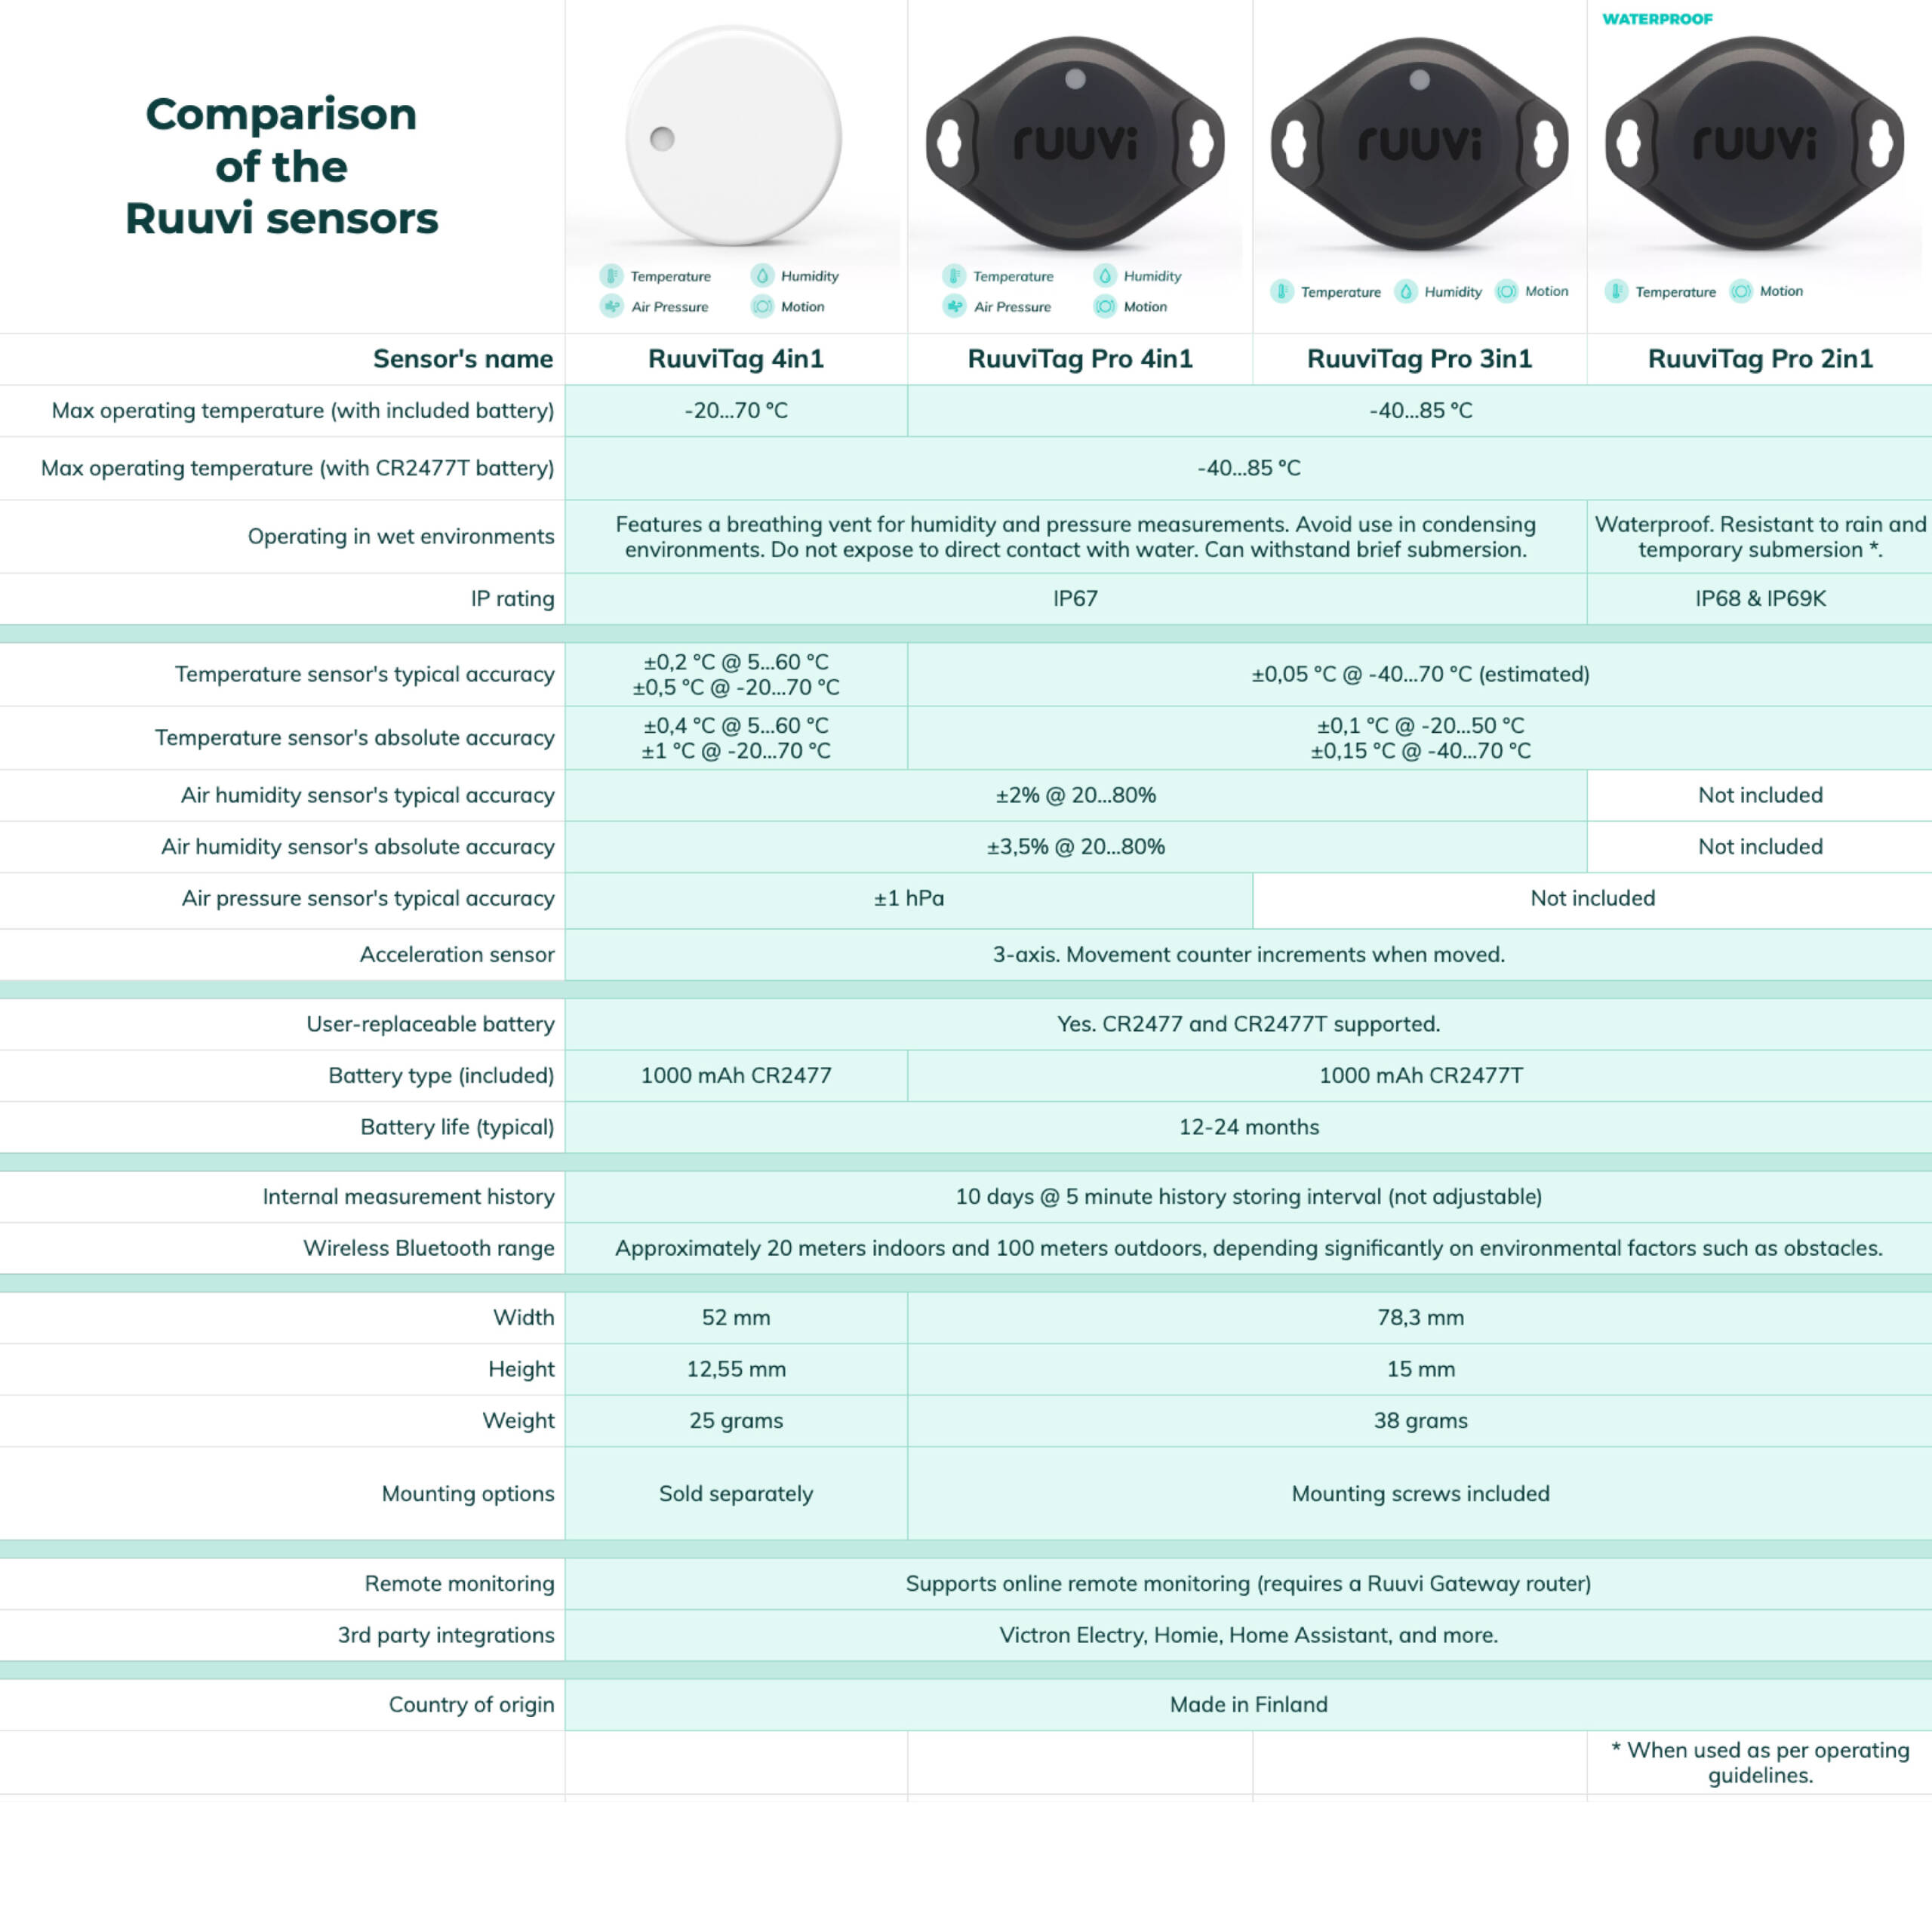
RuuviTag Sensor (4in1)
| 5 star | 94% | |
| 4 star | 6% | |
| 3 star | 0% | |
| 2 star | 0% | |
| 1 star | 0% |
Customer Images
RuuviTag Sensor (4in1)
| Quantity | Unit Price(€) |
|---|---|
| 1 | 39,90 |
| 2 | 37,40 |
| 3-5 | 36,90 |
| 6-8 | 35,90 |
| 9-12 | 34,90 |
| 13-25 | 33,90 |
| 26-99 | 32,90 |
Are you looking for bigger quantities? Contact us for pricing.
FAQ
Does pizza need to be baked in a wooden oven
No! All commercial ovens work just fine if used correctly. Remember to set it to the maximum temperature.
Can I make pizza at home?
Of course! With a little bit of practice everyone can bake delicious pizzas at home.
Why does pizza take so long to rise?
Usually, only a small amount of yeast is being used to make pizza. This small amount takes a longer time to activate in the dough. Letting pizza dough rest for a long time, develops the dough enough so that it maintains its shape and forms nice bubbles in the oven.
What is the secret to good homemade pizza?
Correct flour selections, patience with the dough and an oven that is hot enough should help you to make good pizza at home
What are the steps to make pizza?
1 Combine flours, yeast, salt and water. 2. Kned to for a cohesive ball 3. Let the dough rest for several hours 4. Flatten the dough balls to make circular pizzas 5. Keep in the oven for 5-9 minutes with the toppings.
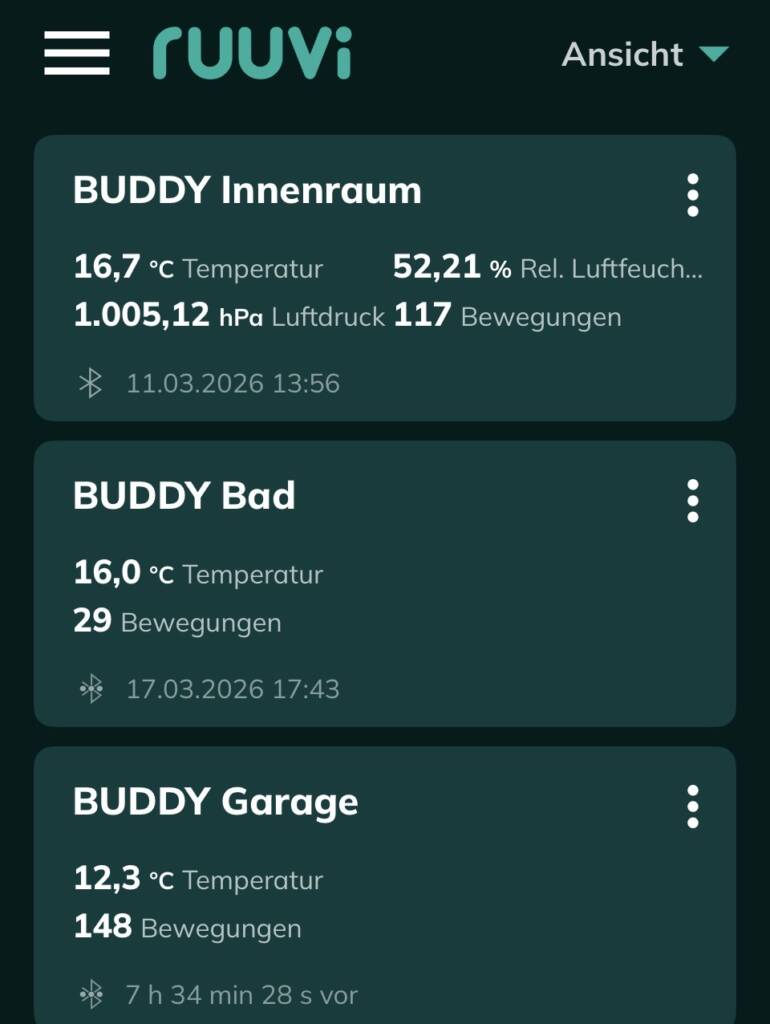
After integrating four RuuviTags into my Victron Cerbo GX / VRM system in our Rapido motorhome, I can honestly say they have transformed the way I monitor the vehicle.
The setup now provides live temperature, humidity and pressure monitoring directly inside the VRM portal, allowing me to monitor critical areas including:
Battery Box
Orion DC-DC Charger Compartment
Engel Fridge
Main Rapido Fridge Area
What impressed me most was how seamlessly the RuuviTags integrated with the Cerbo GX via Bluetooth. Once connected, the data appears natively inside VRM and can be used for real alarms and automation.
I have now configured:
High temperature alarms
Low temperature alarms
VRM email notifications
Relay-triggered audible siren alarms
The system is now capable of warning me immediately if:
the lithium battery compartment gets dangerously cold
the battery box overheats
the Orion compartment becomes too hot
ventilation or airflow problems occur
The accuracy and stability of the readings have been excellent. The tags update reliably and provide a very clear picture of what is happening inside the motorhome.
One of the major advantages is that the system no longer relies on older digital-input alarm methods or complex workarounds. The RuuviTag + Cerbo GX combination feels like a modern, professional-grade monitoring solution.
The compact size, long battery life and wireless operation make installation extremely easy. No extra wiring was required for the sensors themselves.
For anyone building a Victron-based off-grid system, especially in a motorhome, caravan, marine or lithium battery installation, I would highly recommend RuuviTags.
They add a level of visibility and protection that is difficult to achieve any other way at this price point.
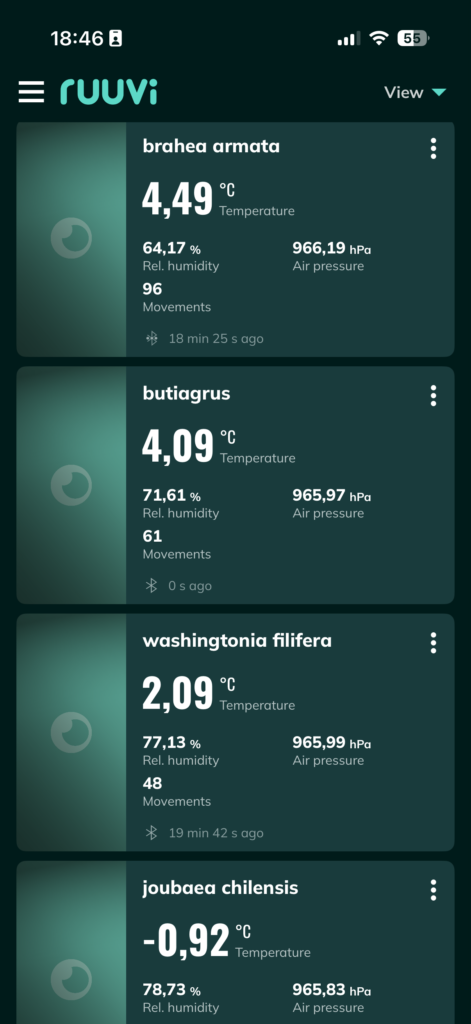
perfect to log my boat conditions when i’m away, and check pressure variations in real time when i sail