
In the pursuit of precise temperature measurement, the installation of a temperature meter or a thermometer is not merely a matter of convenience. It is a critical step to ensure the reliability of data collected. Even for personal use, the accuracy of temperature readings hinges on several key factors related to the temperature meter’s placement and environment. This article is about the essential considerations, recommended locations, and practical tips to measure temperature correctly and to garner the most accurate data possible.
In general, the absolute temperature reading is affected by dozens of factors. Hence, it is really difficult to reach “the” temperature as the temperature is also constantly changing. In basic use, having the temperature reading between 1-2 degrees celsius is typically enough. Still, to reach the optimum temperature measurement, here are tips to achieve that and to consider when installing a thermometer.

Strategic Placement: The Foundation of Accurate Temperature Measurement
The optimal spot to install a temperature meter is a place without direct effect of heating elements or direct sunlight. Below is more detailed information about the best installation practices.
Indoor Installation: Balancing Convenience and Precision
When installing a thermometer indoors, selecting a central location away from windows, doors, and direct sources of heat or cold is vital. This mitigates the risk of skewed readings caused by external factors like sunlight, sun radiation, drafts, and proximity to heating or cooling appliances. Ideally, the thermometer should be positioned at standing level, as it displays the felt temperature the best. Warm air is closer to the ceiling, and therefore installing the thermometer high will make the readings too high.
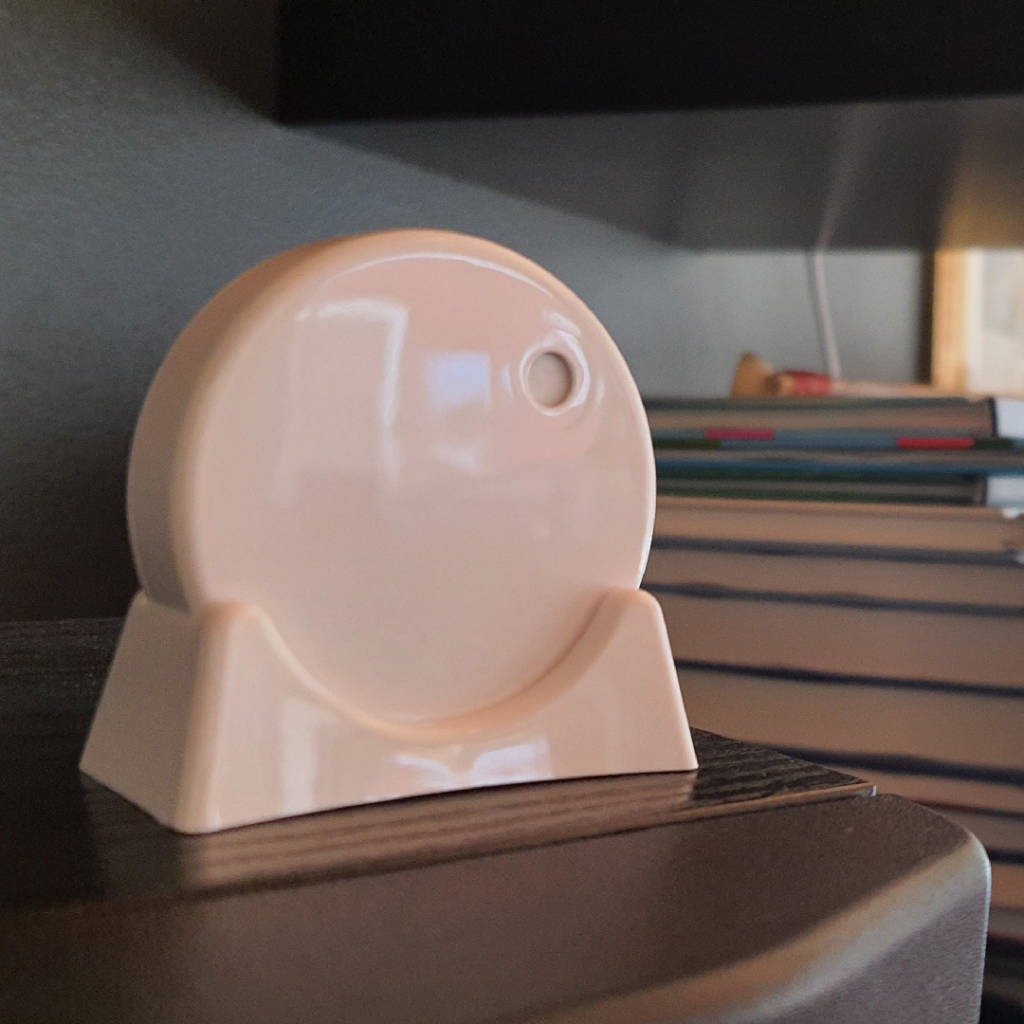
Optimally, the temperature meter should be in “open air” meaning that it should not be attached to a wall or some other large object. This way, the sensor will be more sensitive to temperature changes as the wall will hold on warmth. For example in the bedroom, the sensor could “stand” on a table. This way it would be the most reactive to temperature changes.
Promoting Proper Air Circulation
Adequate airflow is essential for accurate temperature readings, as stagnant air can lead to inaccurate measurements. Ensuring the thermometer is not placed in overly sheltered or enclosed areas where air circulation is restricted is therefore crucial.
Outdoor Installation: Navigating Nature’s Variables
For outdoor thermometers, the orientation and elevation become pivotal. A general rule of thumb is to mount the thermometer on the north side of a building (in the Northern Hemisphere) to avoid direct sunlight, which can artificially inflate temperature readings. Even through clouds the temperature can be heavily affected by the sun or radiation.
The World Meteorological Organization advocates for an installation height of 1.2 to 2 meters (4 to 6.5 feet) above the ground to capture a representative air temperature. At this height, the measurement is free from the thermal influences of the earth’s surface or reflective structures.
For an optimized outdoor thermometer installation, achieving the best possible data accuracy involves a detailed consideration of location, exposure, and environmental factors. Here are additional pointers to ensure your outdoor thermometer provides the most accurate readings.
Factors to consider in an outdoor installation:
- Site Selection
Avoid Heat Islands. Stay clear of areas that absorb and re-radiate heat, such as concrete driveways, asphalt surfaces, or metal structures. These can significantly alter local temperature readings.
Natural Shade. While avoiding direct sunlight, consider natural shade from trees as an option, provided it does not obstruct airflow or retain moisture that could affect readings.
- Elevation and Mounting
Above Grass or Soil. Mounting the thermometer over natural ground cover like grass or soil, rather than artificial surfaces, can provide a more accurate representation of the area’s ambient temperature.
Secure Mounting. Ensure the thermometer is securely mounted to prevent swaying or movement caused by wind, which could impact its location and exposure over time.
- Distance from Water Bodies
Consider Proximity to Water. Being too close to bodies of water like ponds, lakes, or even swimming pools can skew readings due to evaporative cooling or reflected heat. Maintain a reasonable distance to avoid such influences.
- Ventilation
Ensure Adequate Ventilation. For thermometers within enclosures or shields, verify that there is sufficient ventilation to allow air to pass freely around the sensor. Poor ventilation can lead to artificially high or low readings.
- Use of Stevenson Screen
Implementing Stevenson Screens. A Stevenson screen, a standardized shelter for meteorological instruments, can be used to protect the thermometer from direct sunlight and precipitation while ensuring proper air circulation. This setup is widely regarded as the gold standard for accurate temperature measurement in professional meteorological observations.
- Consideration of Local Microclimates
Understand Your Environment: Recognize and account for any microclimates in your area. The specific characteristics of your local environment, such as urban heat islands, open fields, forested areas, or coastal breezes, can significantly impact temperature readings.

Installing Thermometer to a Sauna
Sauna is a tricky place to measure air temperature with digital thermometers. To measure the felt temperature, the temperature meter should be at a level of the sitting platform. Though, the air temperature can be really high at this height.
In addition, the temperature sensor should be placed a bit away from the wall. This way it will be more reactive to the changing temperature. Ideally, it could hang from something to enable airflow all around the sensor.
Here are some tips to measuring the temperature in a sauna with a temperature sensor:
- Think about your purpose. If you want to receive a notification once the sauna is hot enough, there is no need to place the sensor all the way to the ceiling. You can set the notification to be spent at a lower temperature. On the other hand, if you want to measure the temperature but your sensor won’t allow you to do it, you can place it lower and calibrate the reading to be as the one measured by a mechanical thermometer.
- Ensure that the sensor is placed in a way that water cannot penetrate it. If your meter is completely waterproof, great. If not, consider putting the risky part upwards so that water will not be sitting there for longer periods of time.
For further information, refer to our dedicated sauna guide here.
Regular Maintenance: The Key to Consistent Accuracy
The upkeep of a thermometer, especially those exposed to the elements outdoors, is fundamental to its performance. Regular cleaning and inspection for obstructions ensure that the device continues to function optimally, providing reliable readings over time.
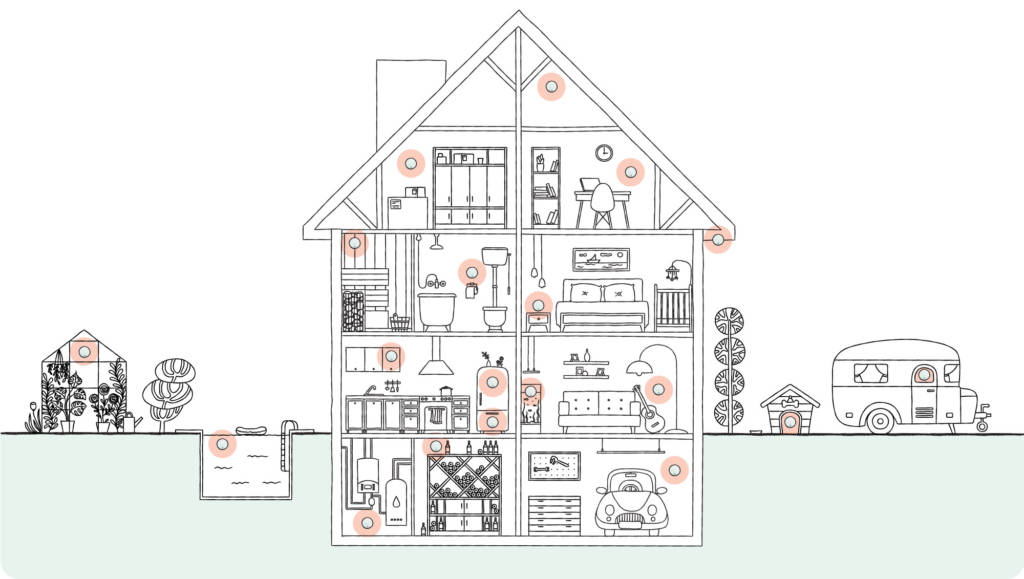
What to Measure With a Temperature Meter
If you want inspiration about what to measure with a temperature meter, read our most used use cases from here. The examples also include more specific installation guides to each specific use case.
Conclusion
The quest for accurate temperature measurement is a meticulous one, requiring careful consideration of the thermometer’s placement, environment, and maintenance. By adhering to the guidelines outlined above, individuals and professionals alike can optimize their thermometer installations, ensuring that the data collected is both reliable and reflective of true environmental conditions. Whether for home comfort, agricultural success, or scientific discovery, the precision of temperature readings begins with strategic thermometer installation.
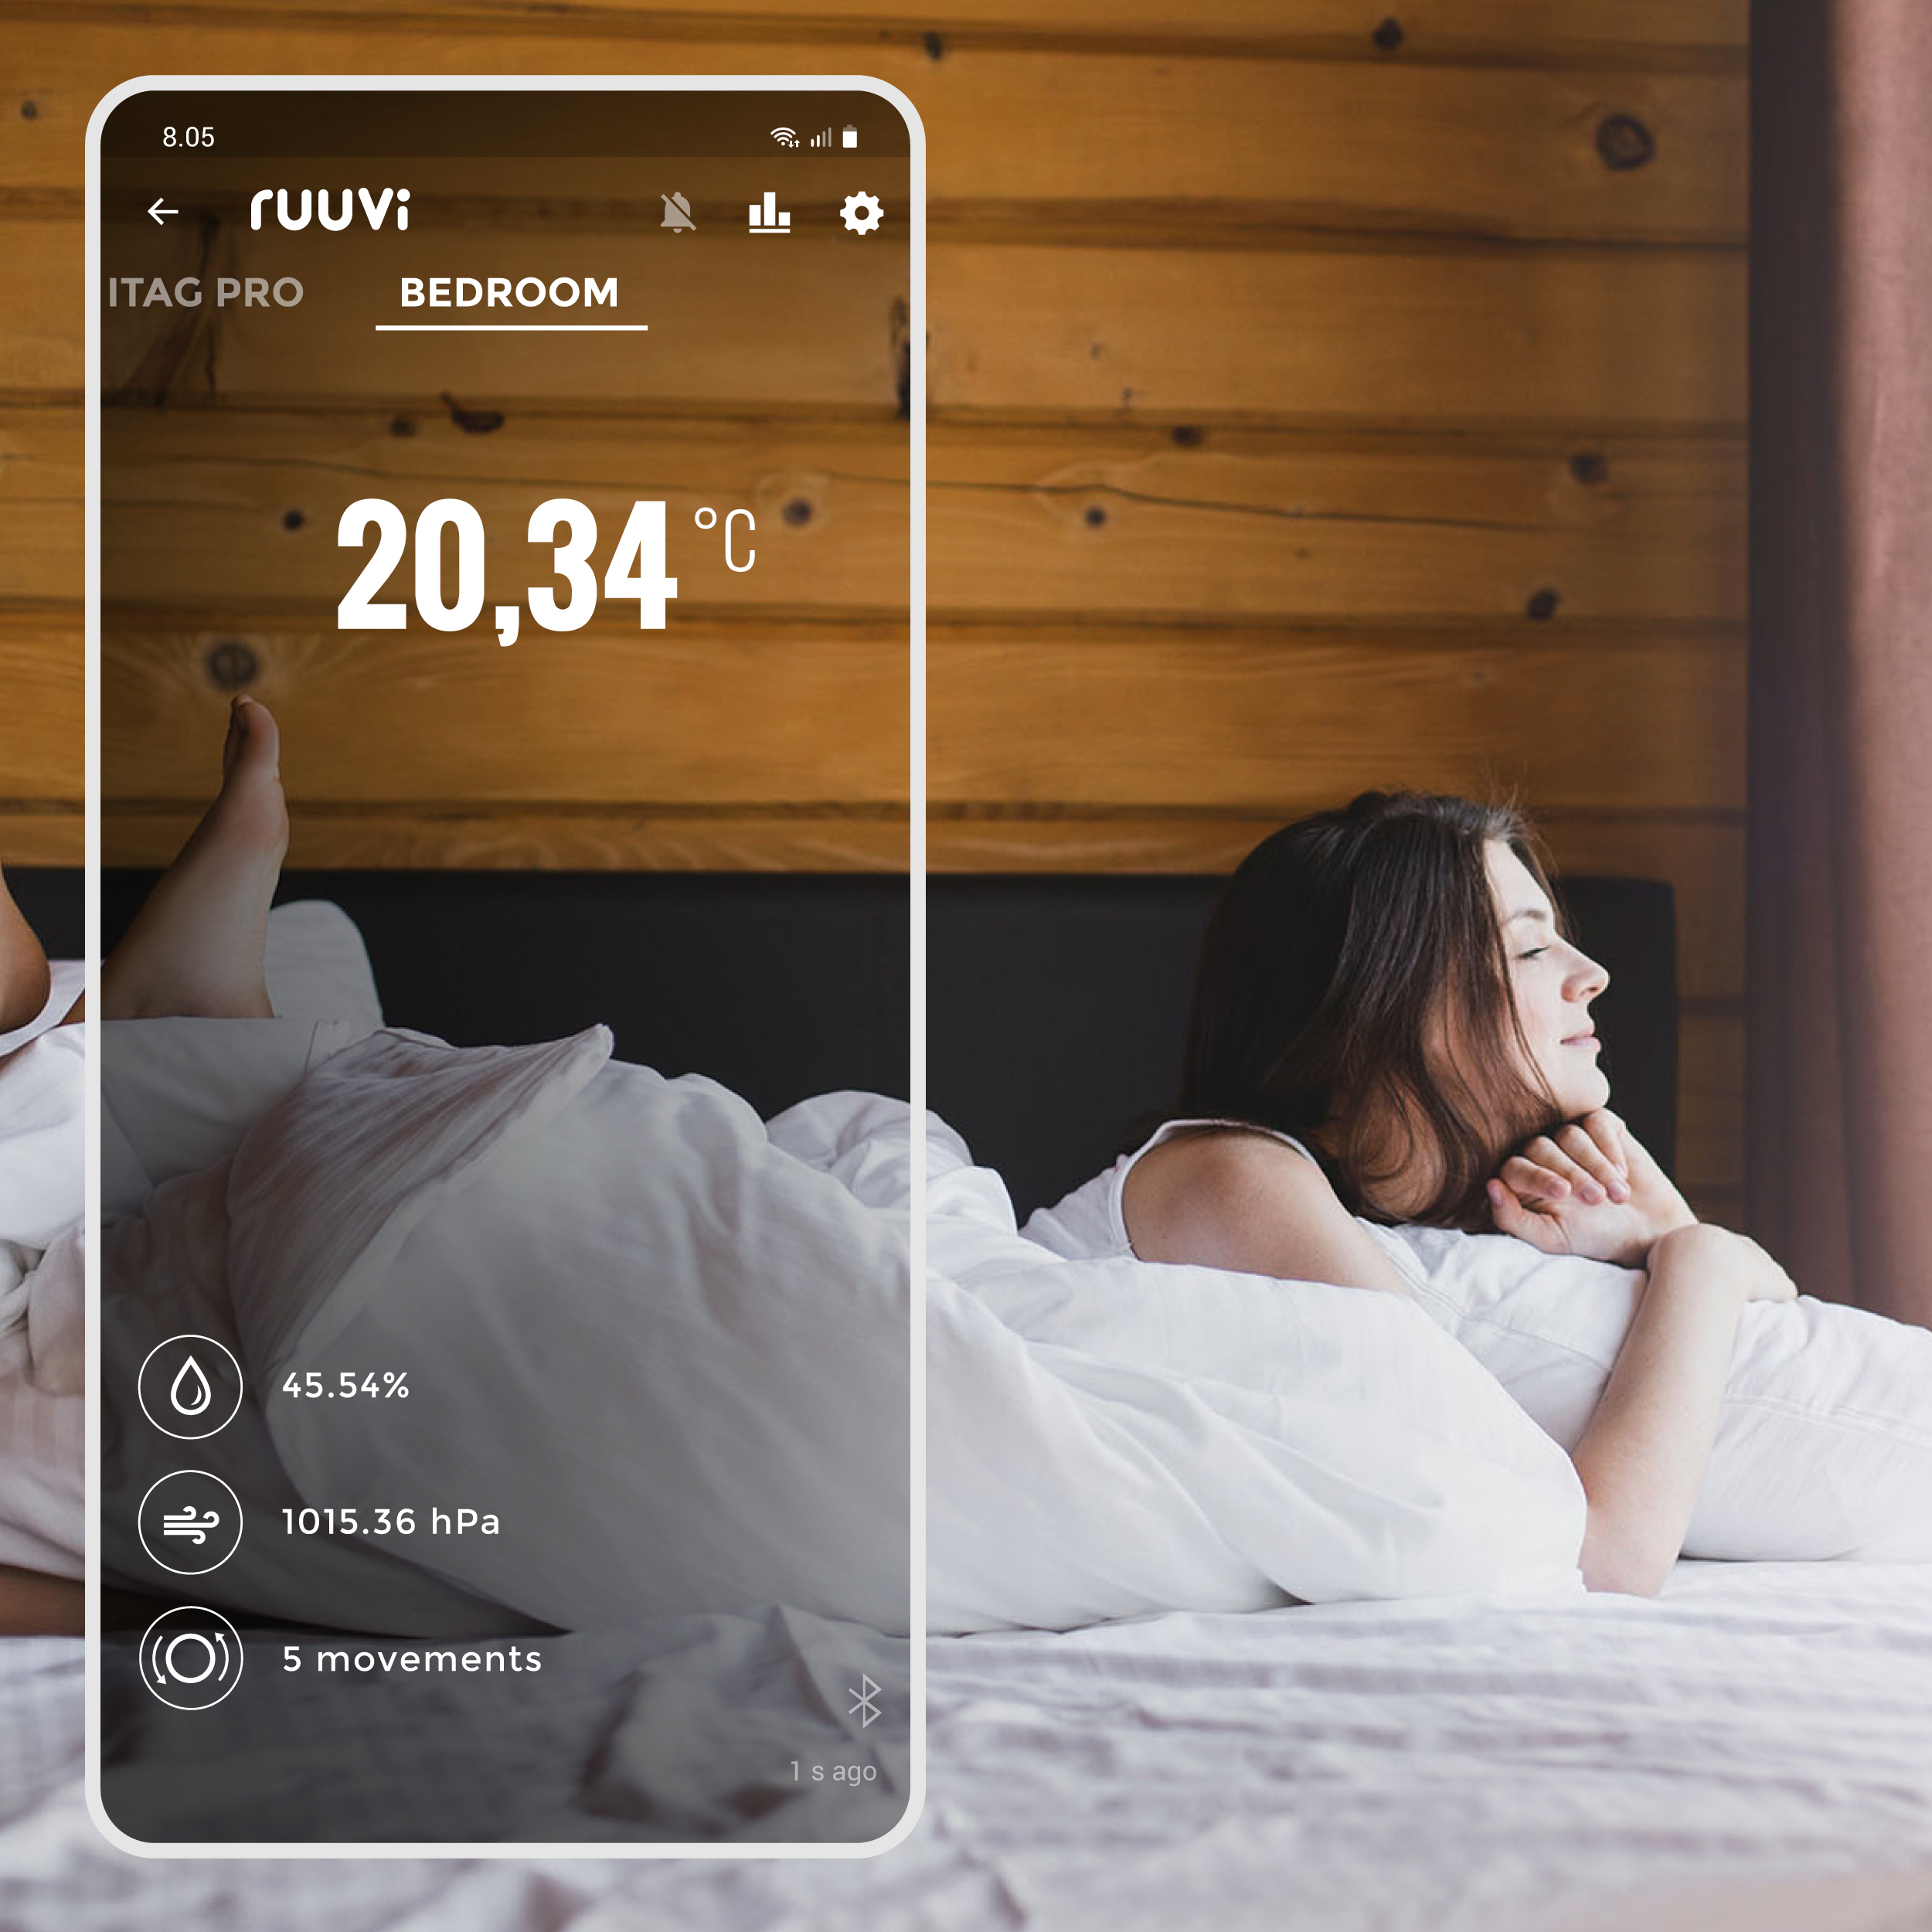

Get Started With Tempetarue Measuring!
Get RuuviTag and receive accurate measurements from almost anywhere.
39,90€
Ruuvi is based in Finland. If you’re an EU consumer, VAT is included. If you’re a non-EU customer, you don't pay VAT. If you're an EU business, insert your VAT ID at checkout.
In stock
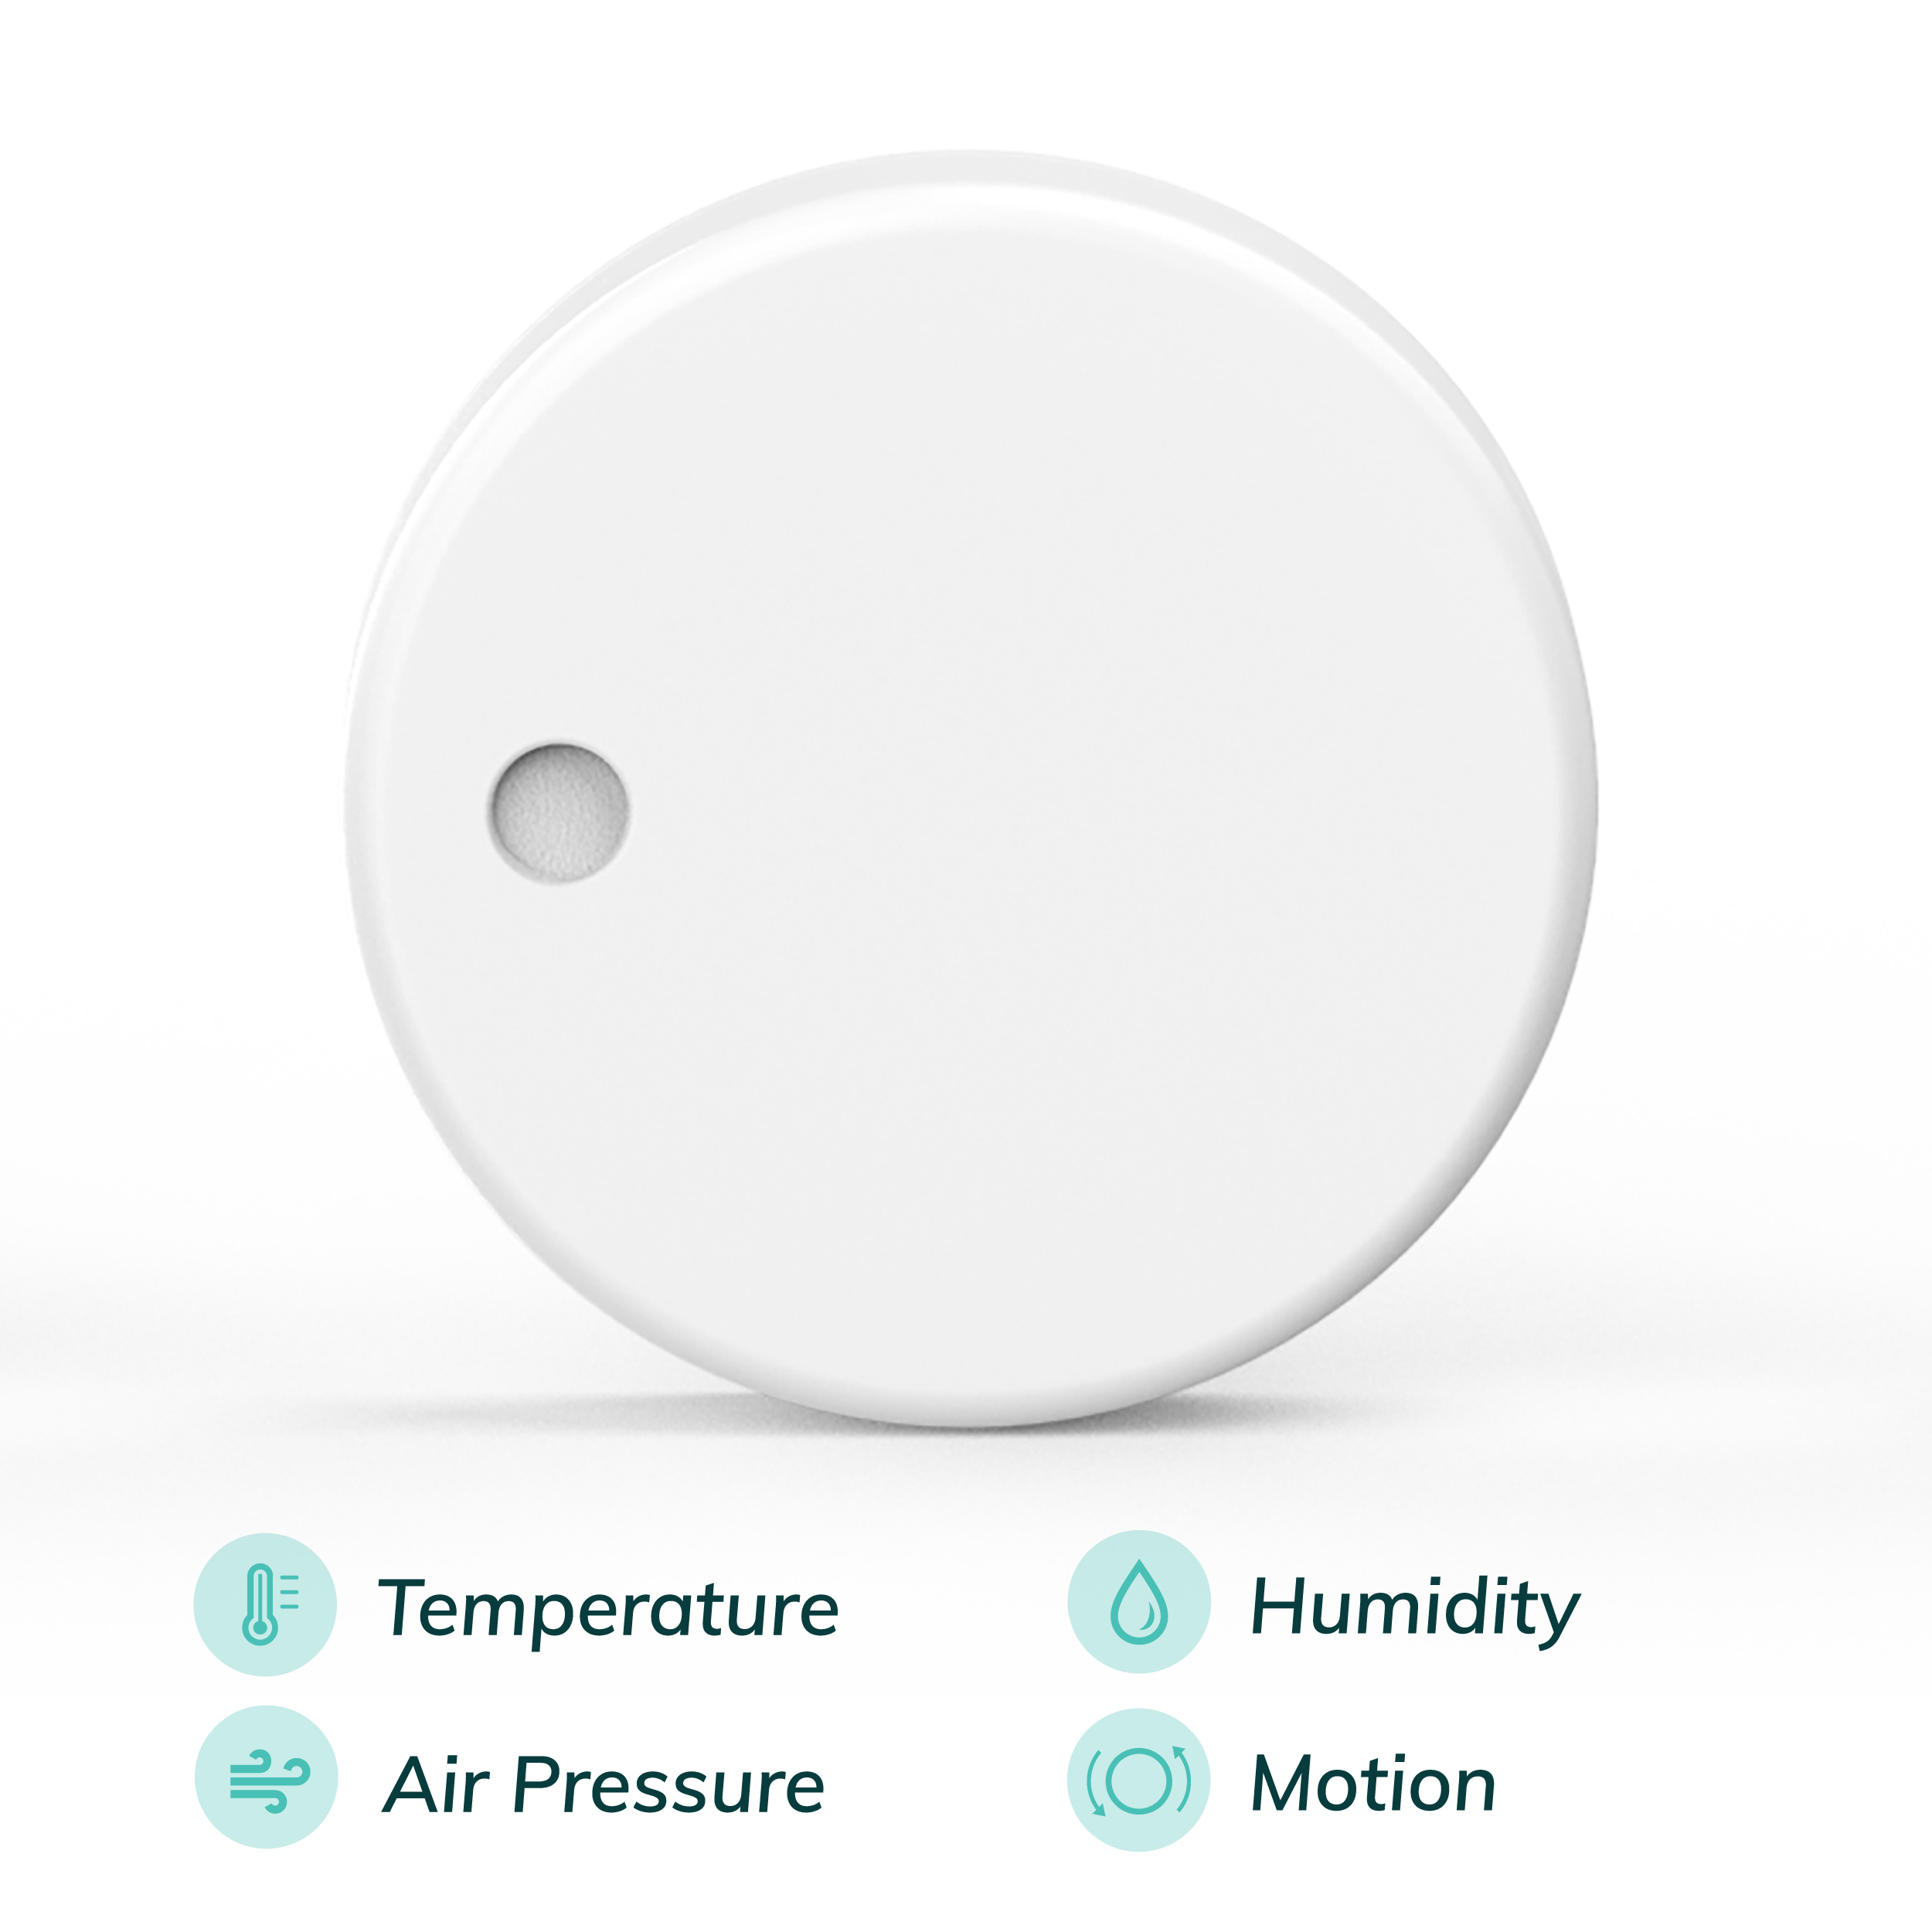
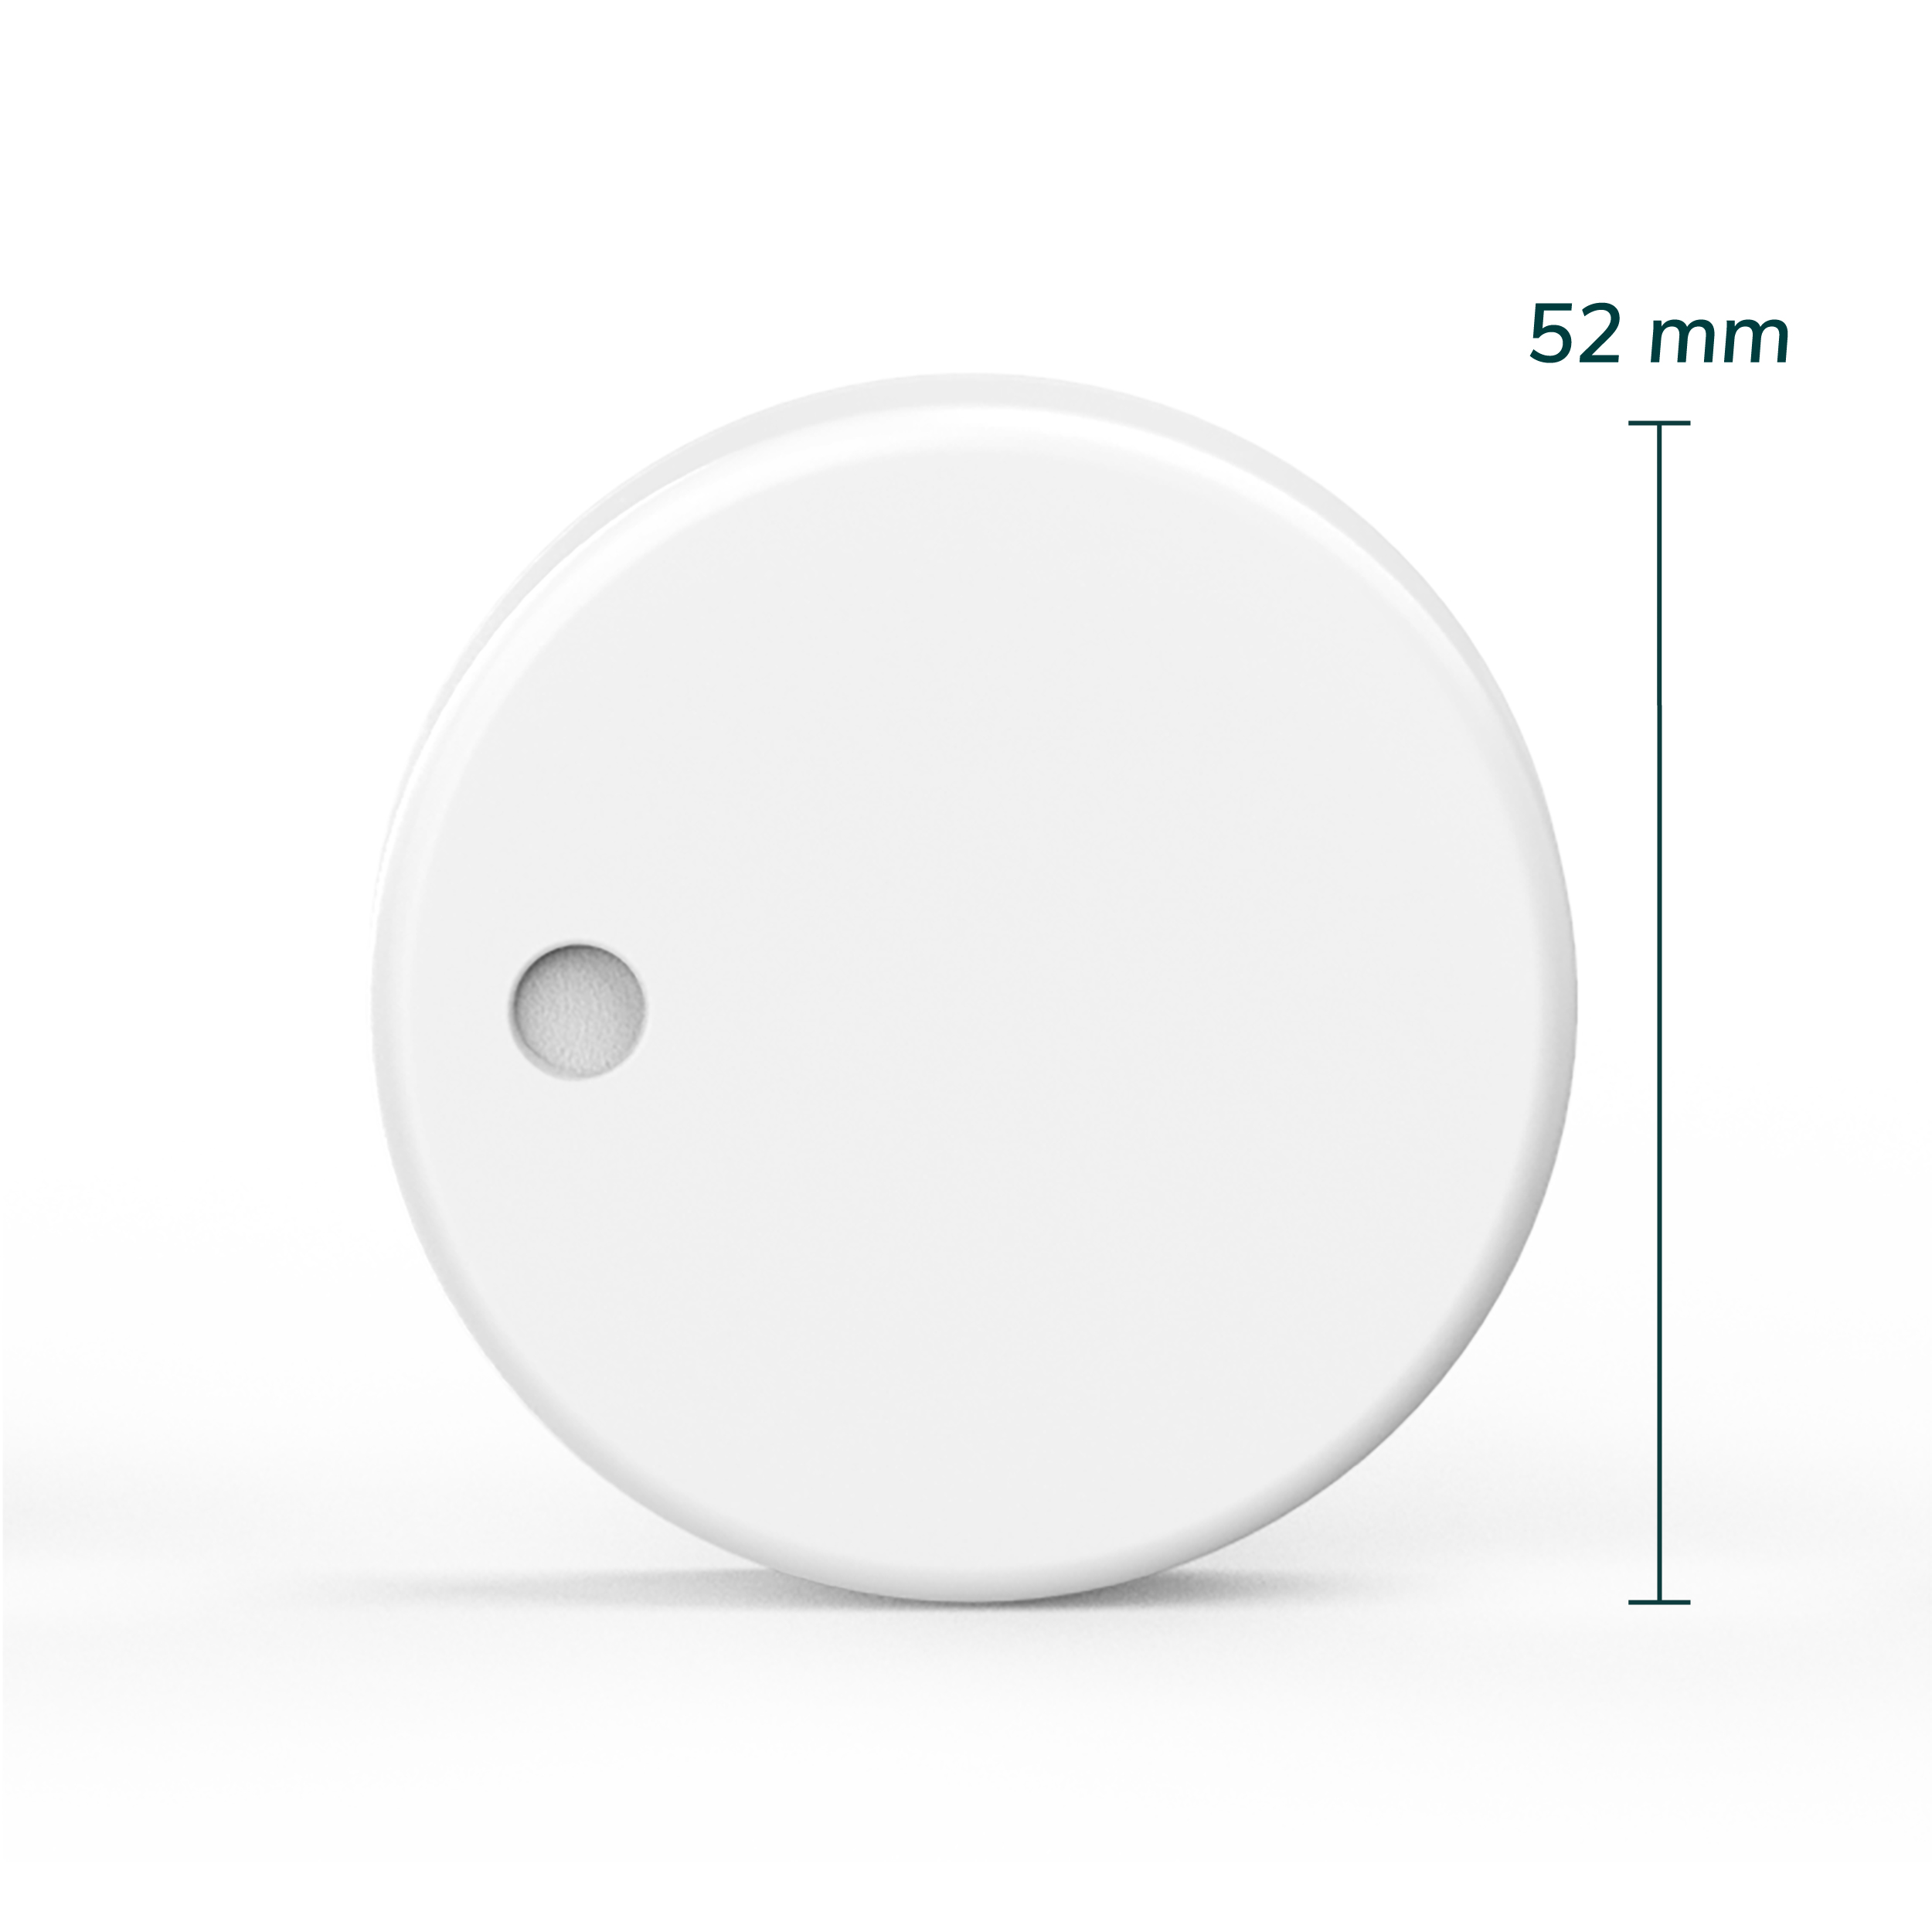
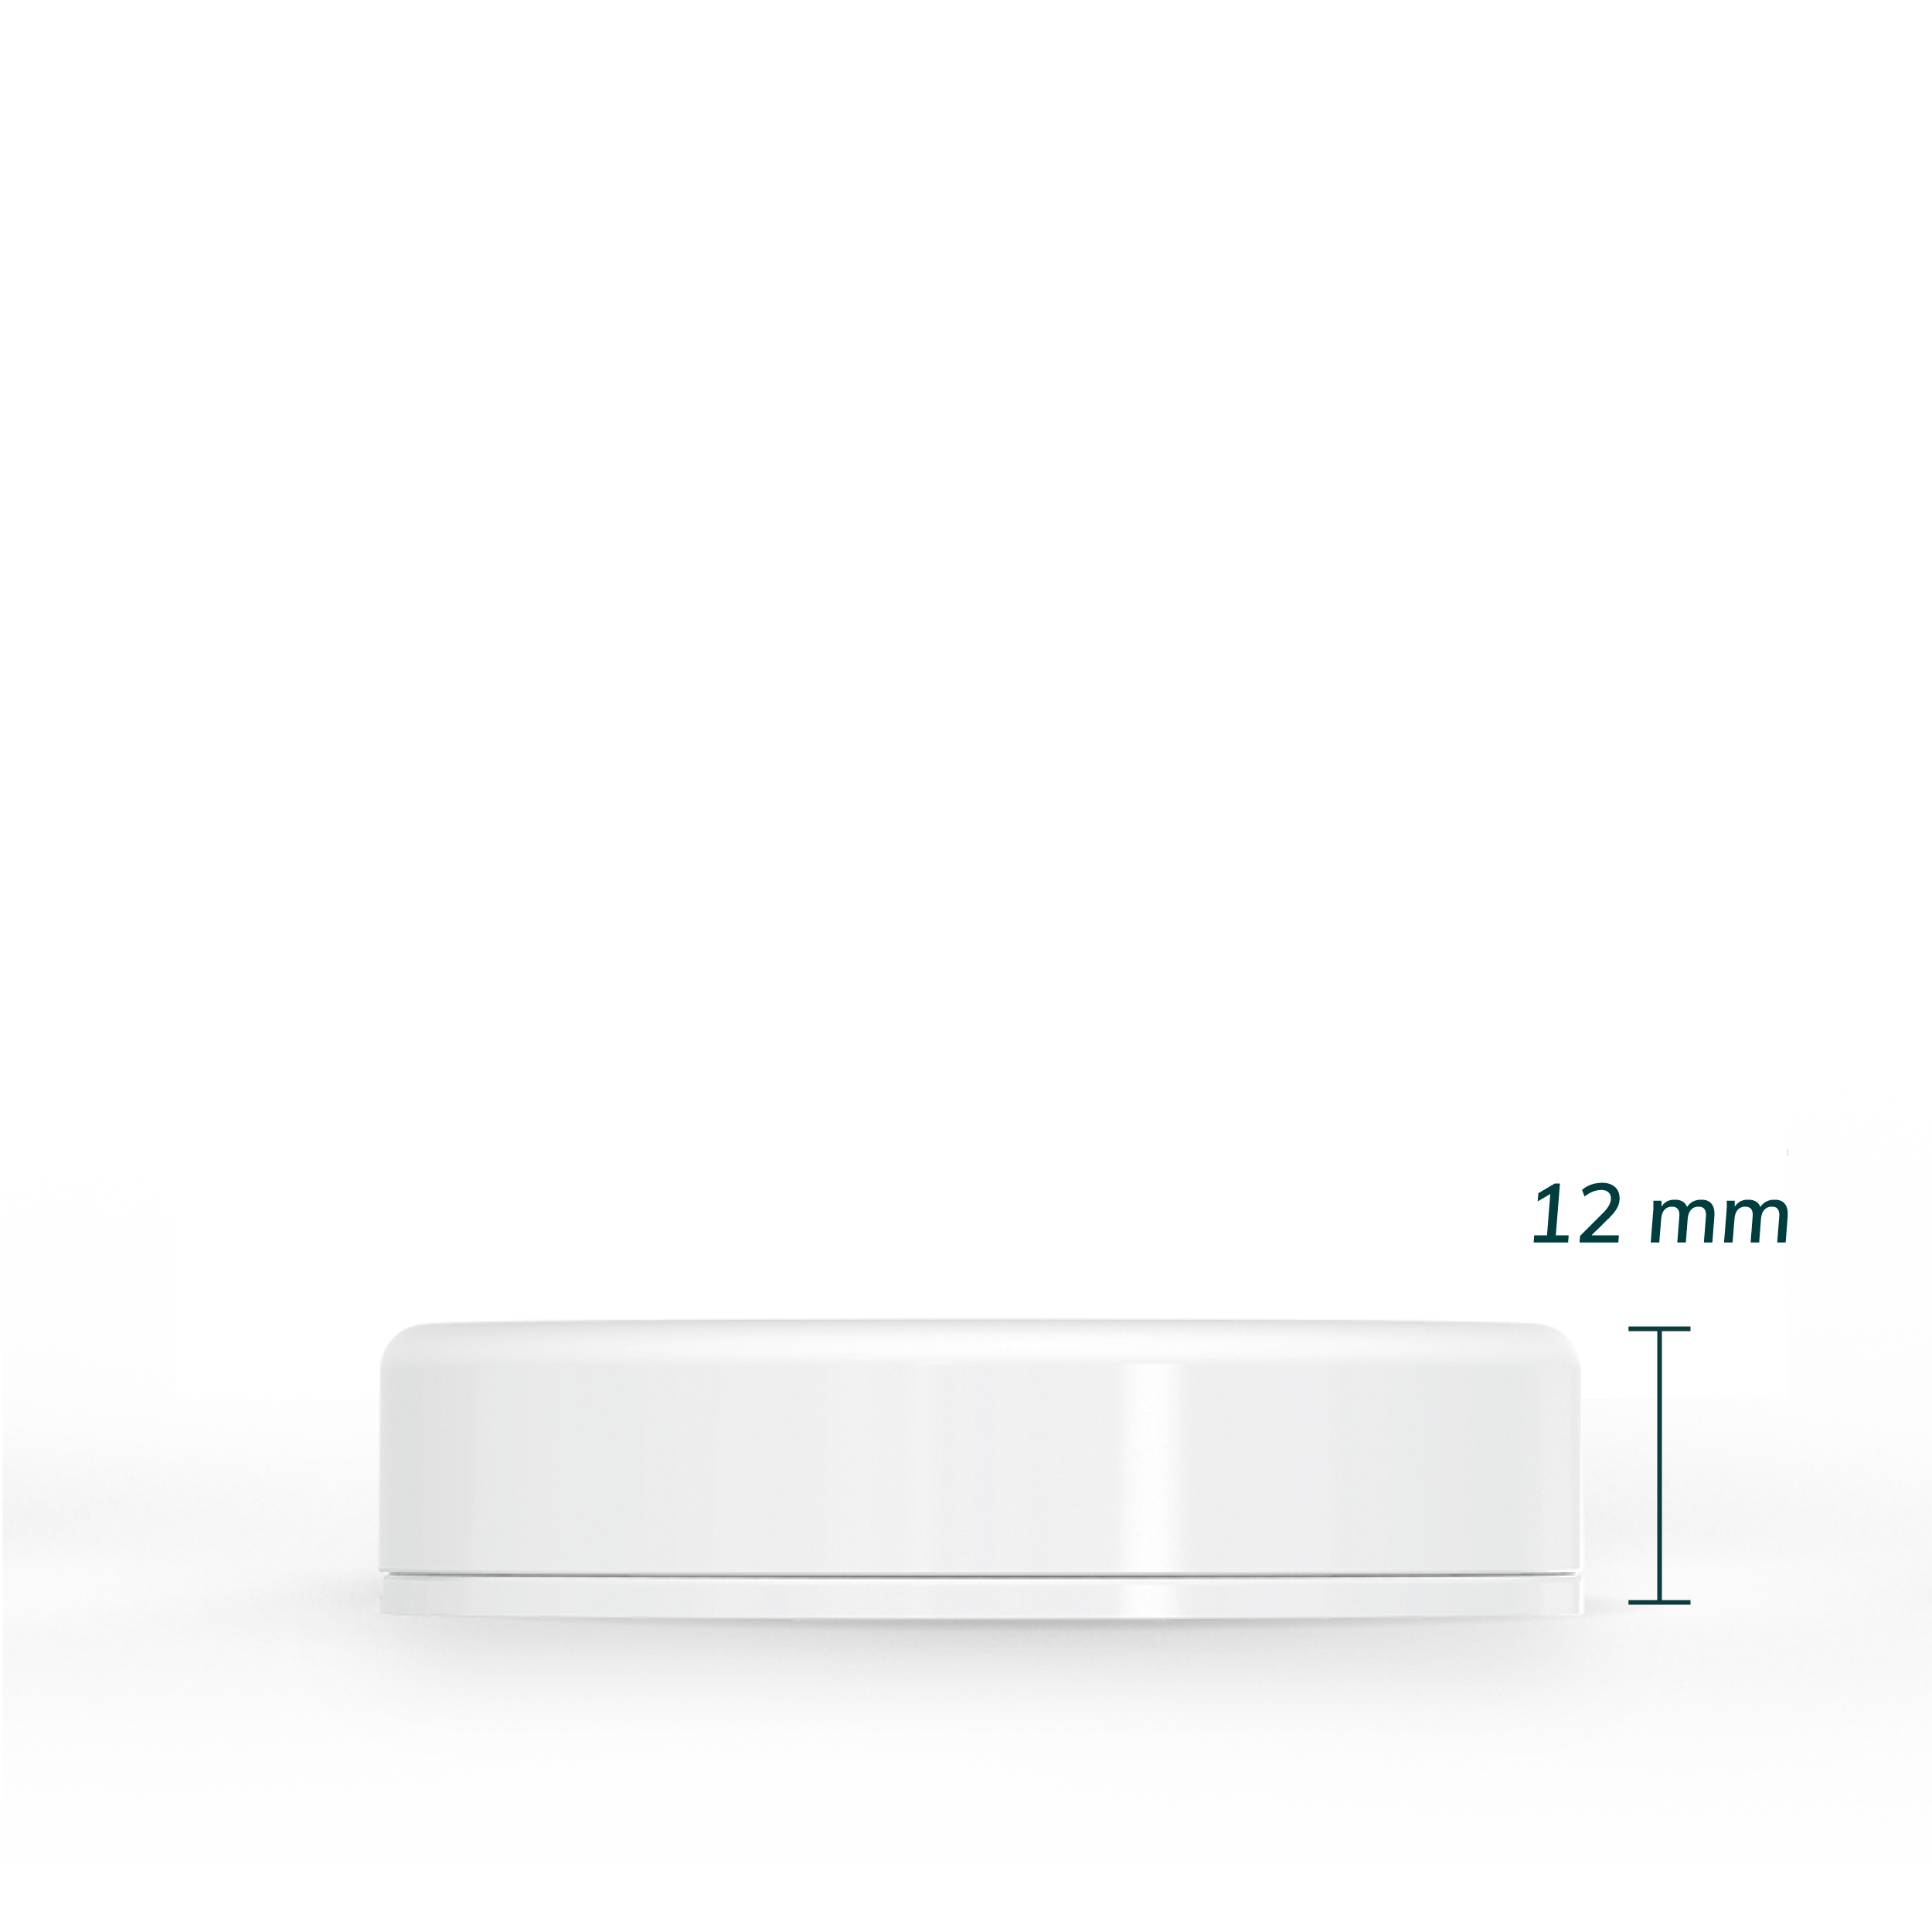
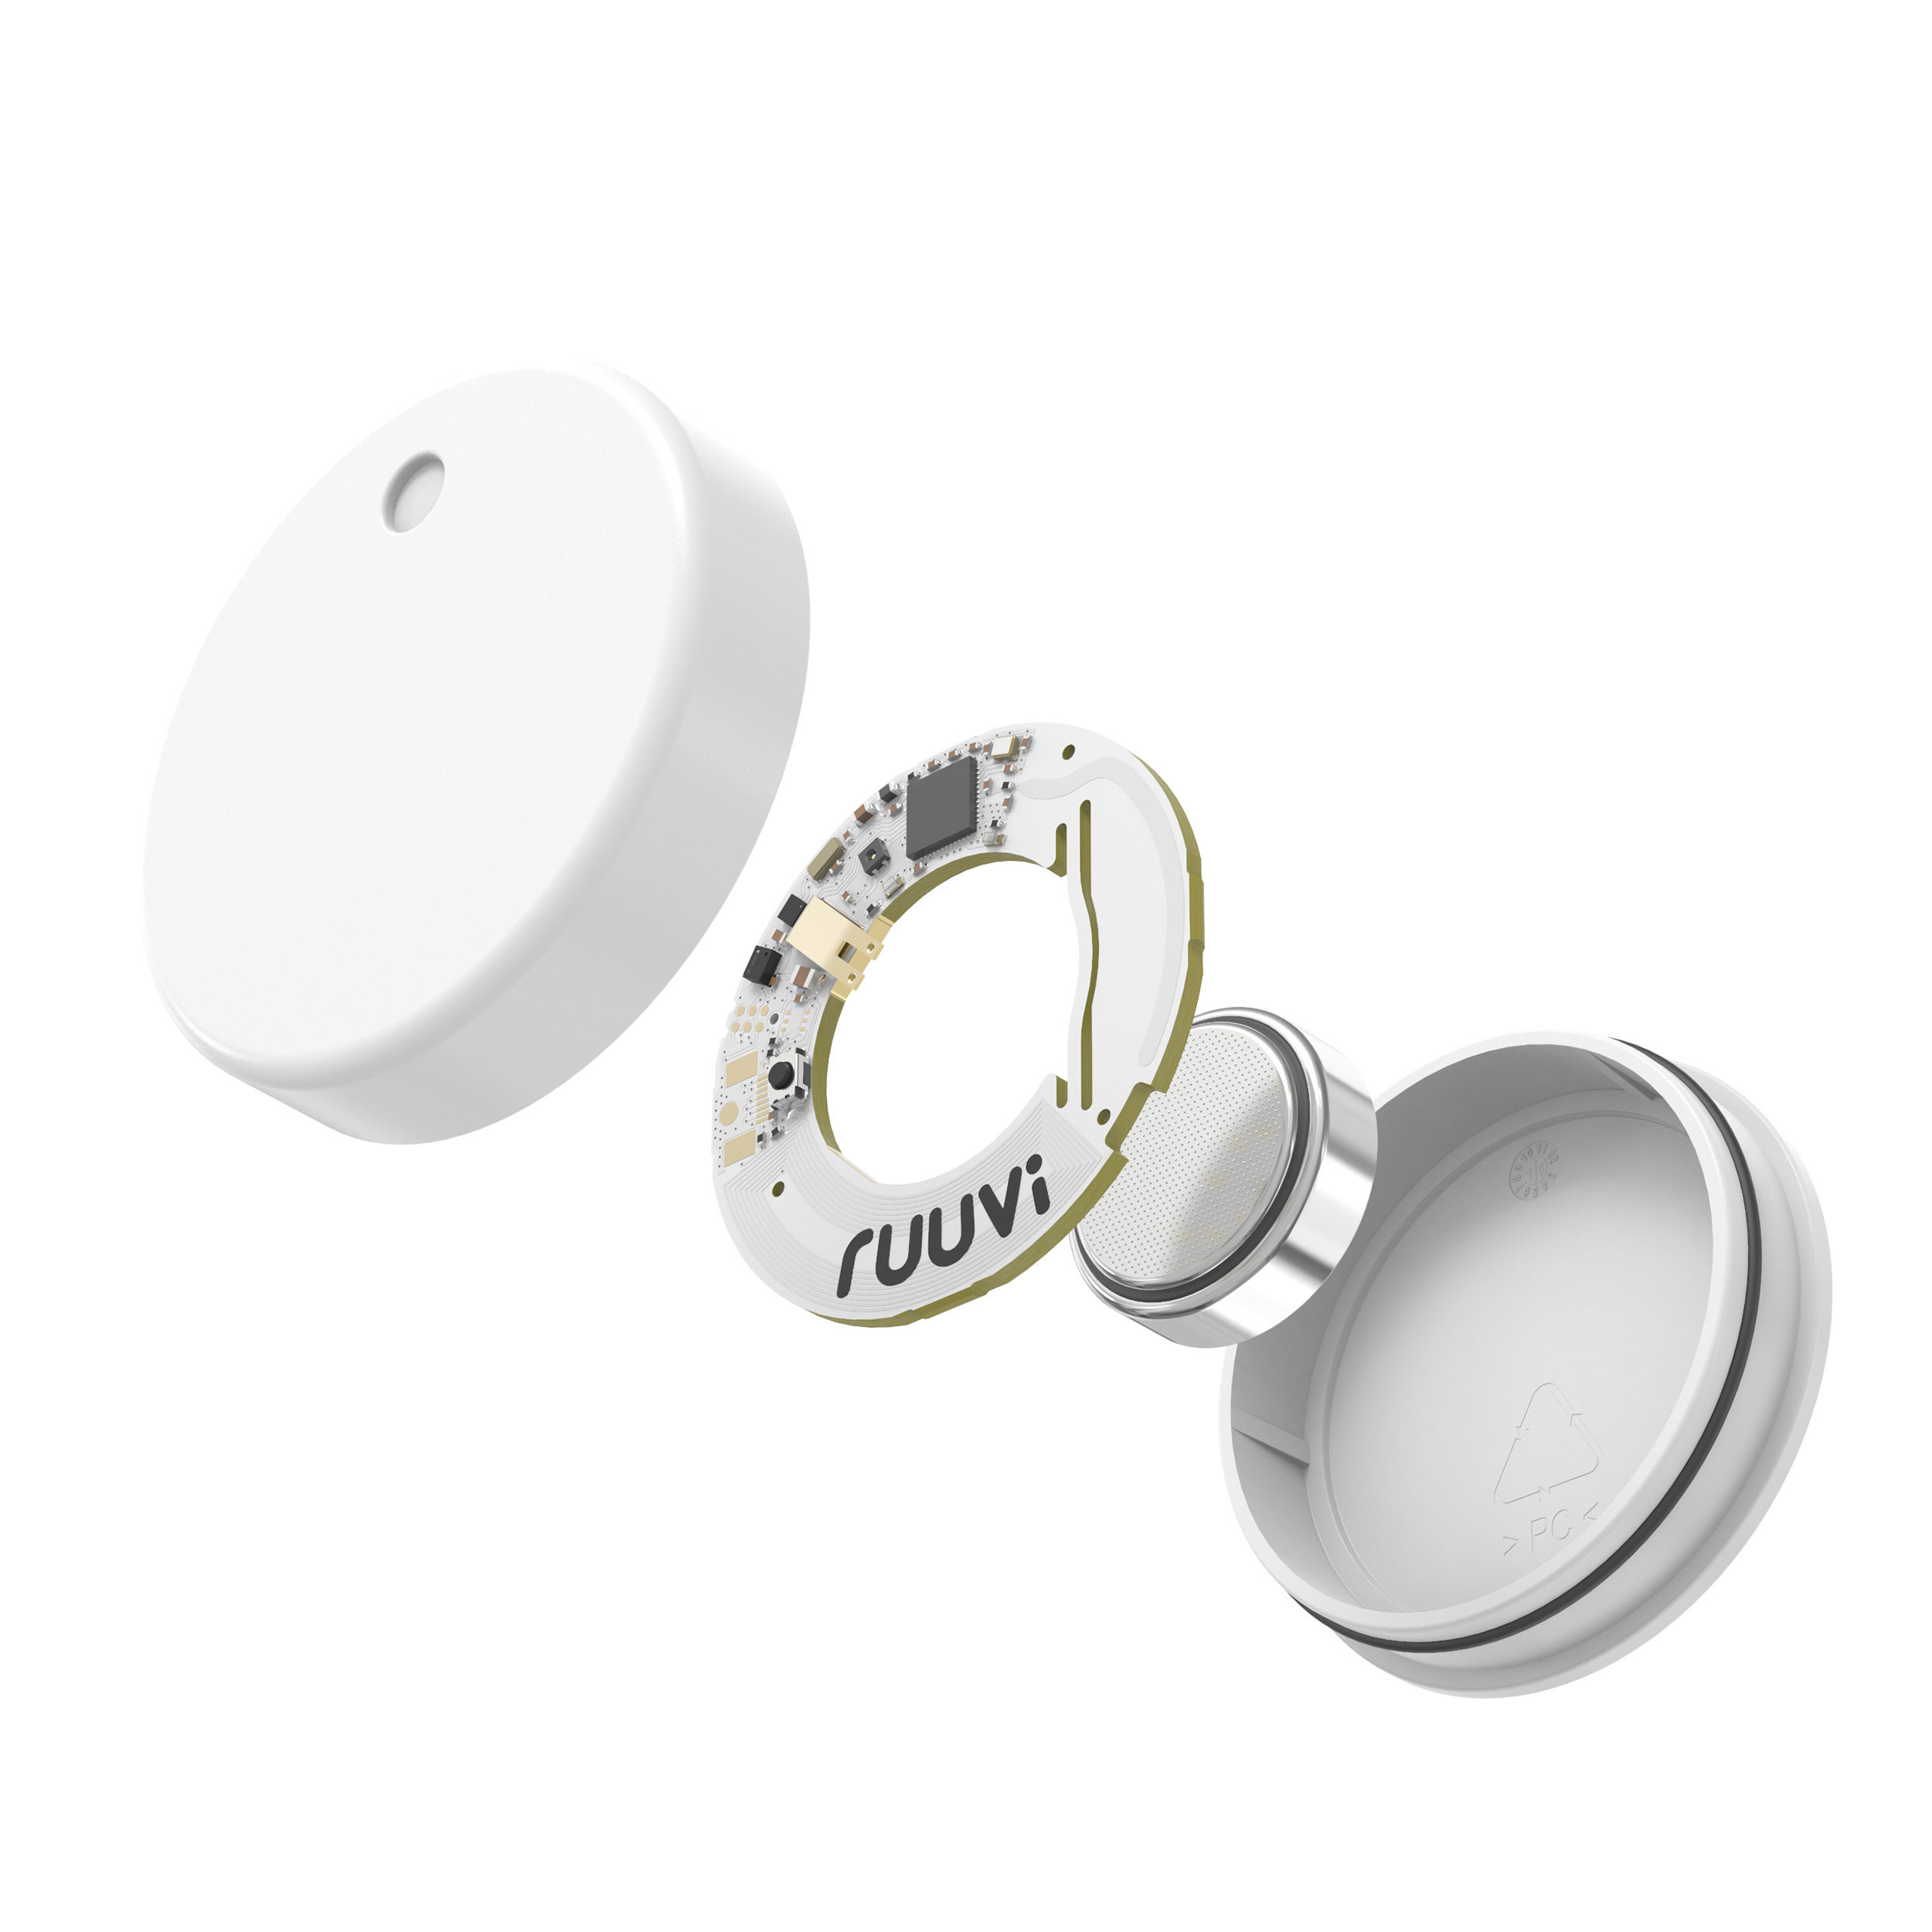
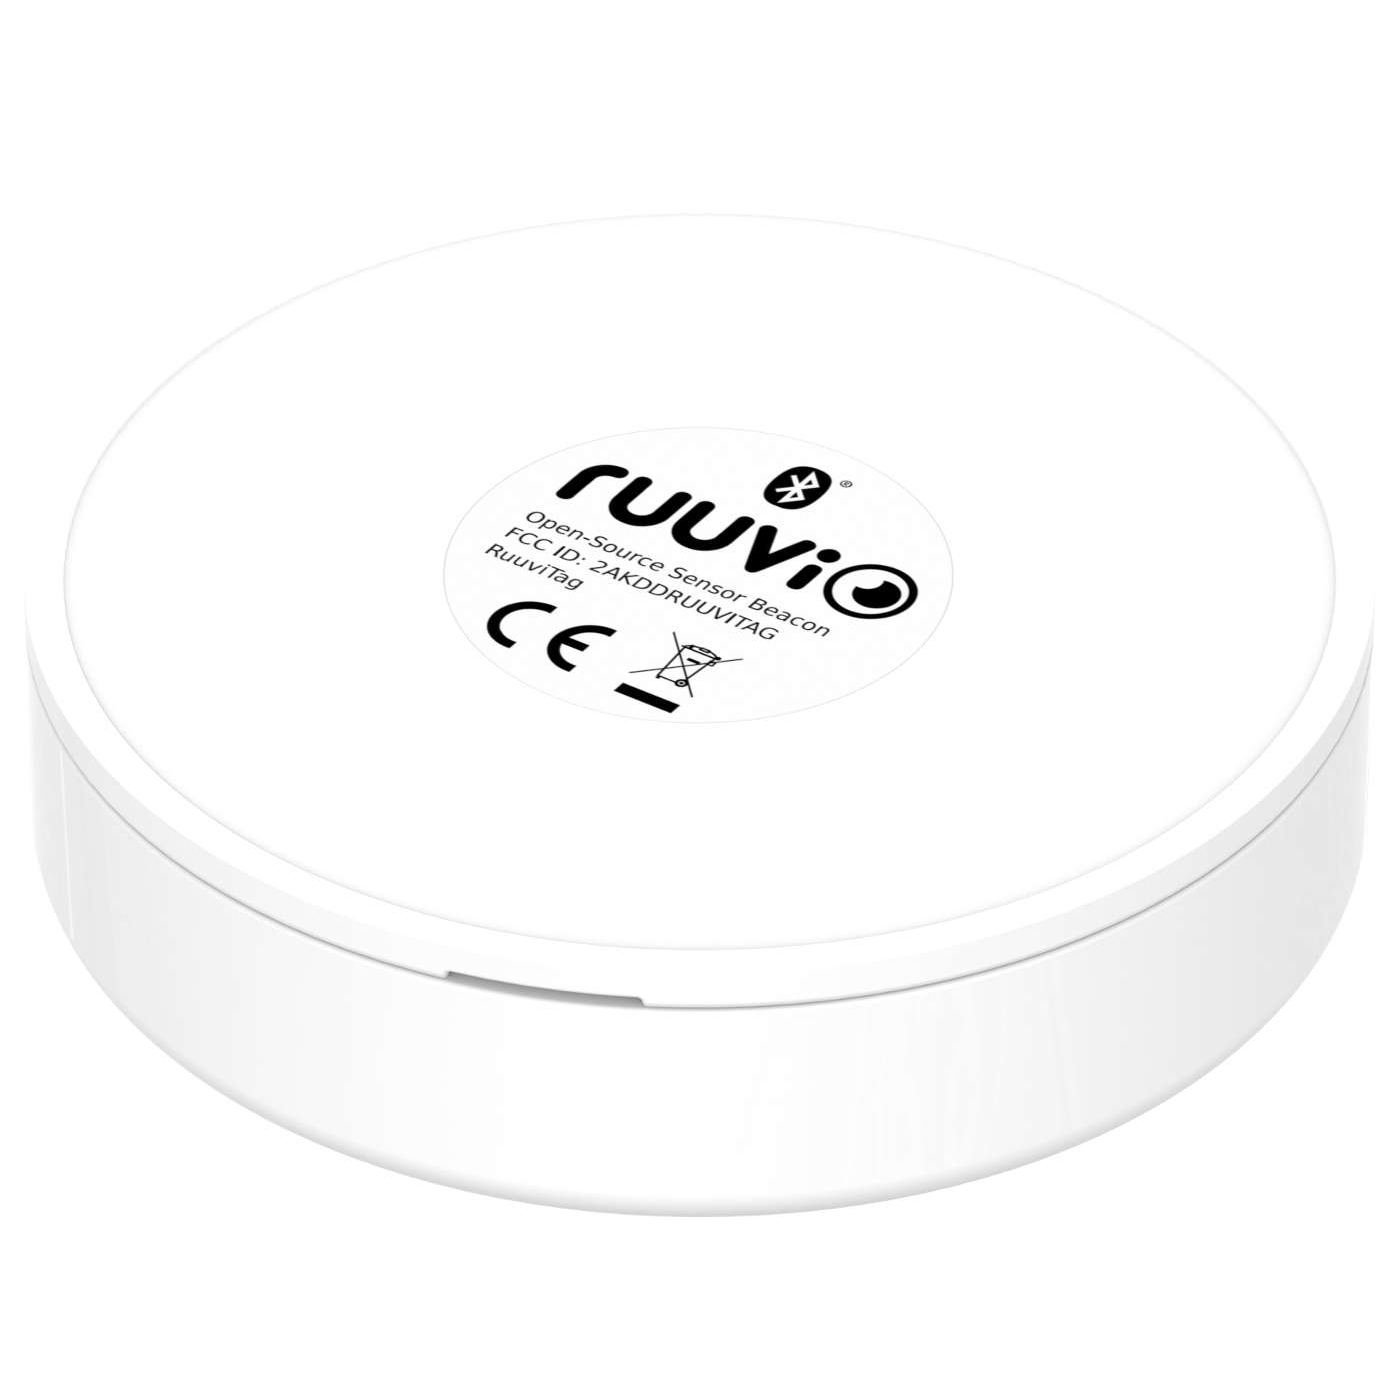
RuuviTag Sensor (4in1)
| 5 star | 94% | |
| 4 star | 6% | |
| 3 star | 0% | |
| 2 star | 0% | |
| 1 star | 0% |
Customer Images
RuuviTag Sensor (4in1)
| Quantity | Unit Price(€) |
|---|---|
| 1 | 39,90 |
| 2 | 37,40 |
| 3-5 | 36,90 |
| 6-8 | 35,90 |
| 9-12 | 34,90 |
| 13-25 | 33,90 |
| 26-99 | 32,90 |
Are you looking for bigger quantities? Contact us for pricing.
FAQ
How do I choose the best location for my wireless temperature meter indoors?
The ideal indoor location is away from direct sunlight, drafts, heating or cooling sources, and not directly on or near heat-generating appliances. Central, open-air spots at standing level, like on a shelf or table, usually offer the most accurate readings.
Can I use one meter to monitor multiple rooms?
Wireless temperature meters are designed to monitor the specific area where they are placed. For multiple rooms, it’s best to use separate meters in each room to account for variations in temperature and humidity.
How does the meter's proximity to a window affect its readings?
Placement near a window can expose the thermometer to direct sunlight and external temperature fluctuations, leading to inaccurate readings. It’s recommended to place the sensor away from windows or in a shaded area.
What's the recommended height for installing a wireless thermometer outdoors?
Install the meter at a height of about 1.2 to 2 meters (4 to 6.5 feet) above the ground, ideally on the north side of a building to minimize direct sunlight exposure and to represent ambient air temperature accurately.
How do walls or obstructions affect my thermometer's performance?
Walls and large obstructions can interfere with the wireless signal and block airflow around the sensor, potentially leading to inaccurate temperature readings and connectivity issues. Ensure there’s a clear path between the sensor and its receiver, and avoid placing the sensor in enclosed spaces.
Can humidity affect the temperature meterr's readings?
Yes, high humidity can impact the perceived temperature and, in some cases, the meterr’s accuracy. Using a combined temperature and humidity sensor (hygrometer) can provide a more comprehensive view of your environment’s conditions.
How do I protect my outdoor thermometer from weather elements?
Use a Stevenson screen or an equivalent protective enclosure to shield the sensor from direct sunlight and precipitation while allowing air to circulate freely around it.
Can I use my thermometer in a sauna or very humid environment?
Most standard thermometers are not designed for extreme environments. The Finnish RuuviTag can be used in a sauna, you can read more about it here.
What should I do if my thermometer gives inconsistent readings?
First, ensure the meter is placed in an optimal location as described above. If issues persist, check for low batteries, recalibrate the meter if possible, or consult the manufacturer’s support for further troubleshooting.
⭐⭐⭐⭐⭐ Excellent sensors for RV monitoring and Victron VRM integration
I am extremely satisfied with my Ruuvi sensors.
I use several of them in different locations inside my motorhome: in the refrigerator, battery compartment, living area, kitchen area and other positions. Installation was very simple and the sensors have been working flawlessly from day one.
What impressed me most is the excellent integration with the Victron ecosystem. Through Victron VRM I can monitor all sensor data remotely 24/7, which is incredibly useful when living and travelling off-grid.
The accuracy is outstanding. The pressure readings of different sensors are almost identical, showing only minimal differences, which gives me great confidence in the quality of the measurements. Temperature and humidity readings have also proven to be very reliable.
I have even used the sensors to evaluate the performance of a portable compressor cooler. Thanks to the precise temperature logging, I was able to see that the cooler dropped from 20°C to 0°C in about 30 minutes and reached -20°C in less than an hour. Without Ruuvi sensors, such testing would have been much more difficult.
Battery life has been excellent, setup is easy, and the overall user experience is outstanding.
For anyone using Victron equipment, RVs, boats, off-grid systems, refrigerators, freezers or environmental monitoring, I can highly recommend Ruuvi sensors.
Excellent!
After integrating four RuuviTags into my Victron Cerbo GX / VRM system in our Rapido motorhome, I can honestly say they have transformed the way I monitor the vehicle.
The setup now provides live temperature, humidity and pressure monitoring directly inside the VRM portal, allowing me to monitor critical areas including:
Battery Box
Orion DC-DC Charger Compartment
Engel Fridge
Main Rapido Fridge Area
What impressed me most was how seamlessly the RuuviTags integrated with the Cerbo GX via Bluetooth. Once connected, the data appears natively inside VRM and can be used for real alarms and automation.
I have now configured:
High temperature alarms
Low temperature alarms
VRM email notifications
Relay-triggered audible siren alarms
The system is now capable of warning me immediately if:
the lithium battery compartment gets dangerously cold
the battery box overheats
the Orion compartment becomes too hot
ventilation or airflow problems occur
The accuracy and stability of the readings have been excellent. The tags update reliably and provide a very clear picture of what is happening inside the motorhome.
One of the major advantages is that the system no longer relies on older digital-input alarm methods or complex workarounds. The RuuviTag + Cerbo GX combination feels like a modern, professional-grade monitoring solution.
The compact size, long battery life and wireless operation make installation extremely easy. No extra wiring was required for the sensors themselves.
For anyone building a Victron-based off-grid system, especially in a motorhome, caravan, marine or lithium battery installation, I would highly recommend RuuviTags.
They add a level of visibility and protection that is difficult to achieve any other way at this price point.