New version of BTKit (0.1.8) was released with connectable firmware support.
This tutorial uses previous version of BTKit (0.0.21), but is still valuable.
In this tutorial, you’ll learn how to use BTKit with RuuviTags on iOS.
Specifically, you’ll:
- Create Xcode project.
- Install CocoaPods.
- Use CocoaPods to add BTKit.
- Change UI to UITableView.
- Use BTKit to scan for RuuviTags.
- Display RuuviTag data in UITableView.
Requirements:
- A Mac with Xcode.
- iOS device
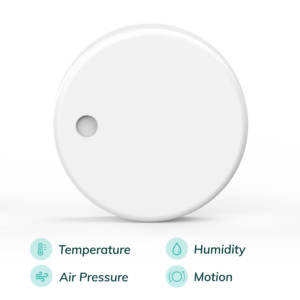
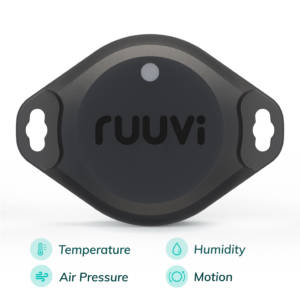
- RuuviTag
Create xCode project
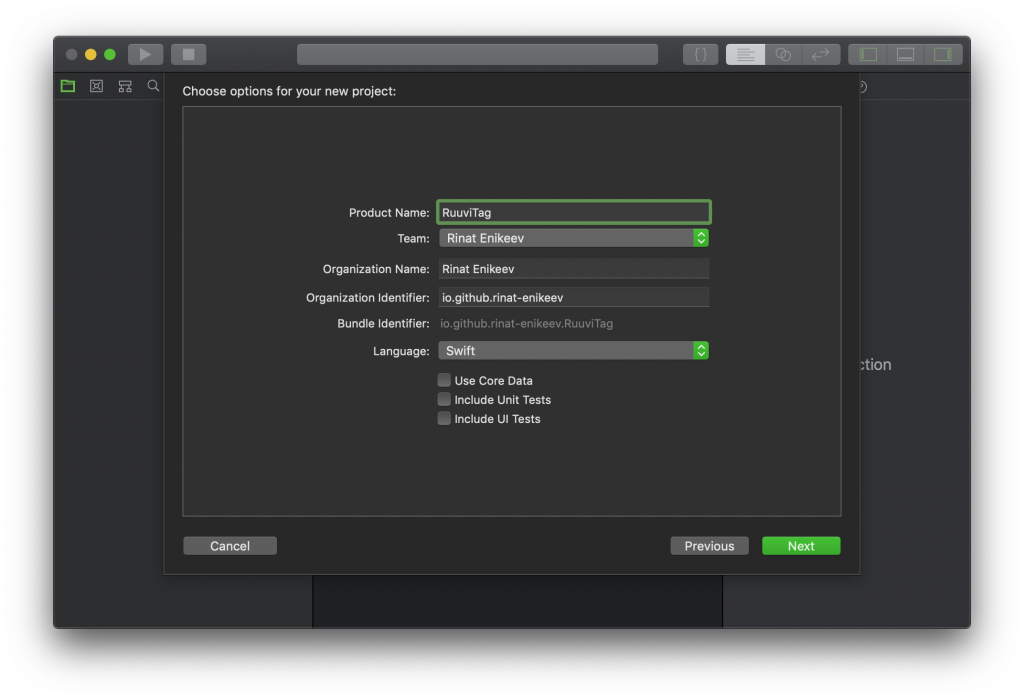
Open Xcode. Create a new “Single view app” Xcode project:

Provide the name for your new application and select Swift as a language:
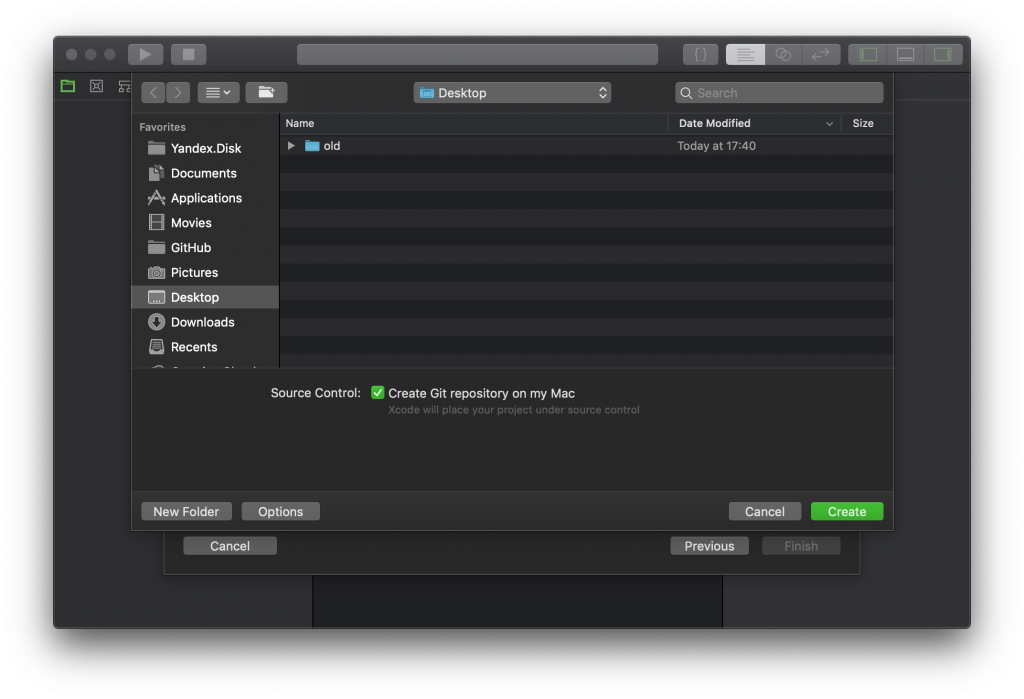
Save it to your Desktop:
Install CocoaPods
Open Terminal and type:
sudo gem install cocoapods
Enter your password and hit Enter.
Use CocoaPods to add BTKit
In the Terminal, navigate to your Xcode project folder:
cd ~/Desktop/RuuviTag
Initialize cocoa pods in the project directory:
pod init
This will create Podfile in the project directory. Open it with your favourite text editor and replace contents with the following:
platform :ios, ‘10.0’
use_frameworks!target ‘RuuviTag’ do
 pod ‘BTKit’, '~> 0.0.21'
end
Save file. Close Xcode project (you will open workspace at the next step).
In the Terminal, run:
pod install
This will create .xcworkspace file in the project directory. Open it. Now you are ready to start using BTKit!
Change UI to UITableView
Open Main.storyboard and replace UIViewController with UITableViewController:
Refer to this YouTube video for visual guidance.
Use BTKit to scan for RuuviTags
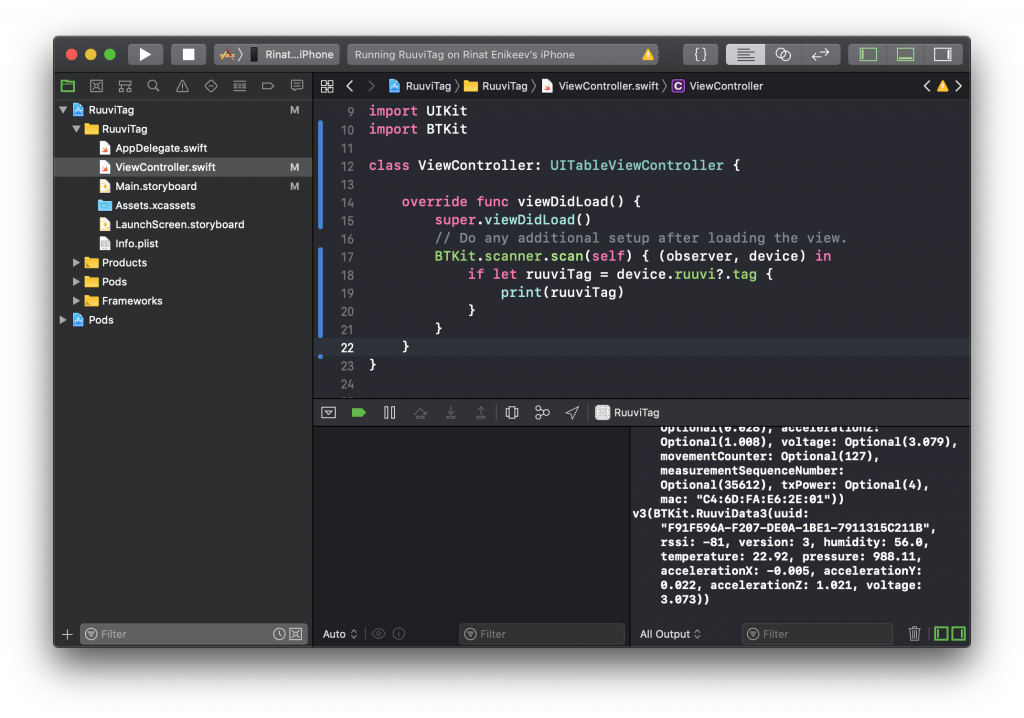
Open ViewController.swift file and add
import BTKit
In the viewDidLoad method start scanning for RuuviTag devices:
BTKit.scanner.scan(self) { (observer, device) in if let ruuviTag = device.ruuvi?.tag { print(ruuviTag) }
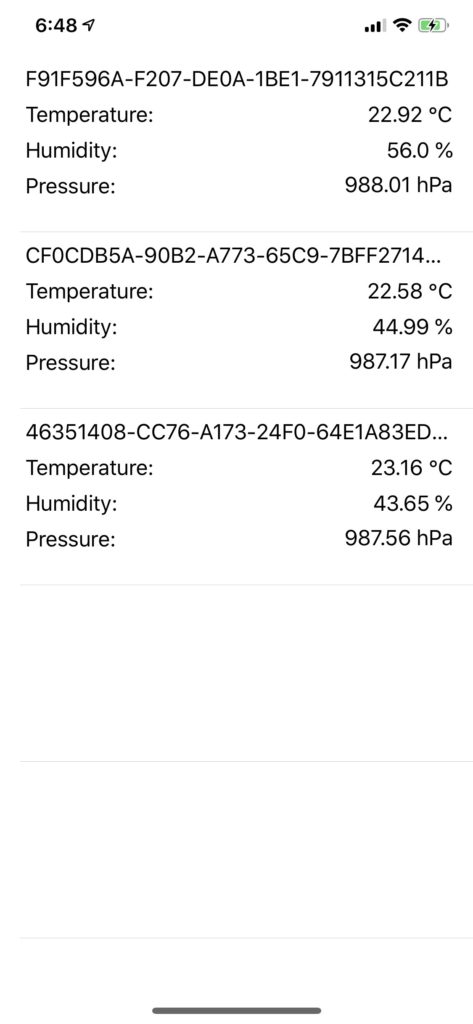
}Build and Run on your iOS device (not simulator)! If you have RuuviTag near your device — you will see output in the debug area:
Display RuuviTag data in UITableView
Now you have RuuviTag data. Let’s display it in the UITableView. Create UITableViewCell, position labels, create IBOutlets. Store RuuviTags in Set (unique by uuid), and use sorted method to create an array from the set. Use Timer to reload tableView once per second. Finally, implement UITableViewDataSource protocol methods in ViewController: View it in GitHub HERE
You can download full project from GitHub: https://github.com/rinat-enikeev/RuuviTag.
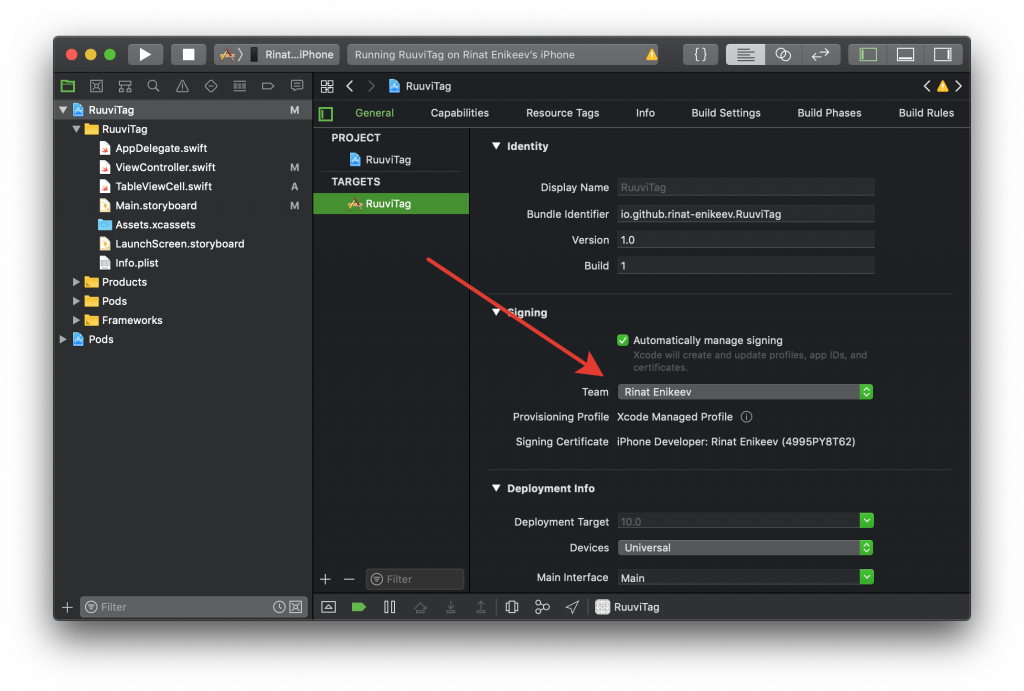
Don’t forget to change Signing in order to install the app on your device:
Conclusion
In this tutorial you’ve learned how to easily display RuuviTag data on your iOS device. Please feel free to ask questions and provide any feedback.