Make Ruuvi Air part of your everyday life.
Towards Better Indoor Air
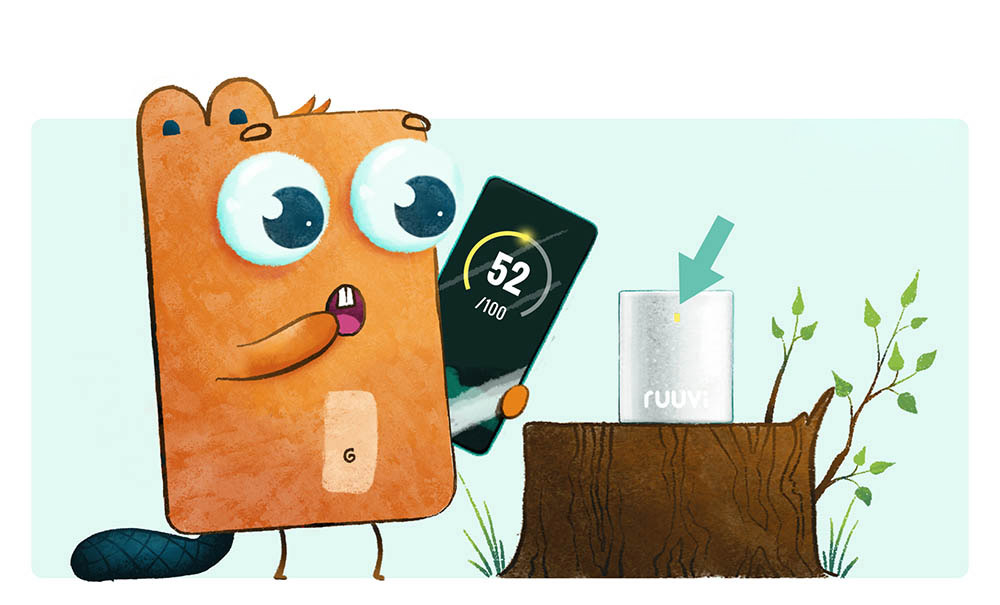
1. Check Your Air Quality
See the device’s color indicator and air quality score in the app.
2. Improve Air Quality
Get smart tips from the app to enhance your indoor air.
3. Make Cleaner Air a Daily Habit
Learn to manage your environment and prevent issues before they arise.Quick Start Quide
Follow these easy steps to start using your Ruuvi Sensor.
1. Placement
Place Ruuvi Air on a flat, stable surface such as a shelf or table (0,5-1,5 meters high). Ensure it is away from walls, corners, and tight spaces to allow proper airflow around the device. Keep vents unobstructed for accurate readings.

Avoid Disturbances
Avoid placing the device in direct airflow from AC/heat vents, fans, open windows, or doors, as well as near heat sources like radiators, ovens, or humidifiers. These can cause spikes that do not accurately reflect room air conditions.
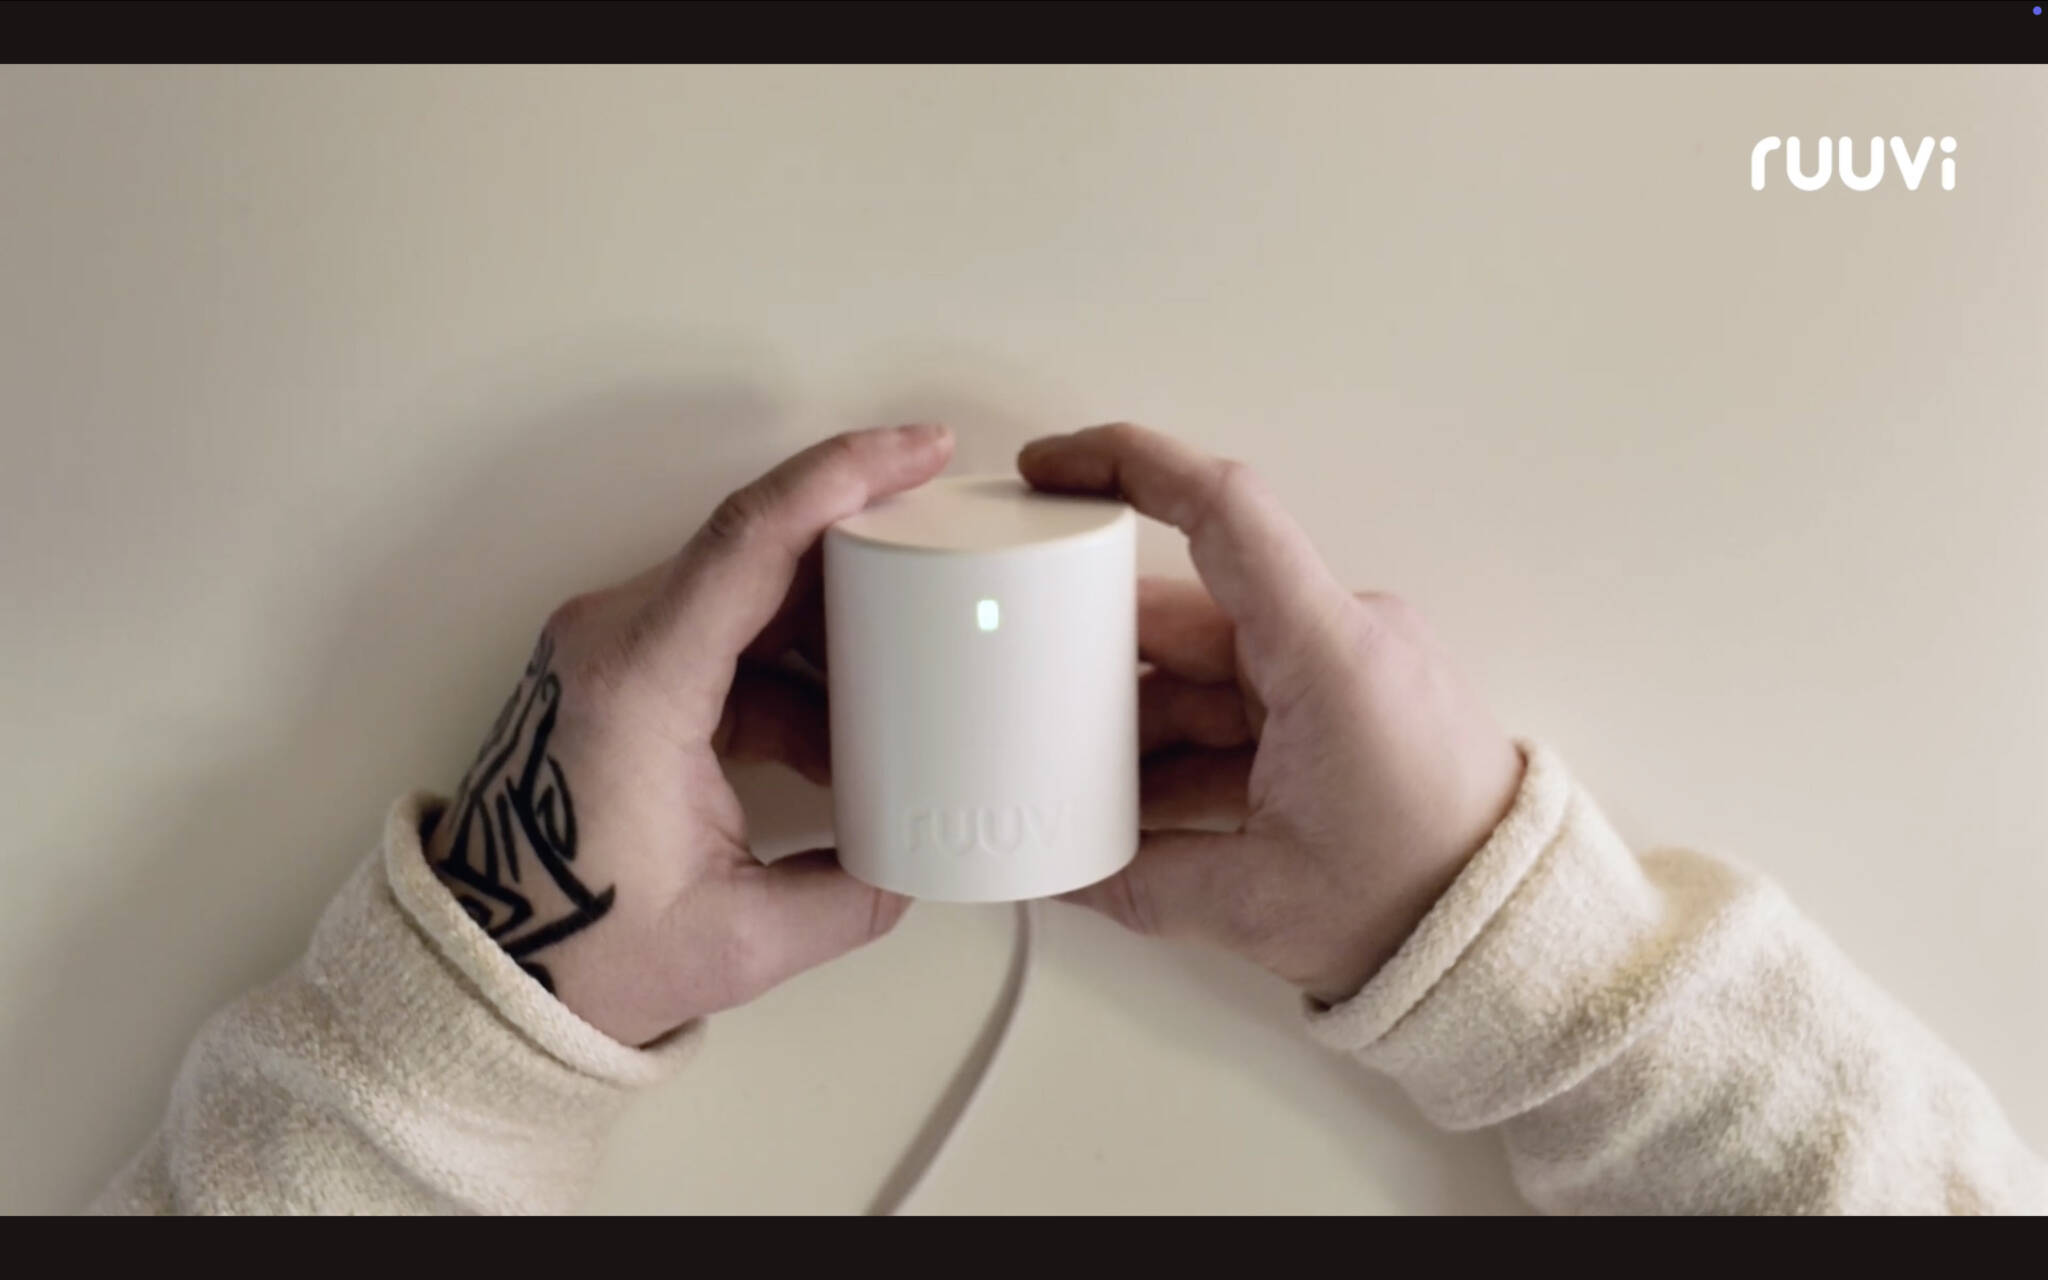
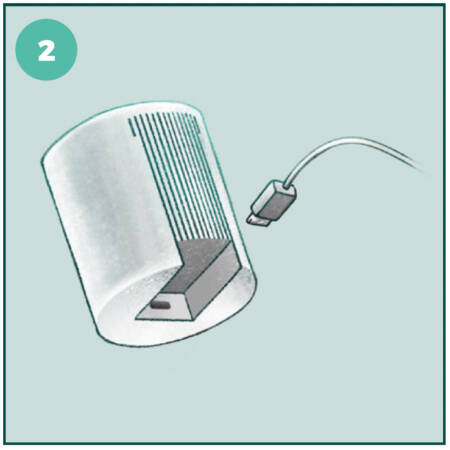
2. Power On
Connect the USB cable to the device and to the USB power adapter, then plug the adapter into a power outlet. The sensor powers on and starts measuring automatically.
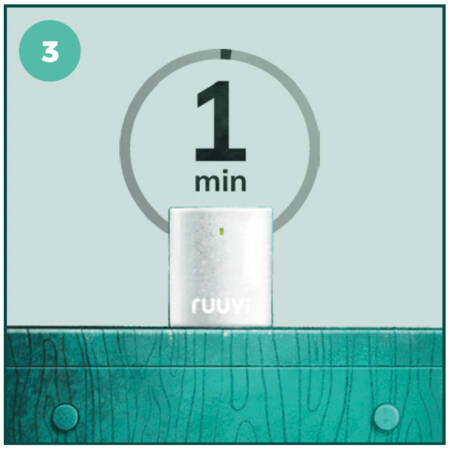
3. Adaptation
After starting up, the device begins to adapt to its surroundings. Measurements can be interpreted right away, but the values become more reliable over a longer period of time. If you move the device to a new location, give it some time to readjust.*
* Temperature, humidity, air pressure, COz, and PM measurements stabilise within minutes. The VOC sensor reaches its specified accuracy within 1 hour, and the NOx sensor within 6 hours.
4. Install the free Ruuvi Station mobile app
Download the free Ruuvi Station app for Android or iOS and follow the setup instructions. Grant Bluetooth® and location access or Nearby access if prompted. Manual Bluetooth pairing is not needed.

Download Ruuvi Station: Android | iOS
Read more: Ruuvi Station Quick Start
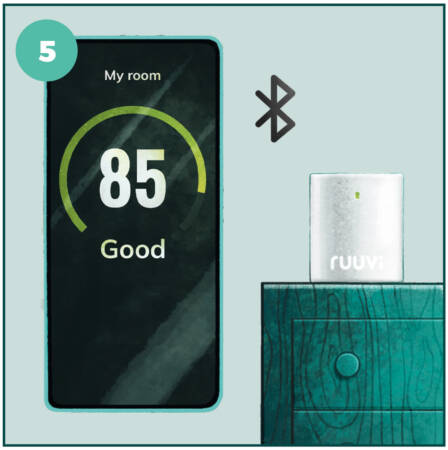
5. Add Your Sensor
In the app, tap Add a new sensor and select Ruuvi Air. On the sensor settings page, claim ownership of the sensor. The device is now ready to use. If you wish, you can change the sensor’s name and background image, and set alerts.
3. That’s it!
Customise the sensor to your liking by renaming it and selecting a custom background image. Now you can also configure alarms.
Adjusting the LED Brightness
You can adjust the LED brightness by pressing the small button on the bottom of the device with a pin or similar tool.
Each press cycles through the modes in this order:
Normal → Dim → Off → Bright → back to Normal.
FAQ
You can find even more guidance and tips in the FAQ section on our website.
Manuals
Quick Start Guide
Measuring Guide
Operating Conditions
The product is intended for indoor use only and it’s not suitable for condensing environments. Please use the device at below 80% relative humidity to avoid condensation.
Do not cover the holes in the device enclosure, as they ensure proper ventilation and accurate sensor readings.
Operating temperature range: 10 °C … +40 °C.
Warnings
Do not allow the device to get in contact with water. Use a standard +5VDC power adapter. Read all instructions before use: ruuvi.com/support/.
Terms of use and warranty: ruuvi.com/terms.
Regulatory Information: Download Regulatory Information (pdf)