In this part of the tutorial we’ll add support for timing the tasks and scheduling tasks to be executed in the future. Final code of this blog post can be downloaded at Ruuvi GitHub.
Please follow part 1 of the series for details on how to clone the repository and compile the code, adapting the repository as https://github.com/ruuvi/ruuvi.nrf5_sdk15_bootloader.c.git. Final hex of this tutorial can be downloaded from the releases page on the GitHub repository.
Bootloader
So far we have been programming the tags with Ruuvi DevKit, which is fine as long as we actually have the DevKit. Vast majority of users do not have one, but they’d still enjoy being able to update their tags.
It’s natural to use the Bluetooth connectivity to deliver new firmware to the tags as anyone using the Bluetooth sensor beacon has a Bluetooth-enabled device. However, there is one big issue: What happens if the new application is corrupted, power goes out, or other problem occurs during the update?
Bootloader is answer to these issues. As the device powers on, bootloader is first program to run on RuuviTag. The bootloader checks the integrity of our application, and if the application is correctly installed the bootloader lets the application run. If the application is not properly installed or user has signaled they want to update the application, the bootloader will not let the application run but rather presents a method for the user to update the application.
Writing a proper bootloader is a task worthy of its own blog series, so we take a shortcut here and use the Nordic Semiconductor bootloader. Nordic has updated their Software Development Kit (SDK) version to 15.2, so while we’re at it we update the SDK 15.0 we’ve been using previously.
Setting up the Nordic Bootloader Project
First thing we need is the Micro elliptic curve cryptography library, which does not ship as a precompiled binary inside the Nordic SDK. Enter SDK directory external/micro-ecc and run
git clone https://github.com/kmackay/micro-ecc.git
cd nrf52hf_armgcc/armgcc
make
Next we copy the debug-bootloader example under SDK/examples/dfu/secure_bootloader/pca10040_ble_debug into our project, remove all but Segger Embedded Studio (SES) compilation environments and fix the filepaths to point into the SDK root and project root where applicable in emProject file.
Let’s change a few configuration parameters in sdk_config.h. Booting is rare enough event, we can check the CRC after system off. We want to support buttonless DFU later on. Let’s name the DFU service “RuuviBoot” to keep the current name of bootloader. We’ll want to allow downgrading to previous versions. And finally, let’s pick HW version as 0x0b as in “RuuviTag B”.
#define NRF_BL_APP_CRC_CHECK_SKIPPED_ON_SYSTEMOFF_RESET 0
#define NRF_BL_DFU_ENTER_METHOD_BUTTONLESS 1
#define NRF_DFU_BLE_ADV_NAME "RuuviBoot"
#define NRF_DFU_APP_DOWNGRADE_PREVENTION 0
#define NRF_DFU_HW_VERSION 0x0b
SDK12 Ruuvi bootloader is debug-variant and has its flash start address at 0x75000. Our bootloader will have the same start address, as changing the bootloader start address generally results in problems when upgrading softdevice + bootloader from SDK12 to SDK15 over BLE. However the debug bootloader does not fit in given space by default, we need to disable some logging to fit in the space we have. Easiest savings are had by increasing the default log level from “Debug” to “Info”. Next few bytes are saved by disabling error code to string converter and NRF_SDH_BLE_LOG which uses the conversion function. Finally we disable float formatting in printf.
#define NRF_LOG_DEFAULT_LEVEL 3
#define NRF_STRERROR_ENABLED 0
#define NRF_SDH_BLE_LOG_ENABLED 0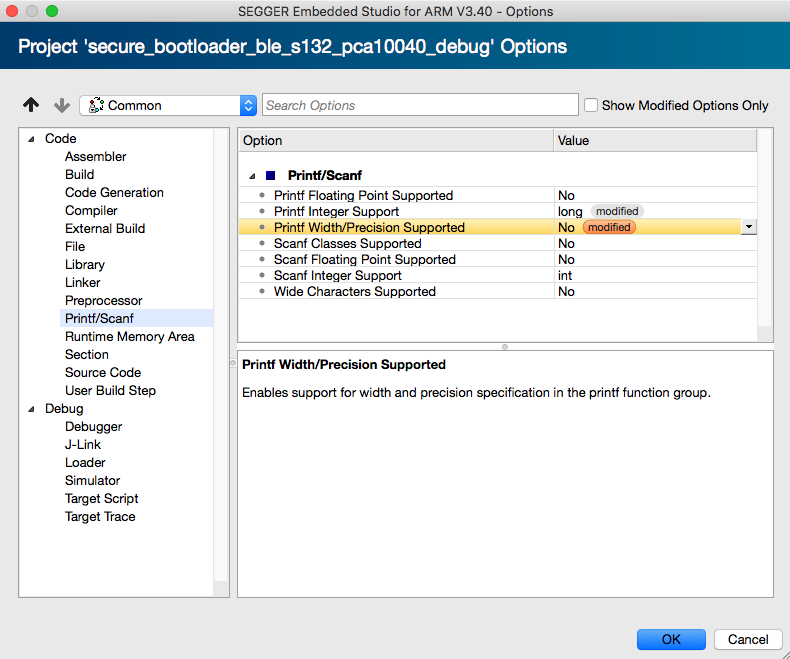
We’ll also want to use the ruuvi.boards.c repository we have to avoid maintaining two board configuration repositories. Let’s add ruuvi.boards.c as a submodule.
After adding some glue logic in custom_board.h and adding board definitions to SES preprocessor directives, we can #define the enter bootloader pin as RUUVI_BOARD_BUTTON_1
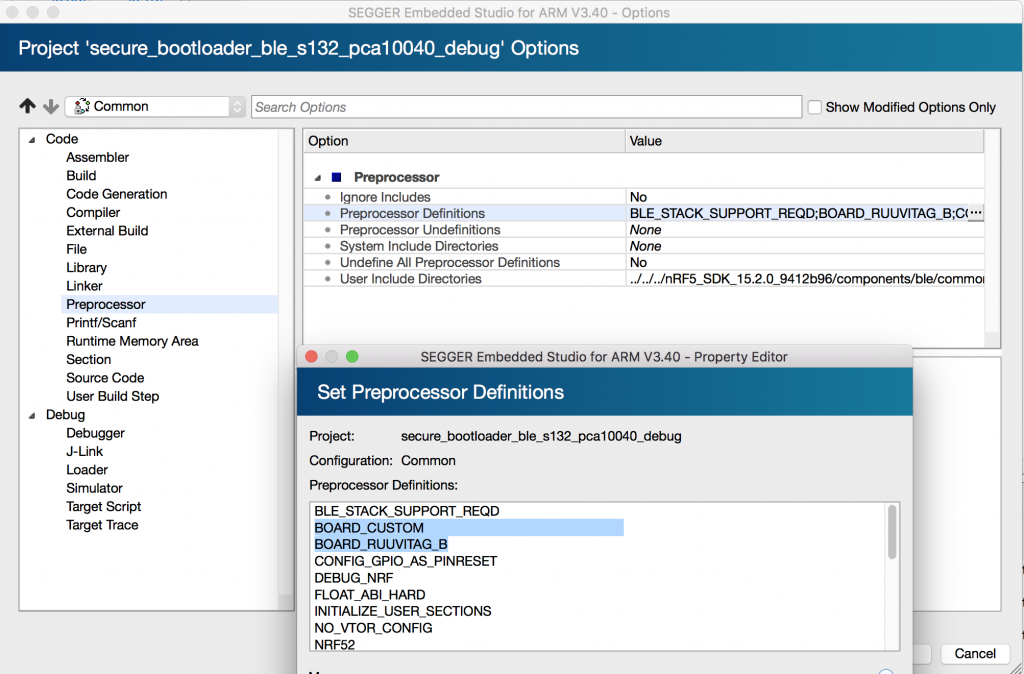
#include "ruuvi_boards.h"
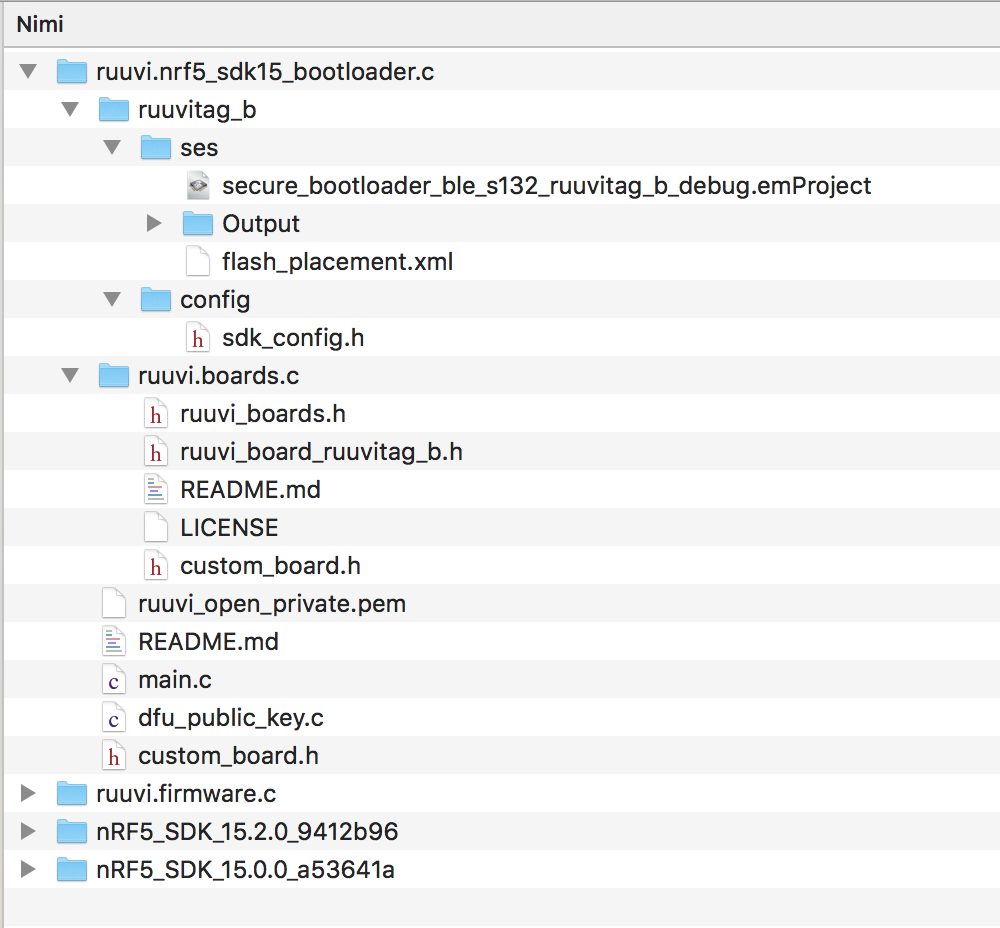
#define NRF_BL_DFU_ENTER_METHOD_BUTTON_PIN RUUVI_BOARD_BUTTON_1As a finishing touch we rename the project files from pca10040 to ruuvitag_b. Our development directory now looks like this:
Using the bootloader
We can flash the bootloader inside SES into our RuuviTag as usual. As one might guess, the code asserts right away on the first run. This is due to example code trying to use a third led which we haven’t got on RuuviTag. A quick fix to main.c — removing all actions with BSP_BOARD_LED_2 — later we’re good to go.
Creating a Device Firmware Update Package
Creating a DFU package for our bootloader is a breeze: We download the final hex from our previous tutorial:
wget http://jenkins.ruuvi.com/job/ruuvi.firmware.c/lastSuccessfulBuild/artifact/targets/ruuvitag_b/armgcc/_build/nrf52832_xxaa.hexand run nrfutil package generation command on it:
nrfutil pkg generate --application nrf52832_xxaa.hex --application-version 1 --application-version-string "3.11.0" --hw-version 0x0b --sd-req 0xAF --key-file ~/git/ruuvi.nrf5_sdk15_bootloader.c/ruuvi_open_private.pem RuuviTagB_RuuviFW_3.12.0_dfu.zipIf you’re targeting a different Softdevice, you can look up the sd-req codes at the nrfutil repository.
Uploading the Package
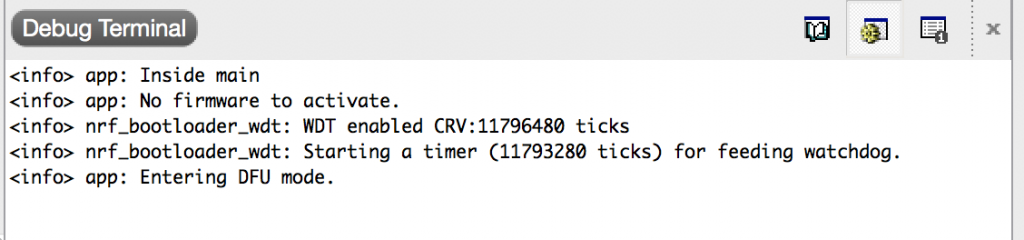
Uploading a DFU packet with nRF Connect is a familiar process, described well at RuuviLab. We can check the info logs from our tag as the package uploads.
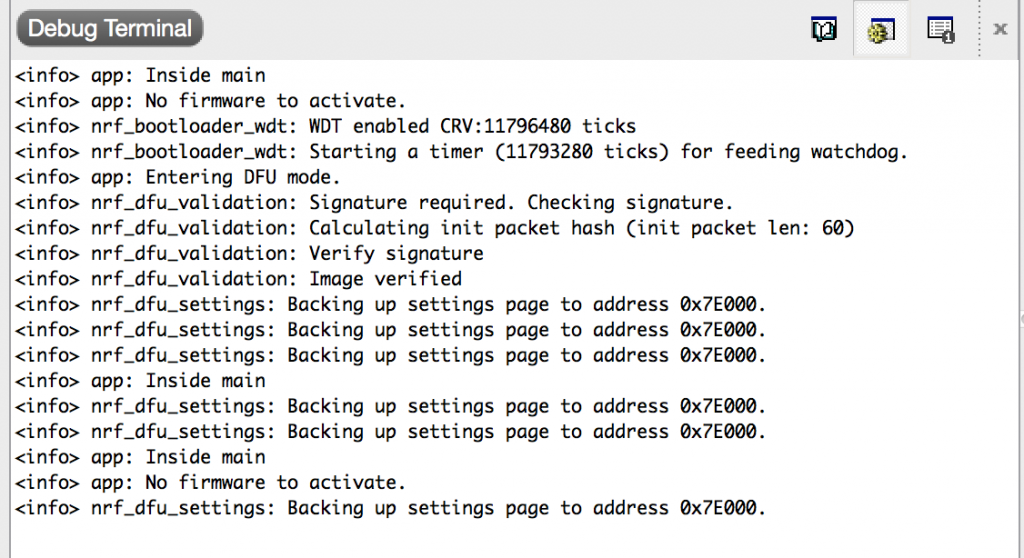
The red led blinks on tag at 1 Hz, and a quick glance at the Ruuvi Station app shows the data coming from the tag. We have successfully updated our firmware over Bluetooth.
Conclusion
This post was a bit of a sidetrack for the application itself, however I feel it’s a justified as a part of the whole stack we’re building. We now can upload the application over Bluetooth, and we could also upload a new softdevice and bootloader to update the entire stack if we wanted to.
Stay tuned and follow @ojousima and @ruuvicom on Twitter for #FirmwareFriday posts!