
I recently moved into a new home so I have an excellent chance to set up a home measurement system in one go. If you are interested, read this article and get ideas on how to measure your house. Basically, I have a few goals in mind regarding the end system:
- Measurements should cover temperature and humidity indoors.
- I should get alerted if something goes wrong at home. For example if my fridge or freezer malfunction, or if the water boiler stops working.
- Outdoor temperature is a nice-to-have.
- Data should be accessible over the internet with history.
Measuring the conditions at home is rooted in practicality, winter is coming and heating costs of an old house can be surprisingly high. When the conditions at home are monitored, I can avoid overheating the house while also being sure that humidity does not creep in because of too cool batteries.
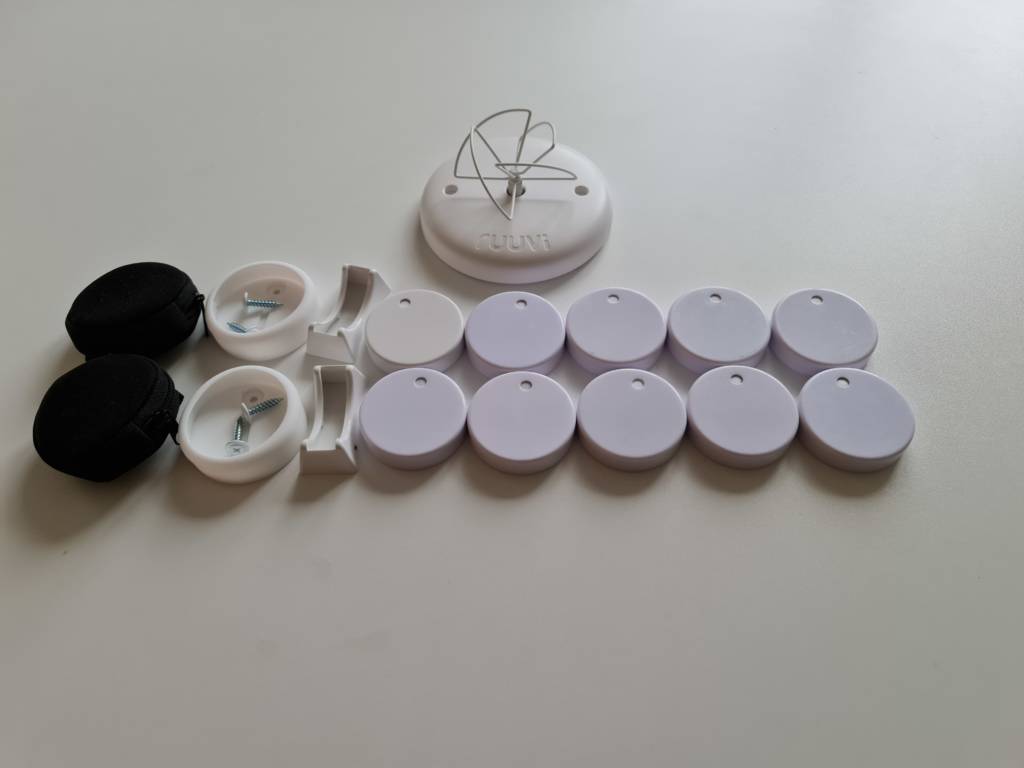
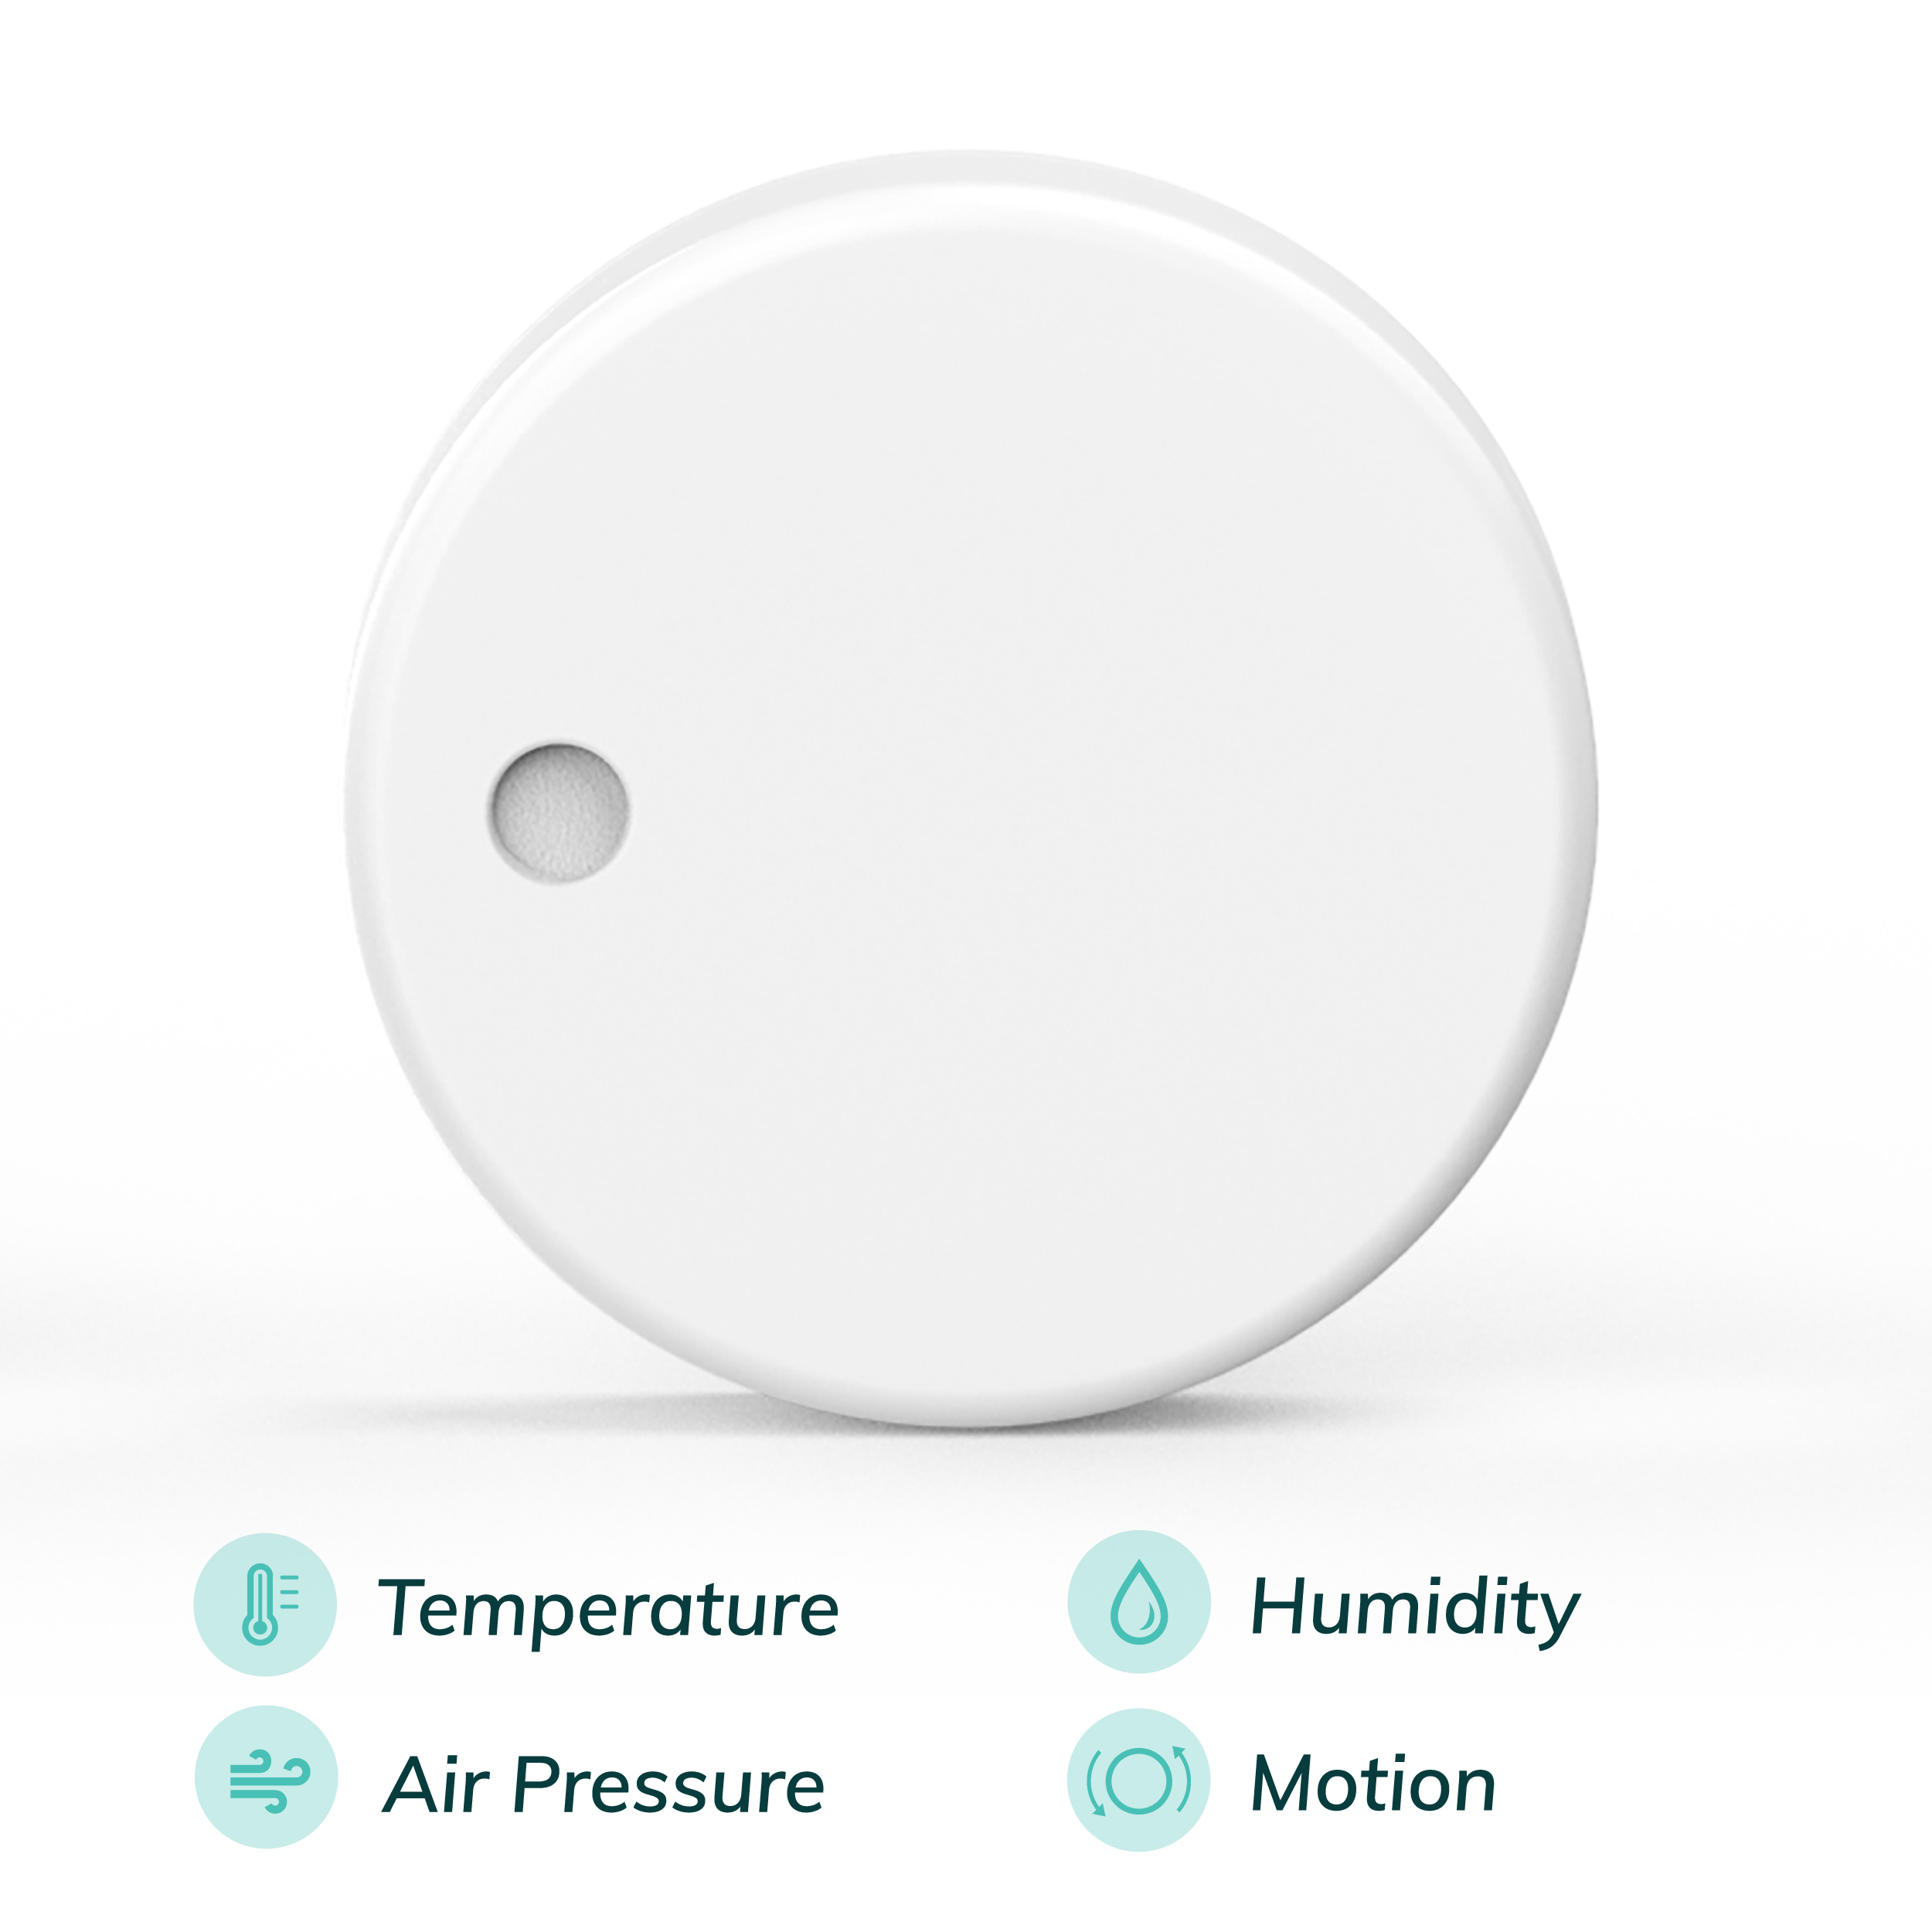
Ruuvi products make these measurements easy. In this case, I picked 10 sensors to match the upcoming Ruuvi Cloud Basic plan. Without further ado, here is how I am going to measure my home.
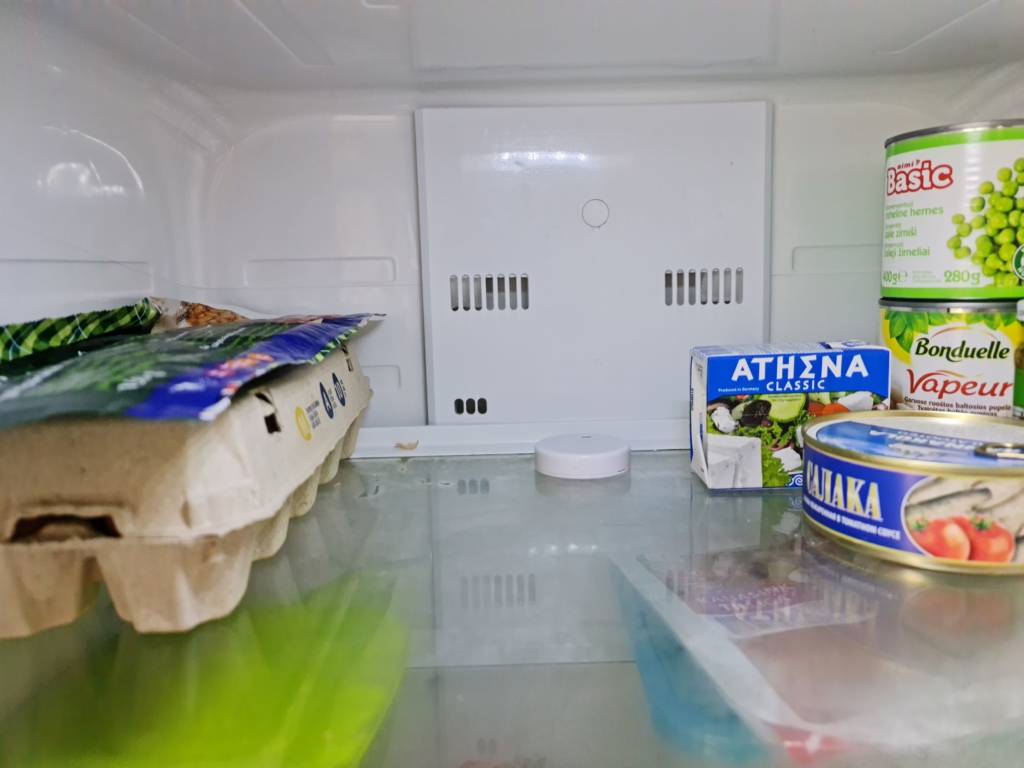
Fridge and Freezer temperature control
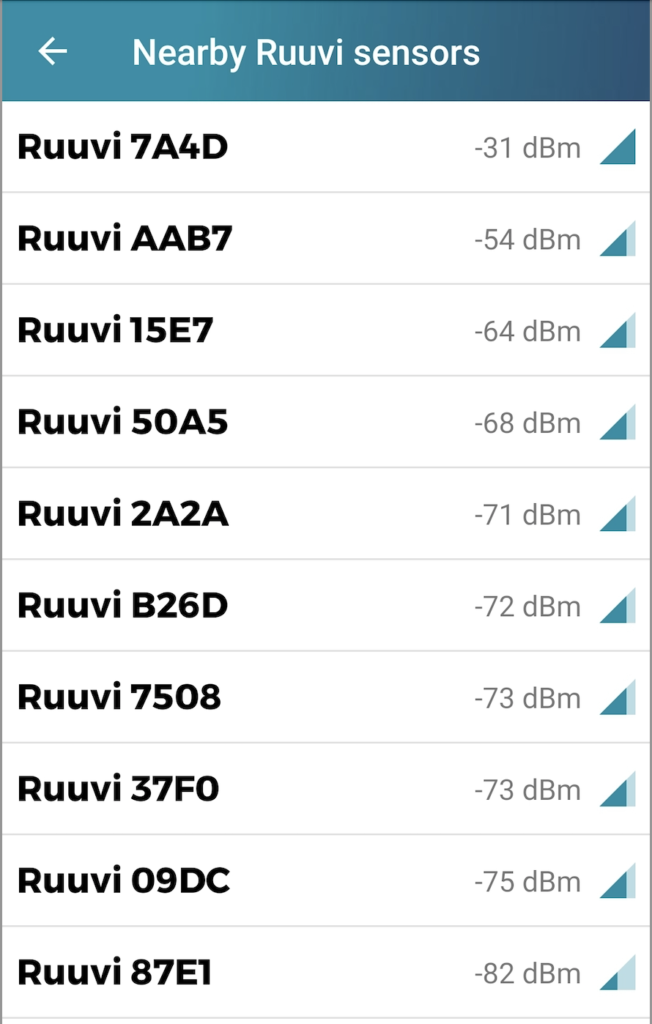
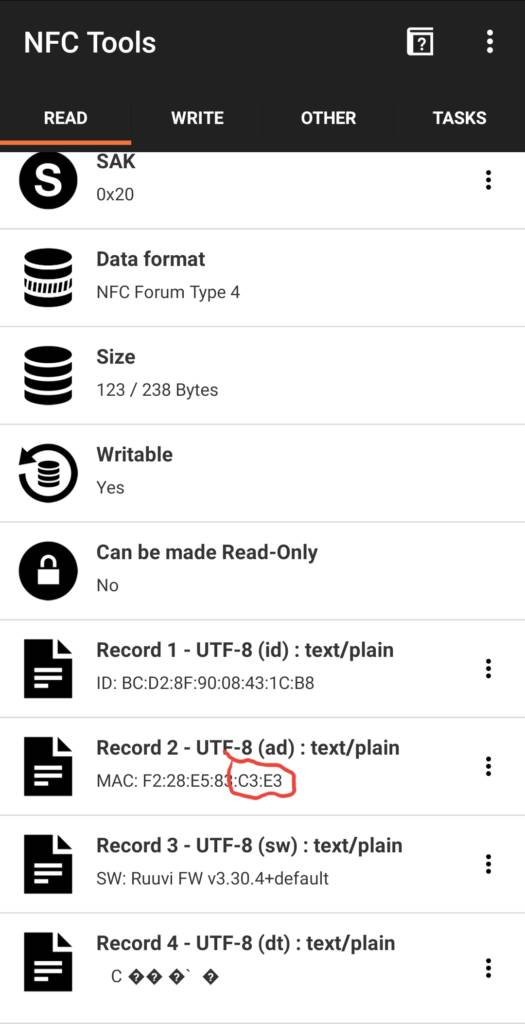
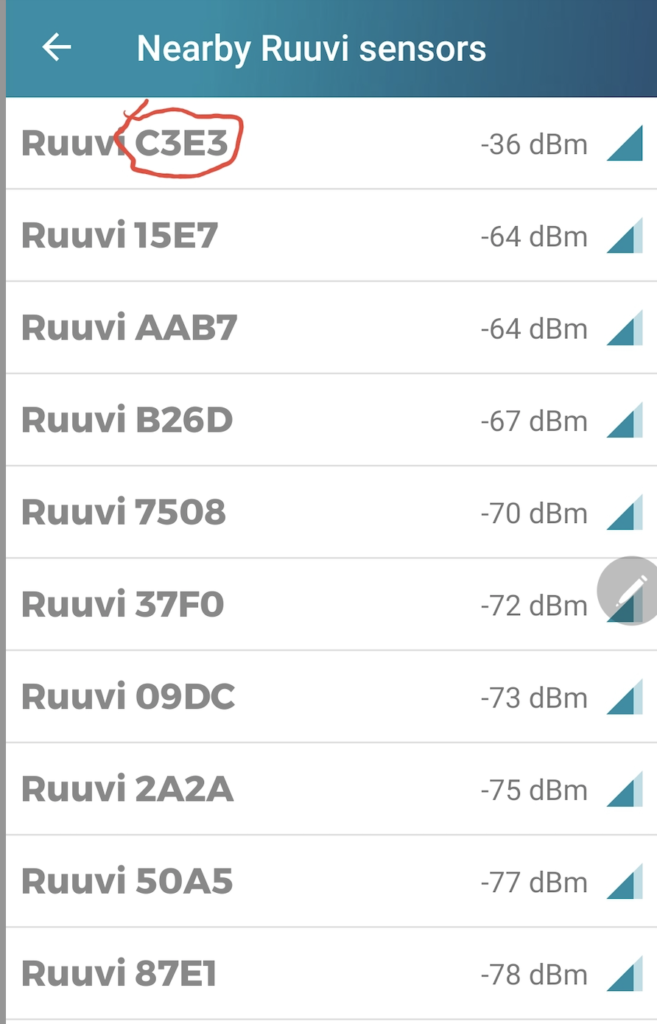
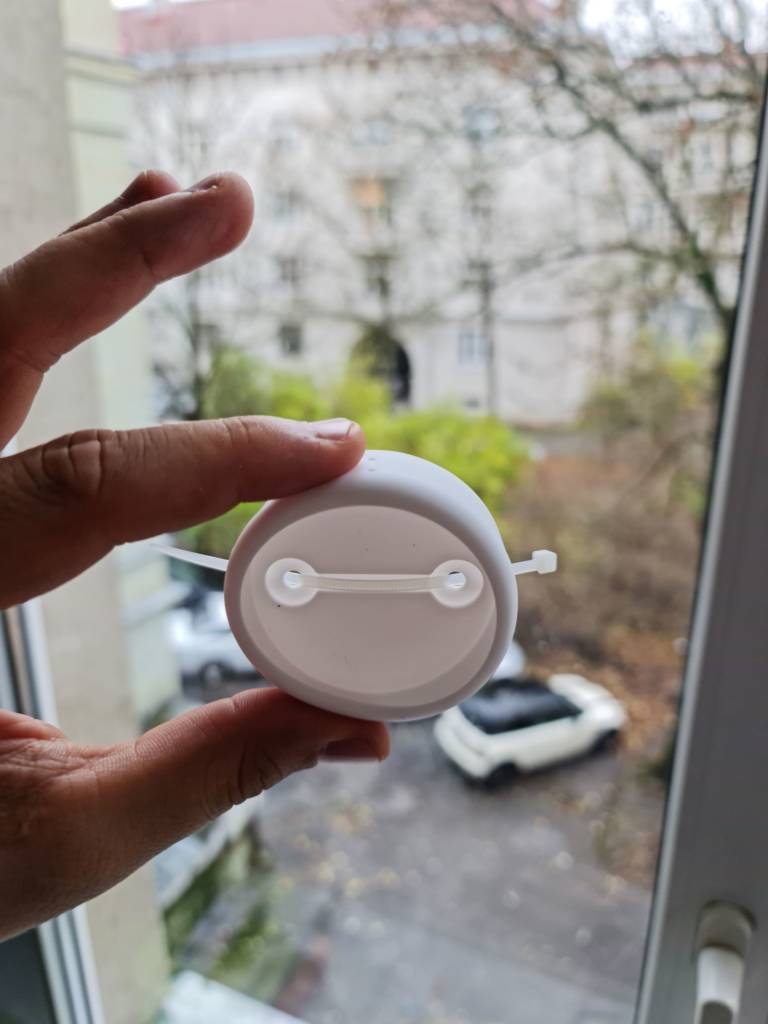
To get started, I need to identify which sensor is which. It is easy enough, as I just grab one in my hand and move a bit aside from the others. Ruuvi Station App sorts the sensors by their received signal strength, so the sensor in the top of the list is the one I have near my phone.

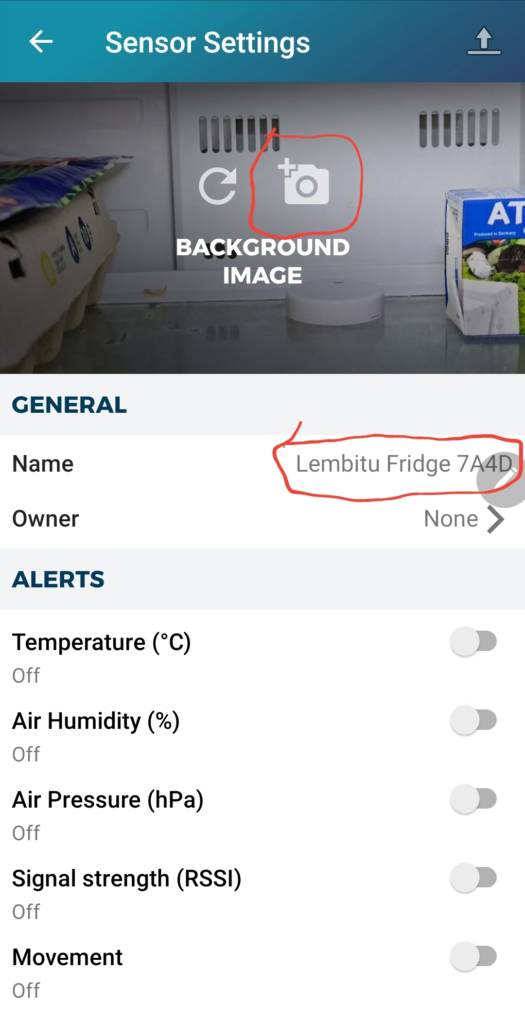
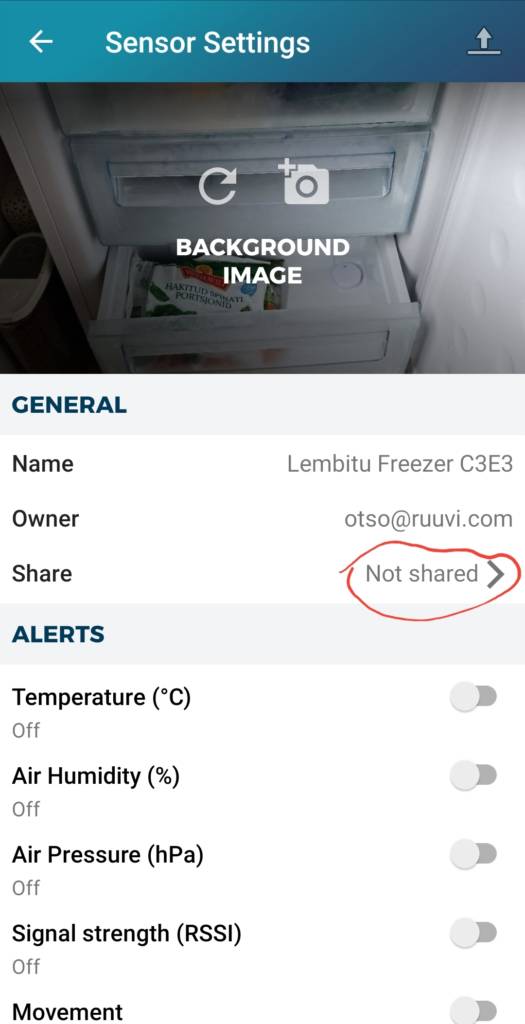
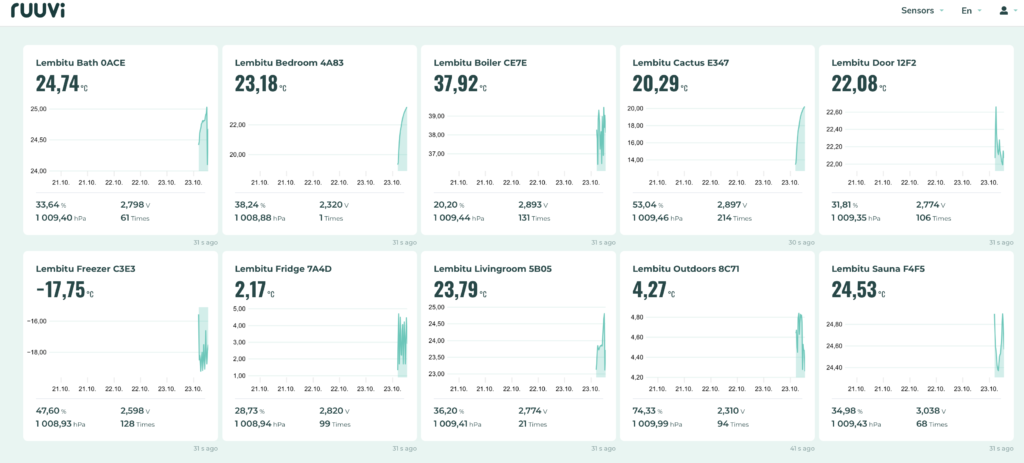
Next thing is to name the sensor. The Ruuvi Station App and website lists the sensors alphabetically, so I start the name with my home street address “Lembitu”.
Following the first name, I will describe the use location, for example the fridge.
Finally I leave the last 4 characters of sensor address in the name so I can tell it by its MAC address should the need ever come up. After that, I took a picture for my Ruuvi Station background and the first sensor is ready for use!
Freezer is similarly easy to add, but this time I use the NFC scan feature to ensure that the tag in my hand is the one I am adding to app.
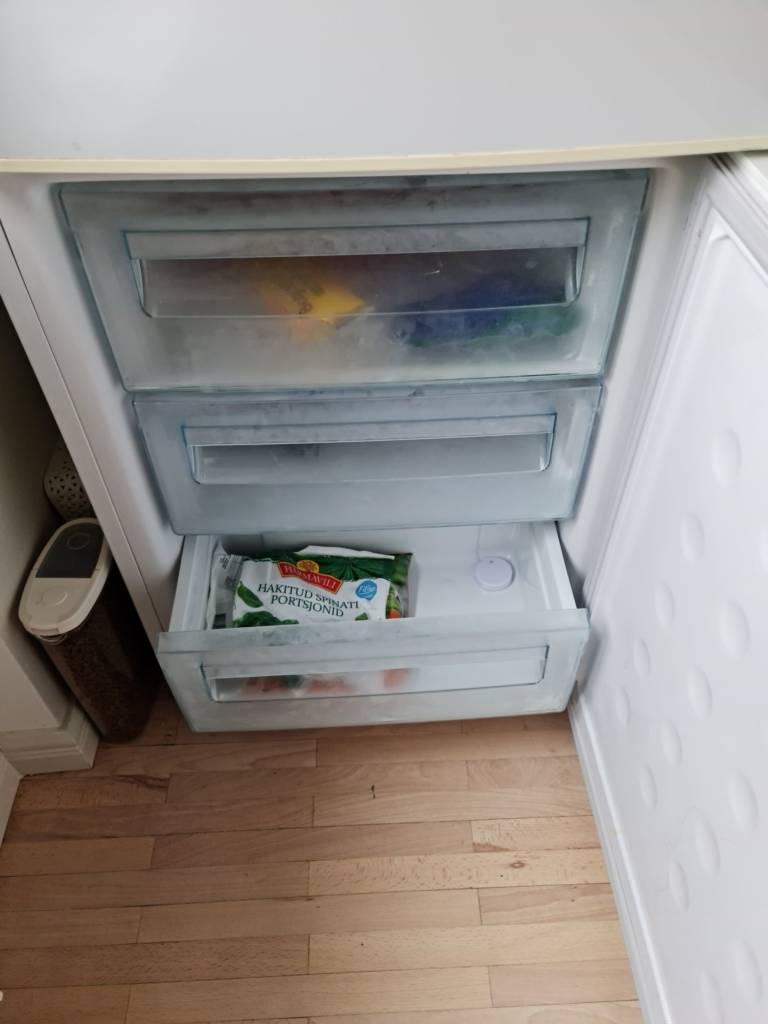
If you want to learn why monitoring your fridge and freezer is smart, head to our blog! Here is a blog article about fridge and here is one about freezer.
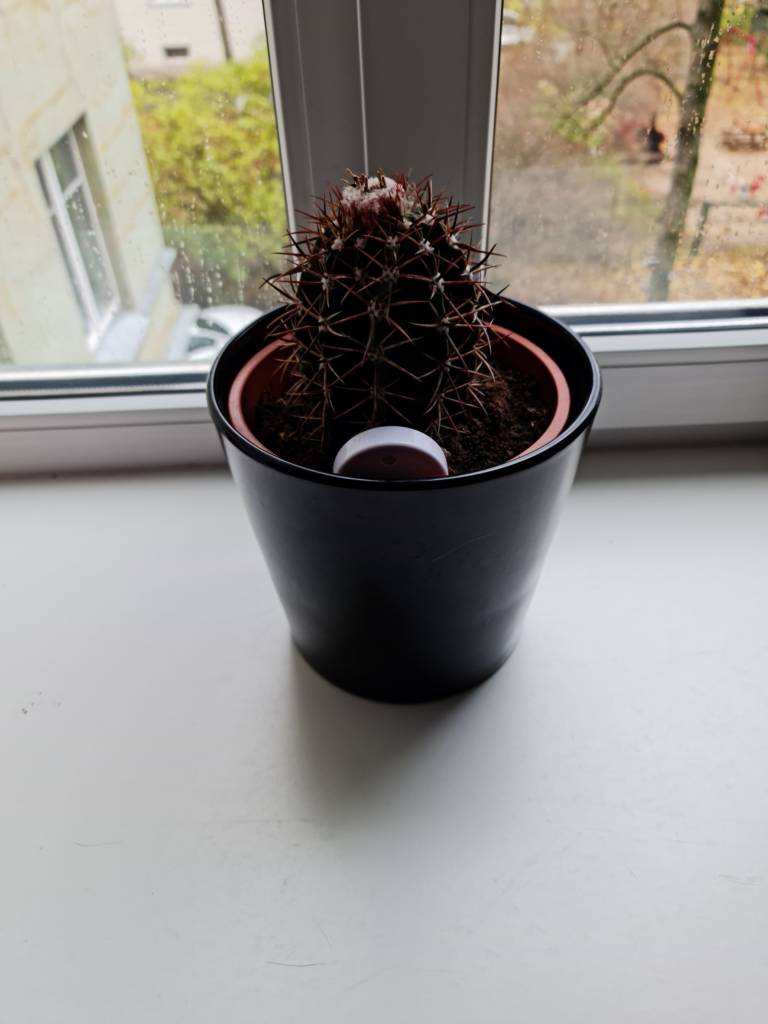
Monitoring humidity and temperature for plants well-being
I have a cactus on a windowsill. The cactus does not like cold or too humid conditions, which makes windowsills a bit nonoptimal place for it. For that reason, I am adding one sensor to monitor my cactus’ well being over the winter.
Read more about utilizing Ruuvi sensors in plant growing from our blog posts. Here is for example The Ultimate Guide for Temperature Control in a Greenhouse.
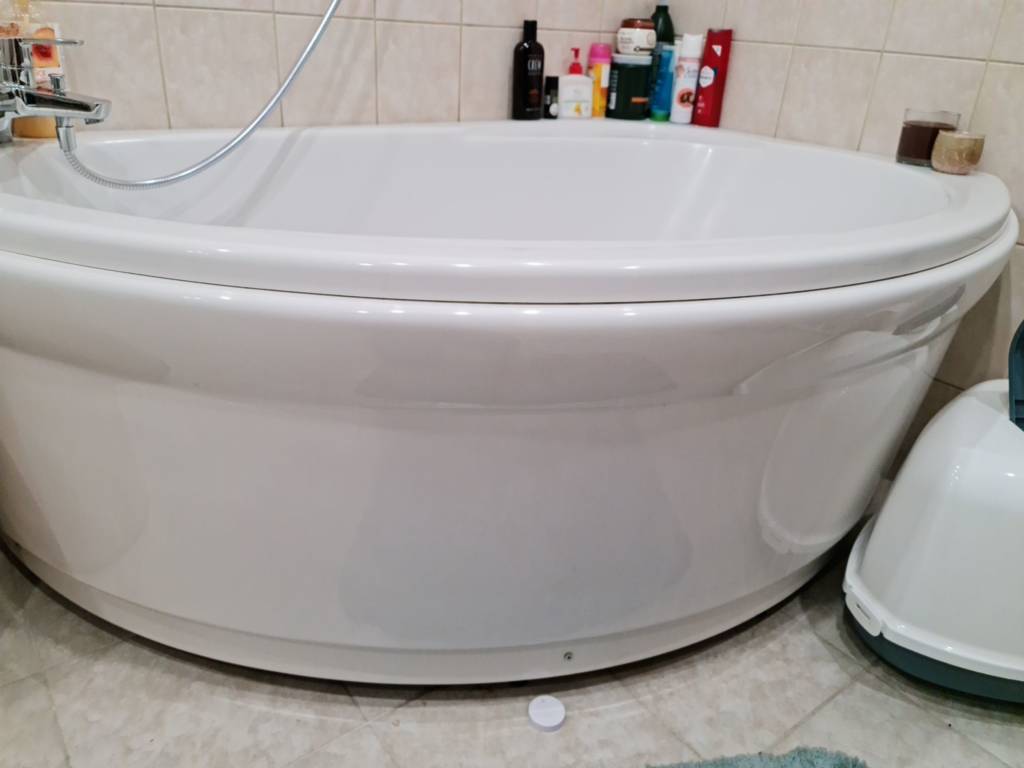
Using Ruuvi as bathroom humidity sensor to prevent mold
My bathroom floor drain is at the sauna, far away from the shower. Hence, I am a bit worried about moisture seeping under the bathtub and causing mold growth. In order to prevent this from happening, I will add a sensor under the bathtub to keep an eye on the humidity.
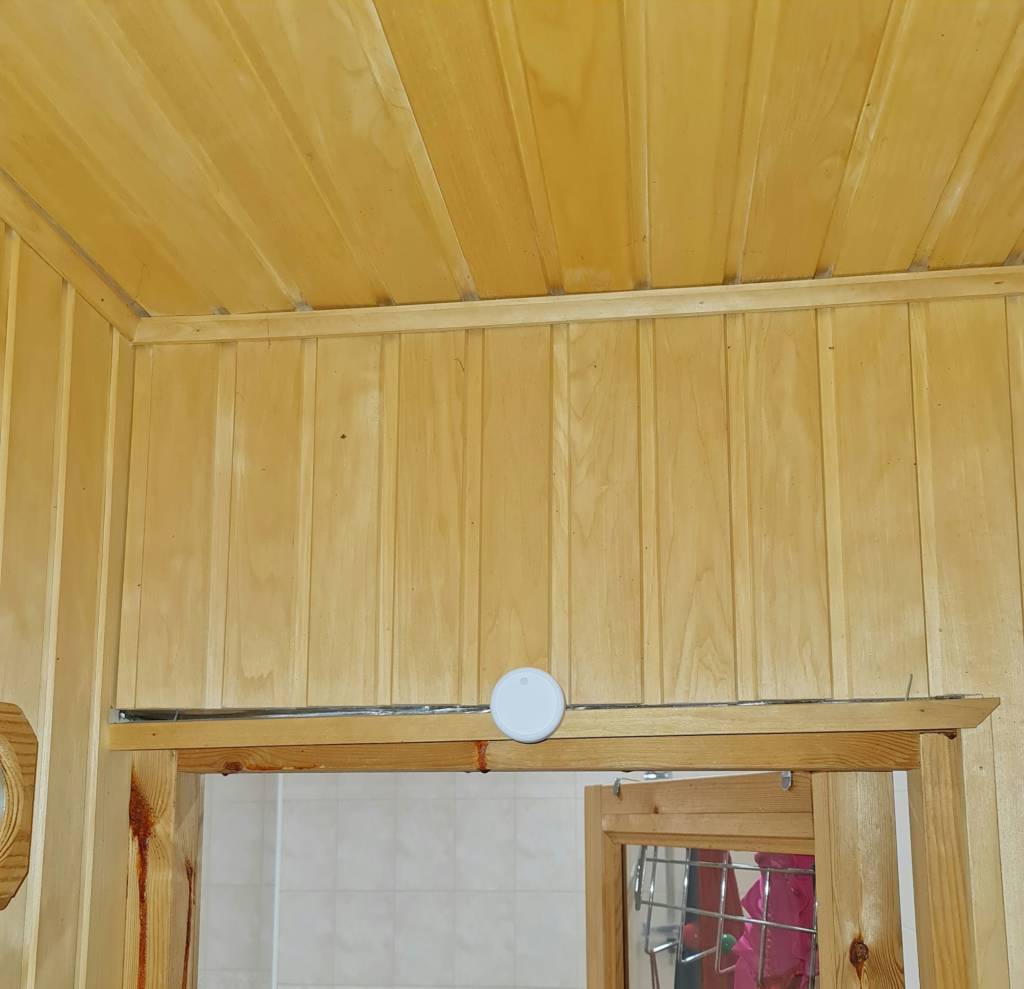
Ruuvi is the perfect tool to measure humidity and temperature at sauna
Sauna is another place with challenging conditions: Temperature and humidity swing wildly as people throw steam in the room. Here in Finland, we call it casting “löyly”. For this purpose, I am going to use a RuuviTag Holder to place my RuuviTag on a nail on top of my sauna door.
To learn more, you can take a look at how Ruuvi Brings Sauna to Your Mobile.
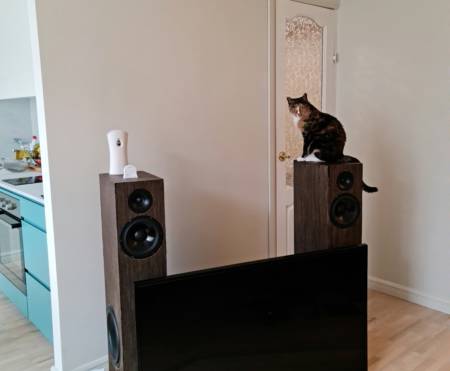
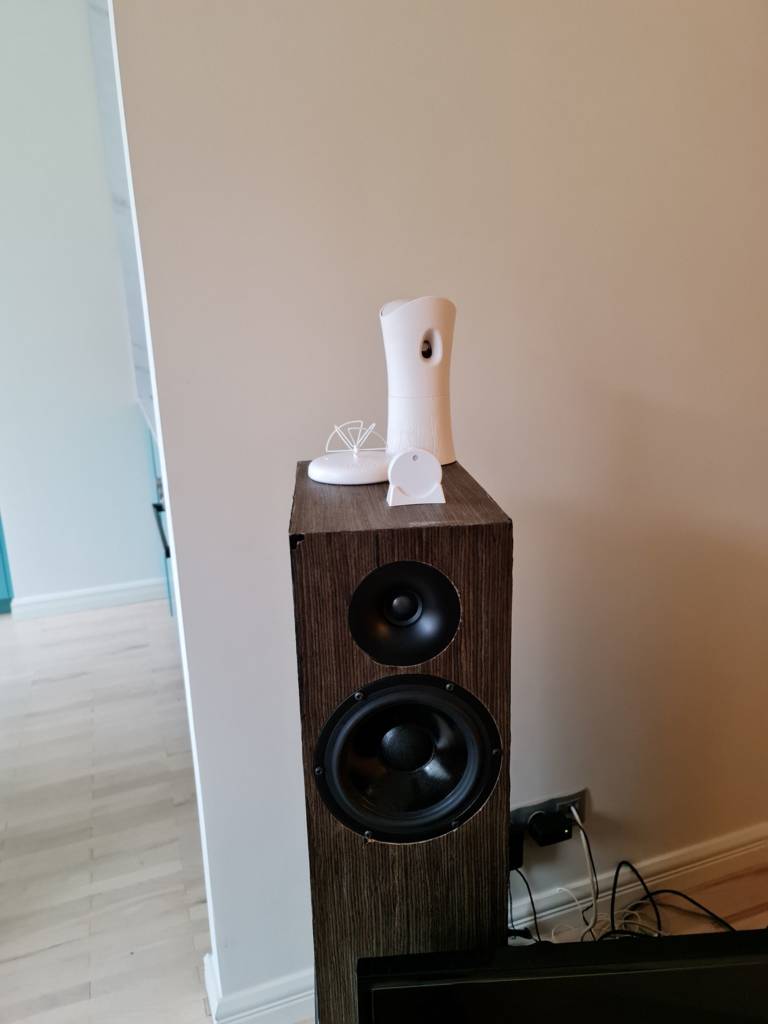
Measuring living room temperature
Measuring the air of the living room is a bit challenging. The sensor should be around the middle of room height, away from heat sources such as TV or direct sunlight. Also, it must look stylish enough to be displayed. RuuviTag Stand is a good way to make the sensor look like something that belongs to the interior.
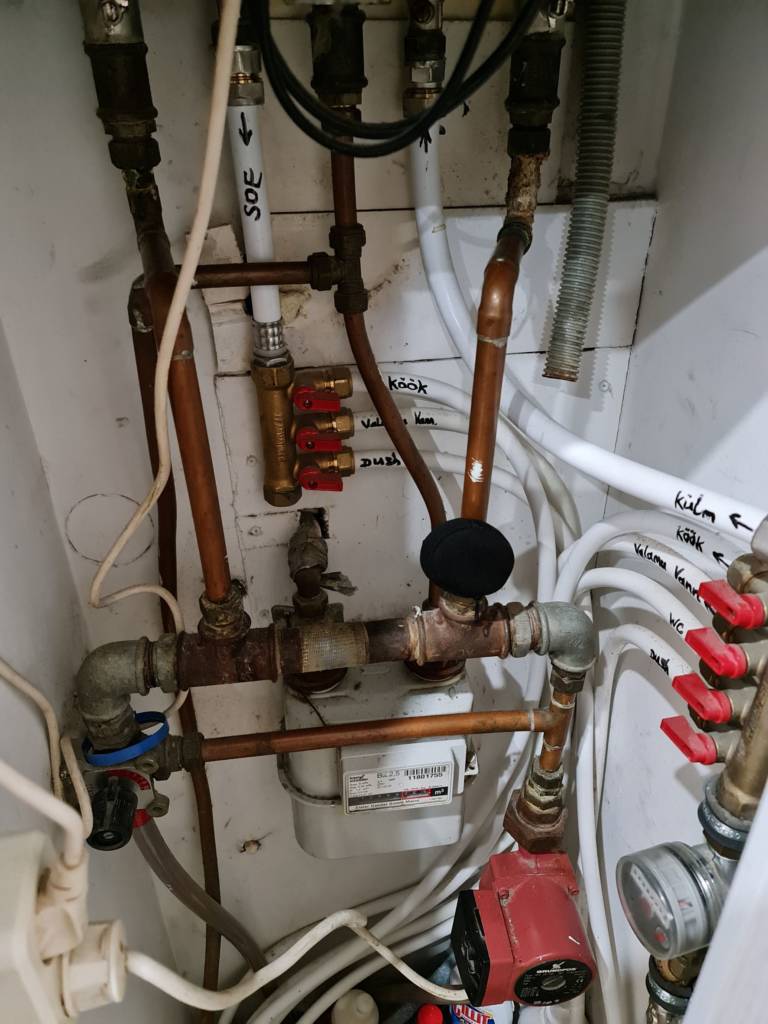
Measuring water boiler temperature
Our house has a gas boiler, which is a great way to save money in electricity prices. But it has its own concerns. The flame gets sometimes blown out which takes out the hot water. In addition, sometimes the feedback loop from the boiler does not keep up with the outgoing water temperature, which causes scalding boiling water to flow through the system. I used a RuuviTag Pouch to connect one sensor to the hot water output.
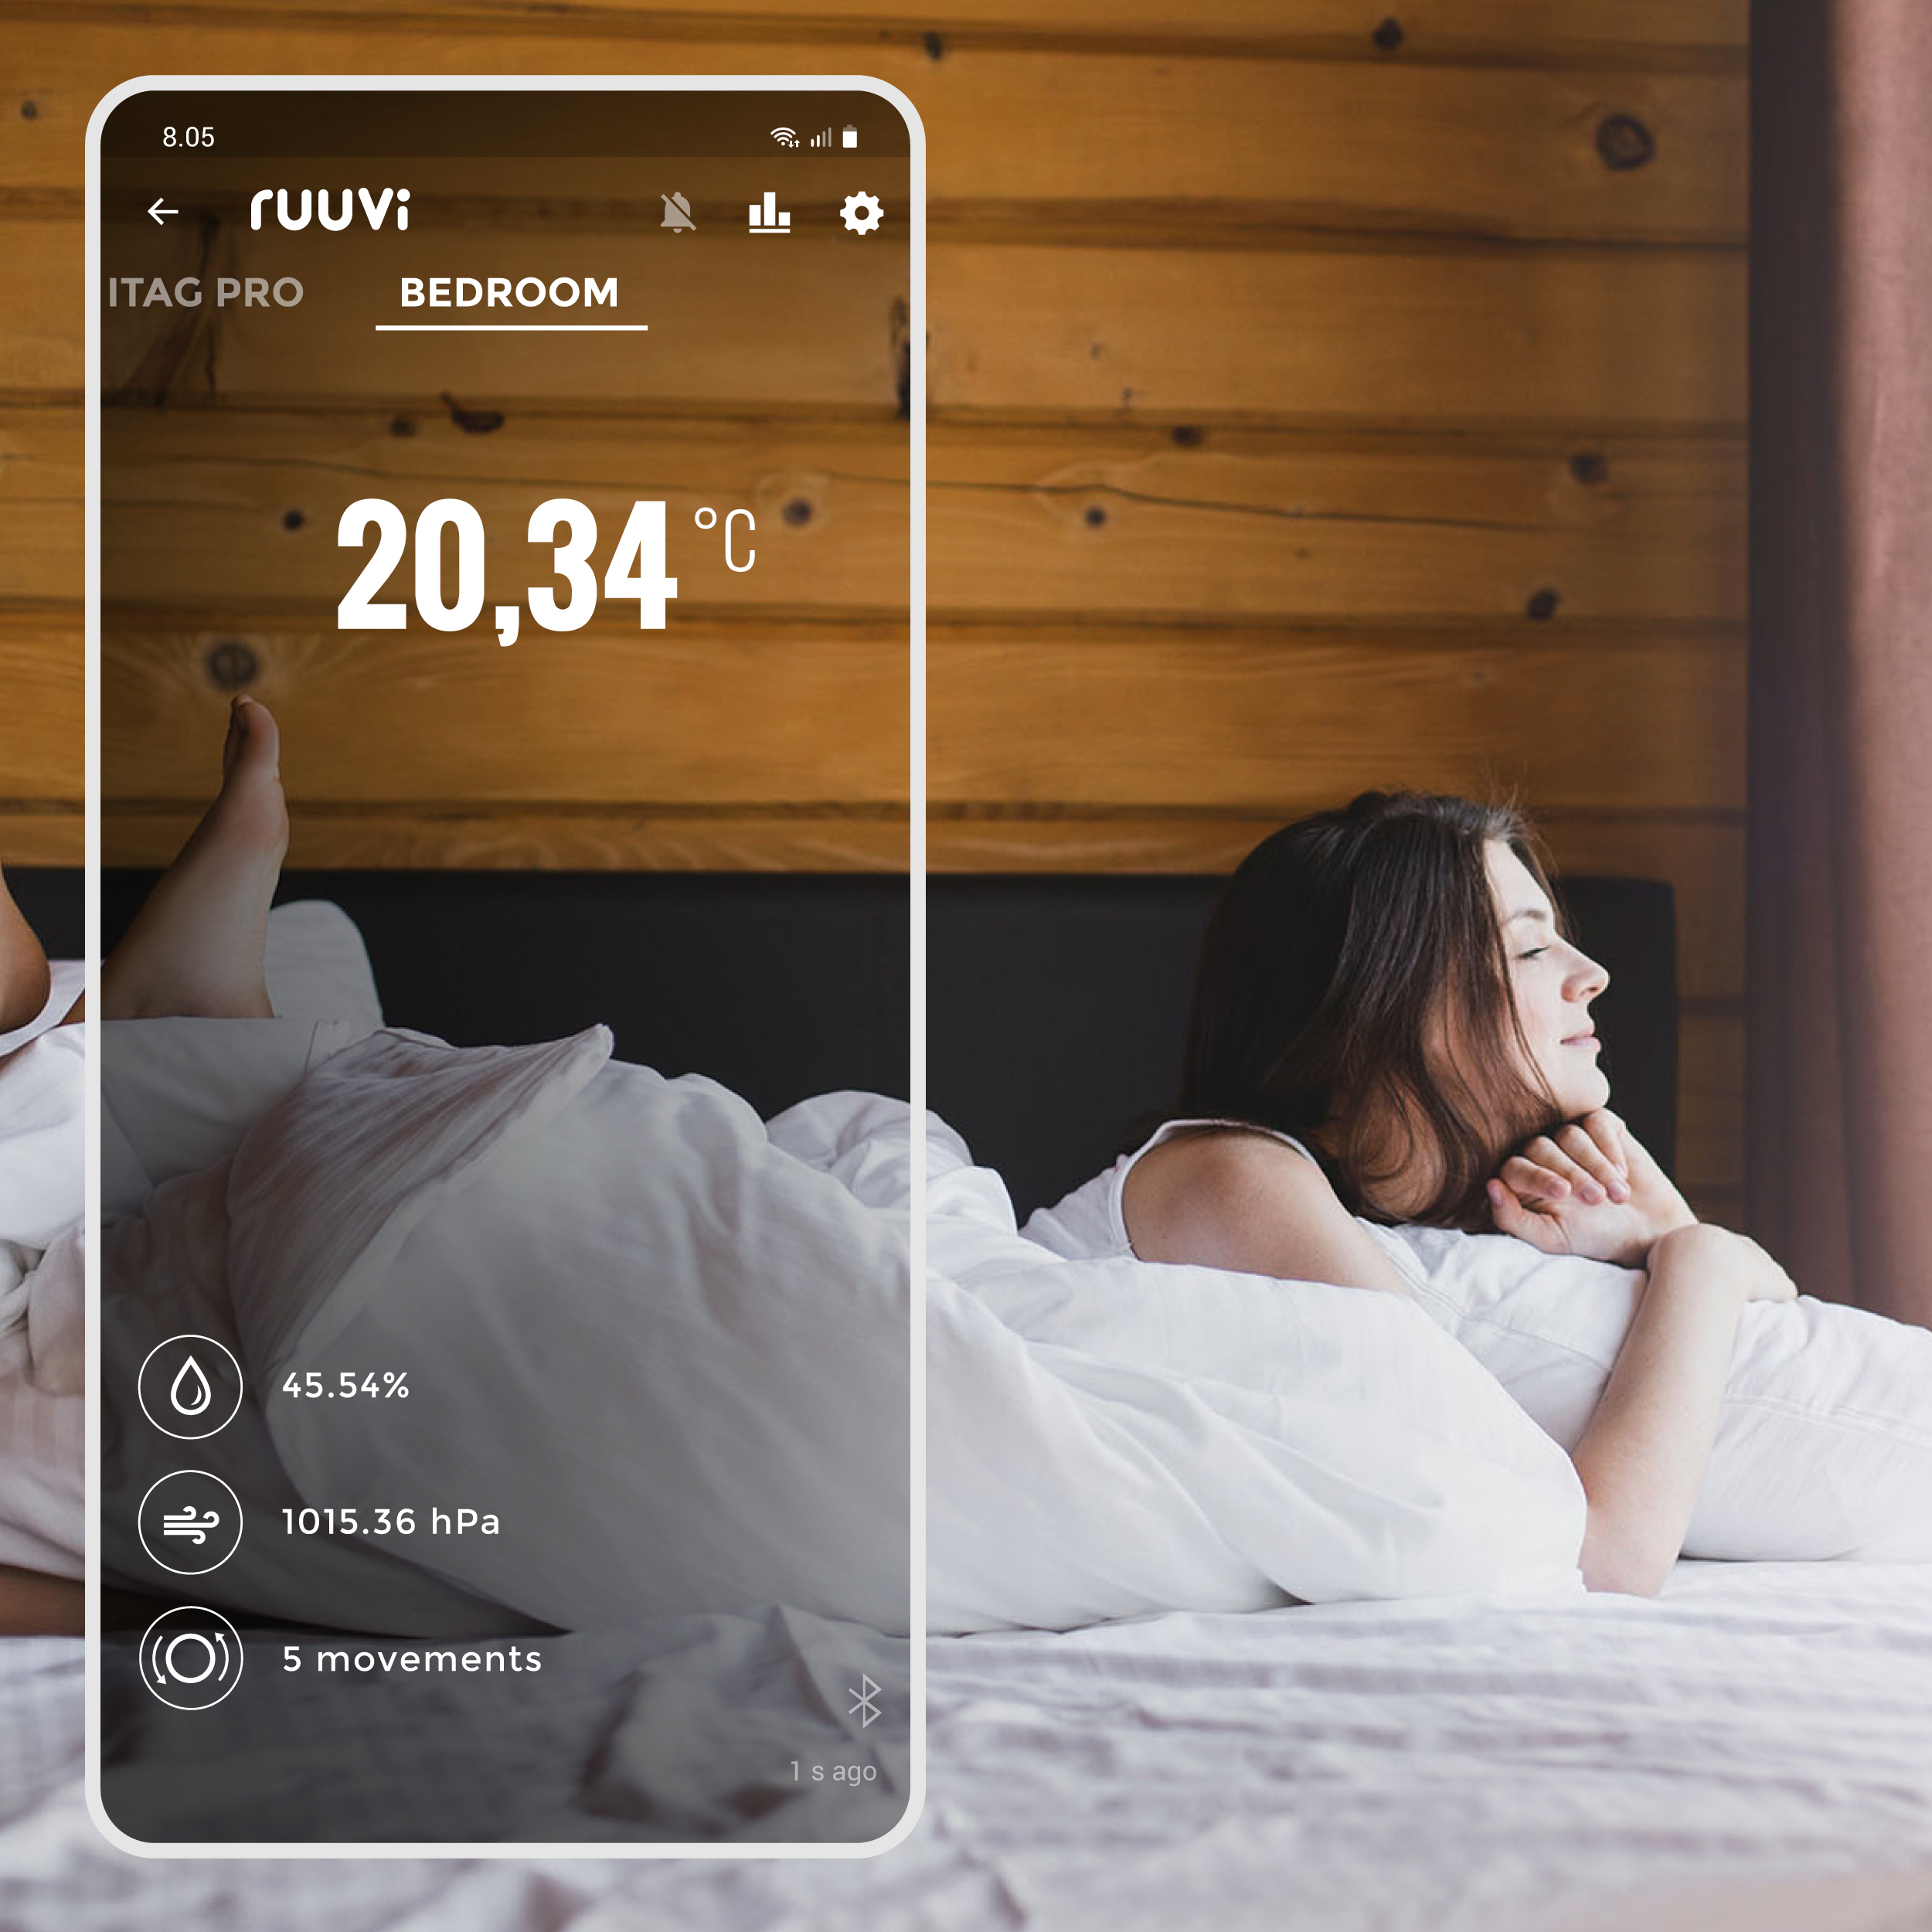
Measuring humidity in the bedroom
The bedroom air feels stale at night unless the bedroom is ventilated in the evening. One sensor goes on a stand in the bedroom to monitor the air quality overnight.
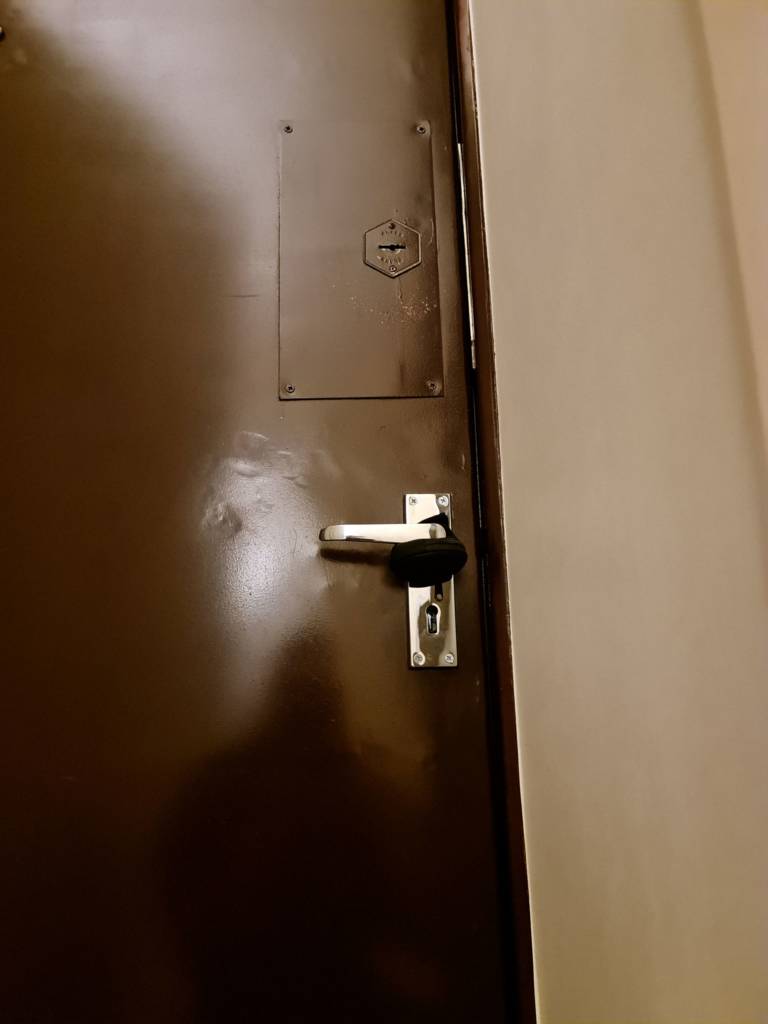
Measuring door movement for added security
RuuviTag sensors come with a movement counter function, which is a perfect tool to make a rudimentary home security system. If someone opens the door, the movement counter triggers which lets me detect any intruders while I am, for example, outdoors.
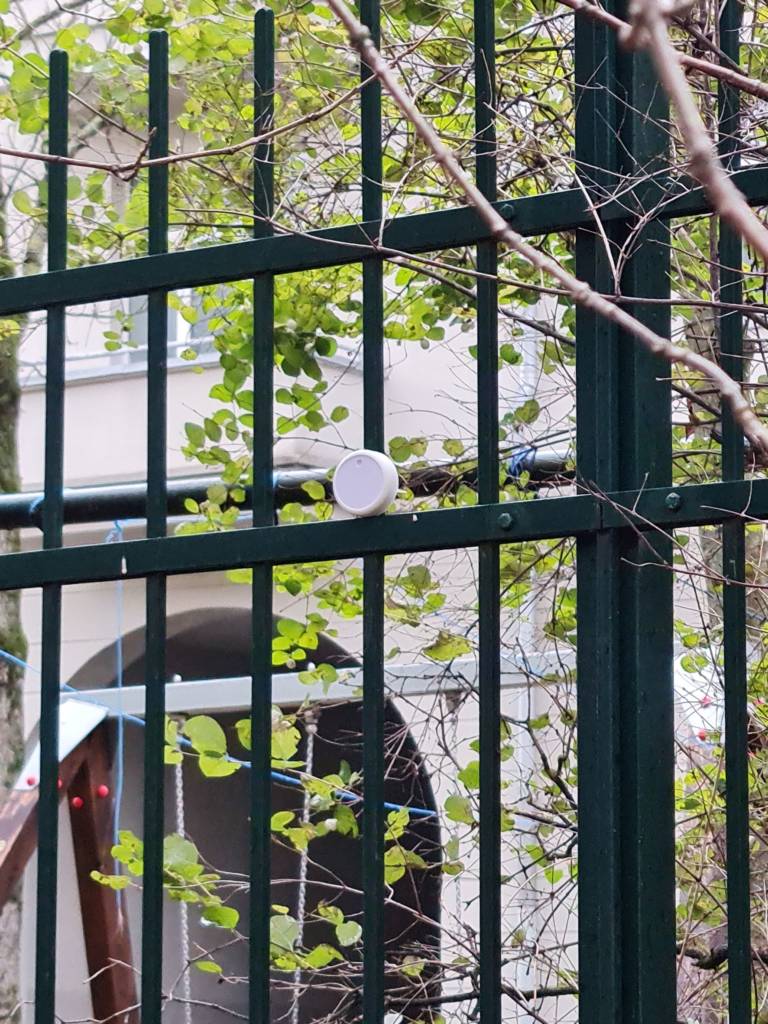
Outdoor monitoring
RuuviTag sensors have a good range, especially when used with the Gateway. I am taking one RuuviTag with Holder to the fence outside the apartment to monitor the outdoor conditions.
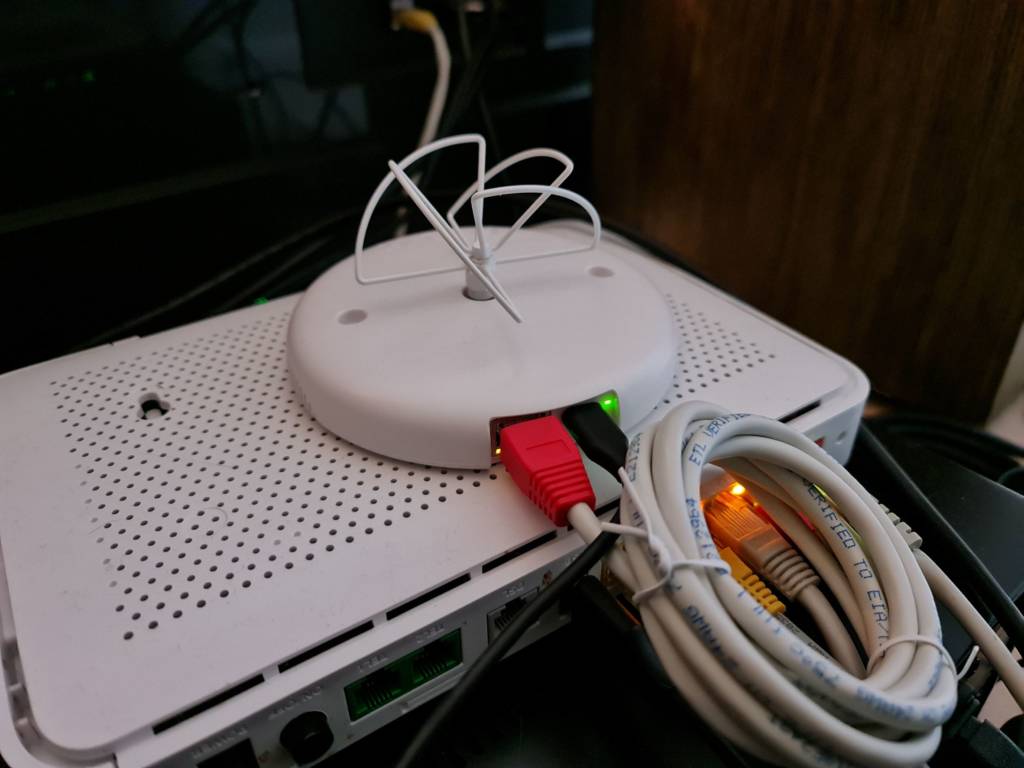
Setting up the Ruuvi Gateway
Ruuvi Gateway comes with a built-in browser-based configuration interface. I can connect it to the home WiFi and fine-tune the gateway’s settings. For example, these settings configures:
- when the gateway is allowed to update itself
- which kind of sensors the Gateway is allowed to scan
However, Ruuvi Gateway is designed to be easy to use and all I actually need to do is to plug the Gateway power into the home router USB port and Ethernet into the router. That is all for configuring the gateway to receive the sensors’ data!
Please note that the Gateway needs a good power supply, especially when using WiFi. Not every USB port can supply the gateway and it is recommended to use the power supply which ships with the Gateway.
Gateway reception is at its best when it is near the middle of the home and a bit away from metal, concrete and brick structures.
Setting up Ruuvi Account
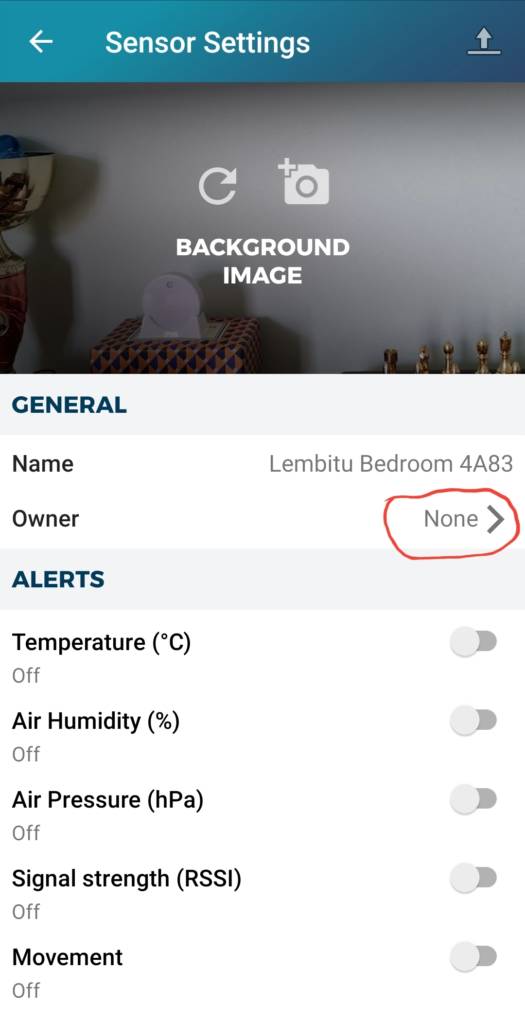
The next thing to do is to set up a Ruuvi Account so my devices can pick up data from Ruuvi Cloud though the Gateway. Setting up is easy, I only need to enter my email address into Ruuvi Station and receive a confirmation code.

The next thing is to claim ownership of my sensors inside the Ruuvi Station app. This associates the sensor data with my account and prevents others from reading their data through Ruuvi Cloud. However, anyone in Bluetooth Range can still see the raw sensor data but they will not receive any sensible data such as the sensor name I have given or the background image.

Sharing sensors to other household members
My next step is to share the sensors to the rest of the household through the Ruuvi Station app. This lets everyone see the data from their devices. It is also a good thing to discuss any privacy concerns – everyone is not excited about the thought of keeping track of every door being opened and so on.
Setting up alerts
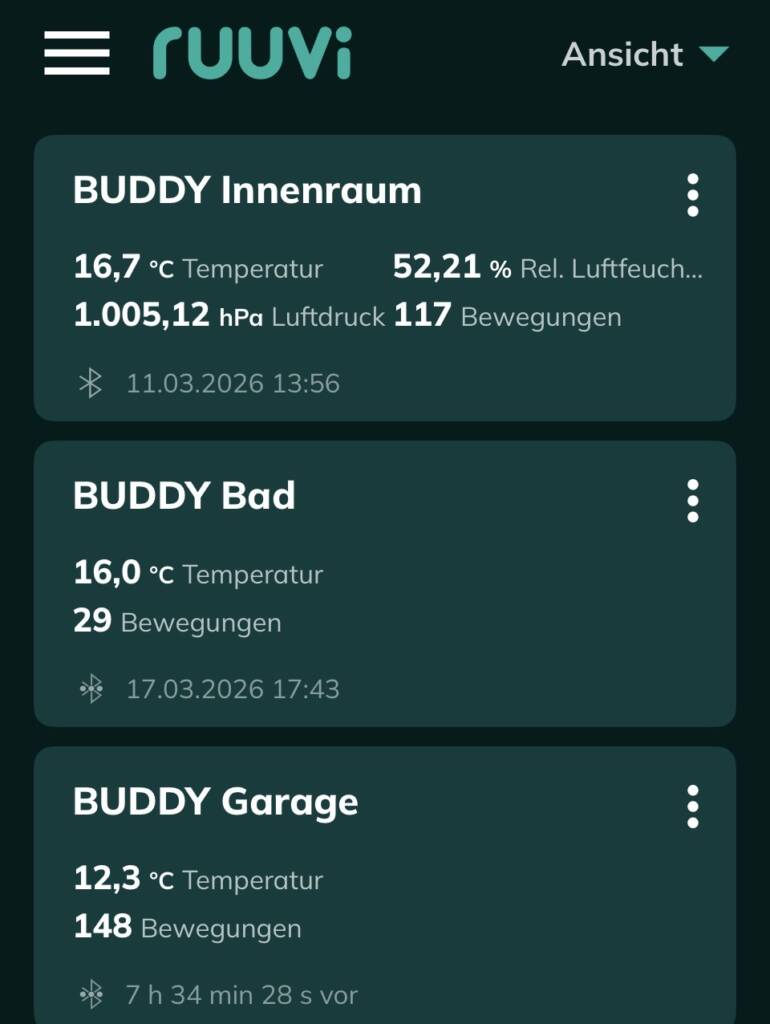
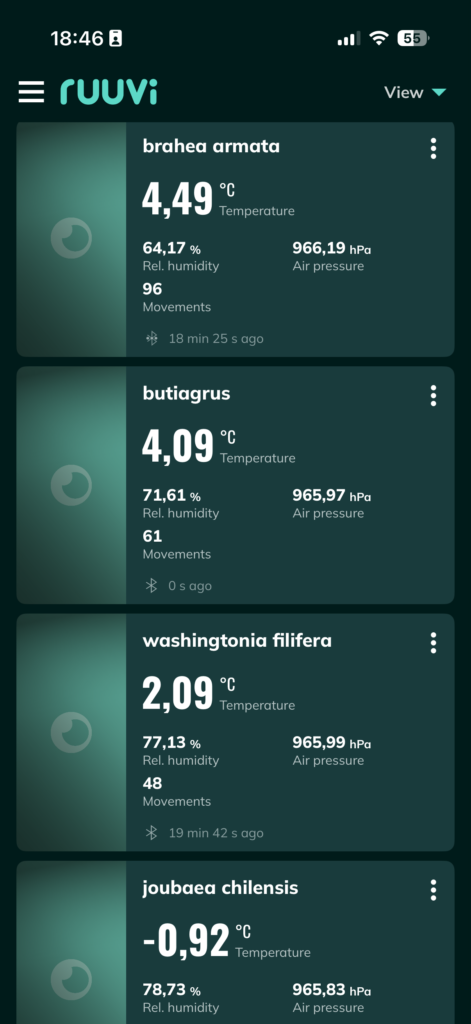
Now the devices are in their places and sensors are connected to my account. I can see on a quick view that my sensors are received by the Gateway. Next, I will set up alert limits to sensors inside the Ruuvi Station app.
- Bathroom: Humidity < 75 %
- Bedroom: 15 < Temperature < 25 °C, 30 % < Humidity < 70 %
- Boiler: 30 C < Temperature < 45 °C
- Cactus 10 °C < Temperature, Humidity < 75 %
- Door: I will activate Movement Alarm on when I leave the house for a longer period of time
- Freezer: Temperature < – 10 °C
- Fridge: 0 °C < Temperature < 10 °C
- Living room: 20 °C < Temperature < 27 °C, 30 % < Humidity < 70 %
- Outdoors: No alert needed
- Sauna: Humidity < 95 %
All done
In the end, all of this was done surprisingly quickly. Altogether, It took some 3 hours from start to finish to set up my home IoT measurement system. In conclusion, the total cost of the project is 199 € for the gateway, 270 € for the tags and 26 € for the accessories.
Now go and Measure Your World!

Start Measuring Your World Now!
With your own RuuviTag, you can make your home smarter!
39,90€
Ruuvi is based in Finland. If you’re an EU consumer, VAT is included. If you’re a non-EU customer, you don't pay VAT. If you're an EU business, insert your VAT ID at checkout.
In stock
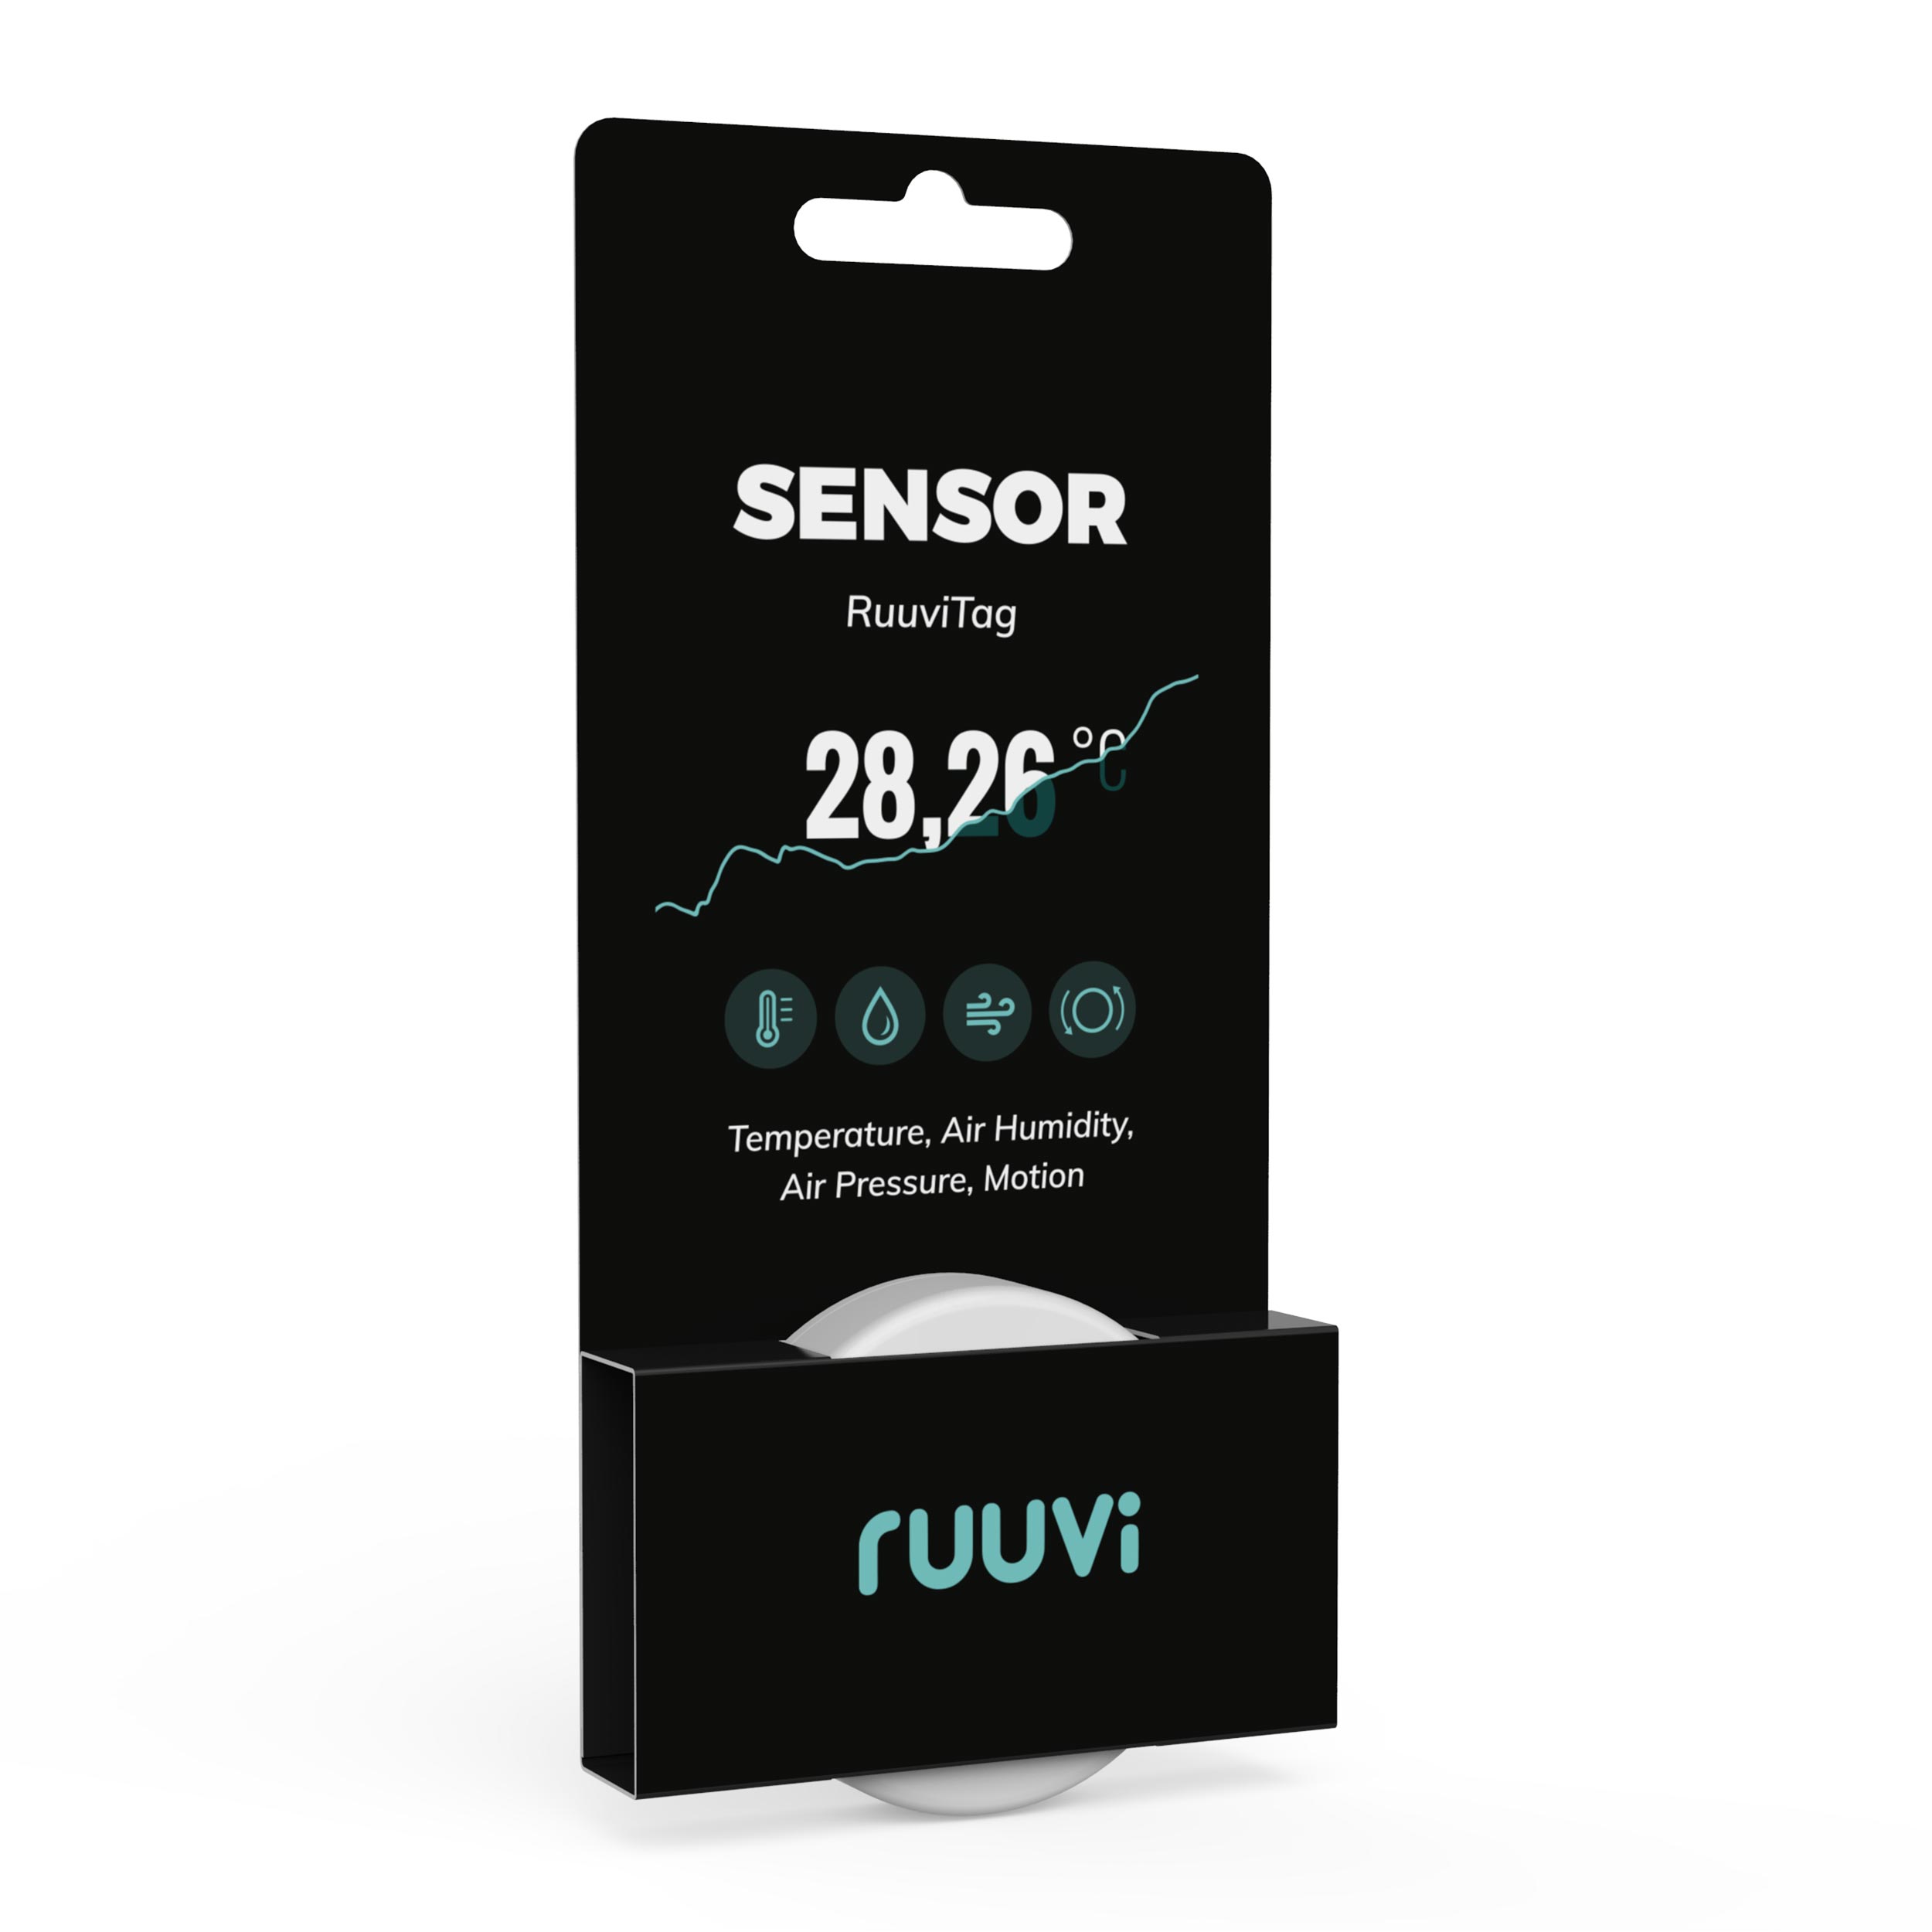
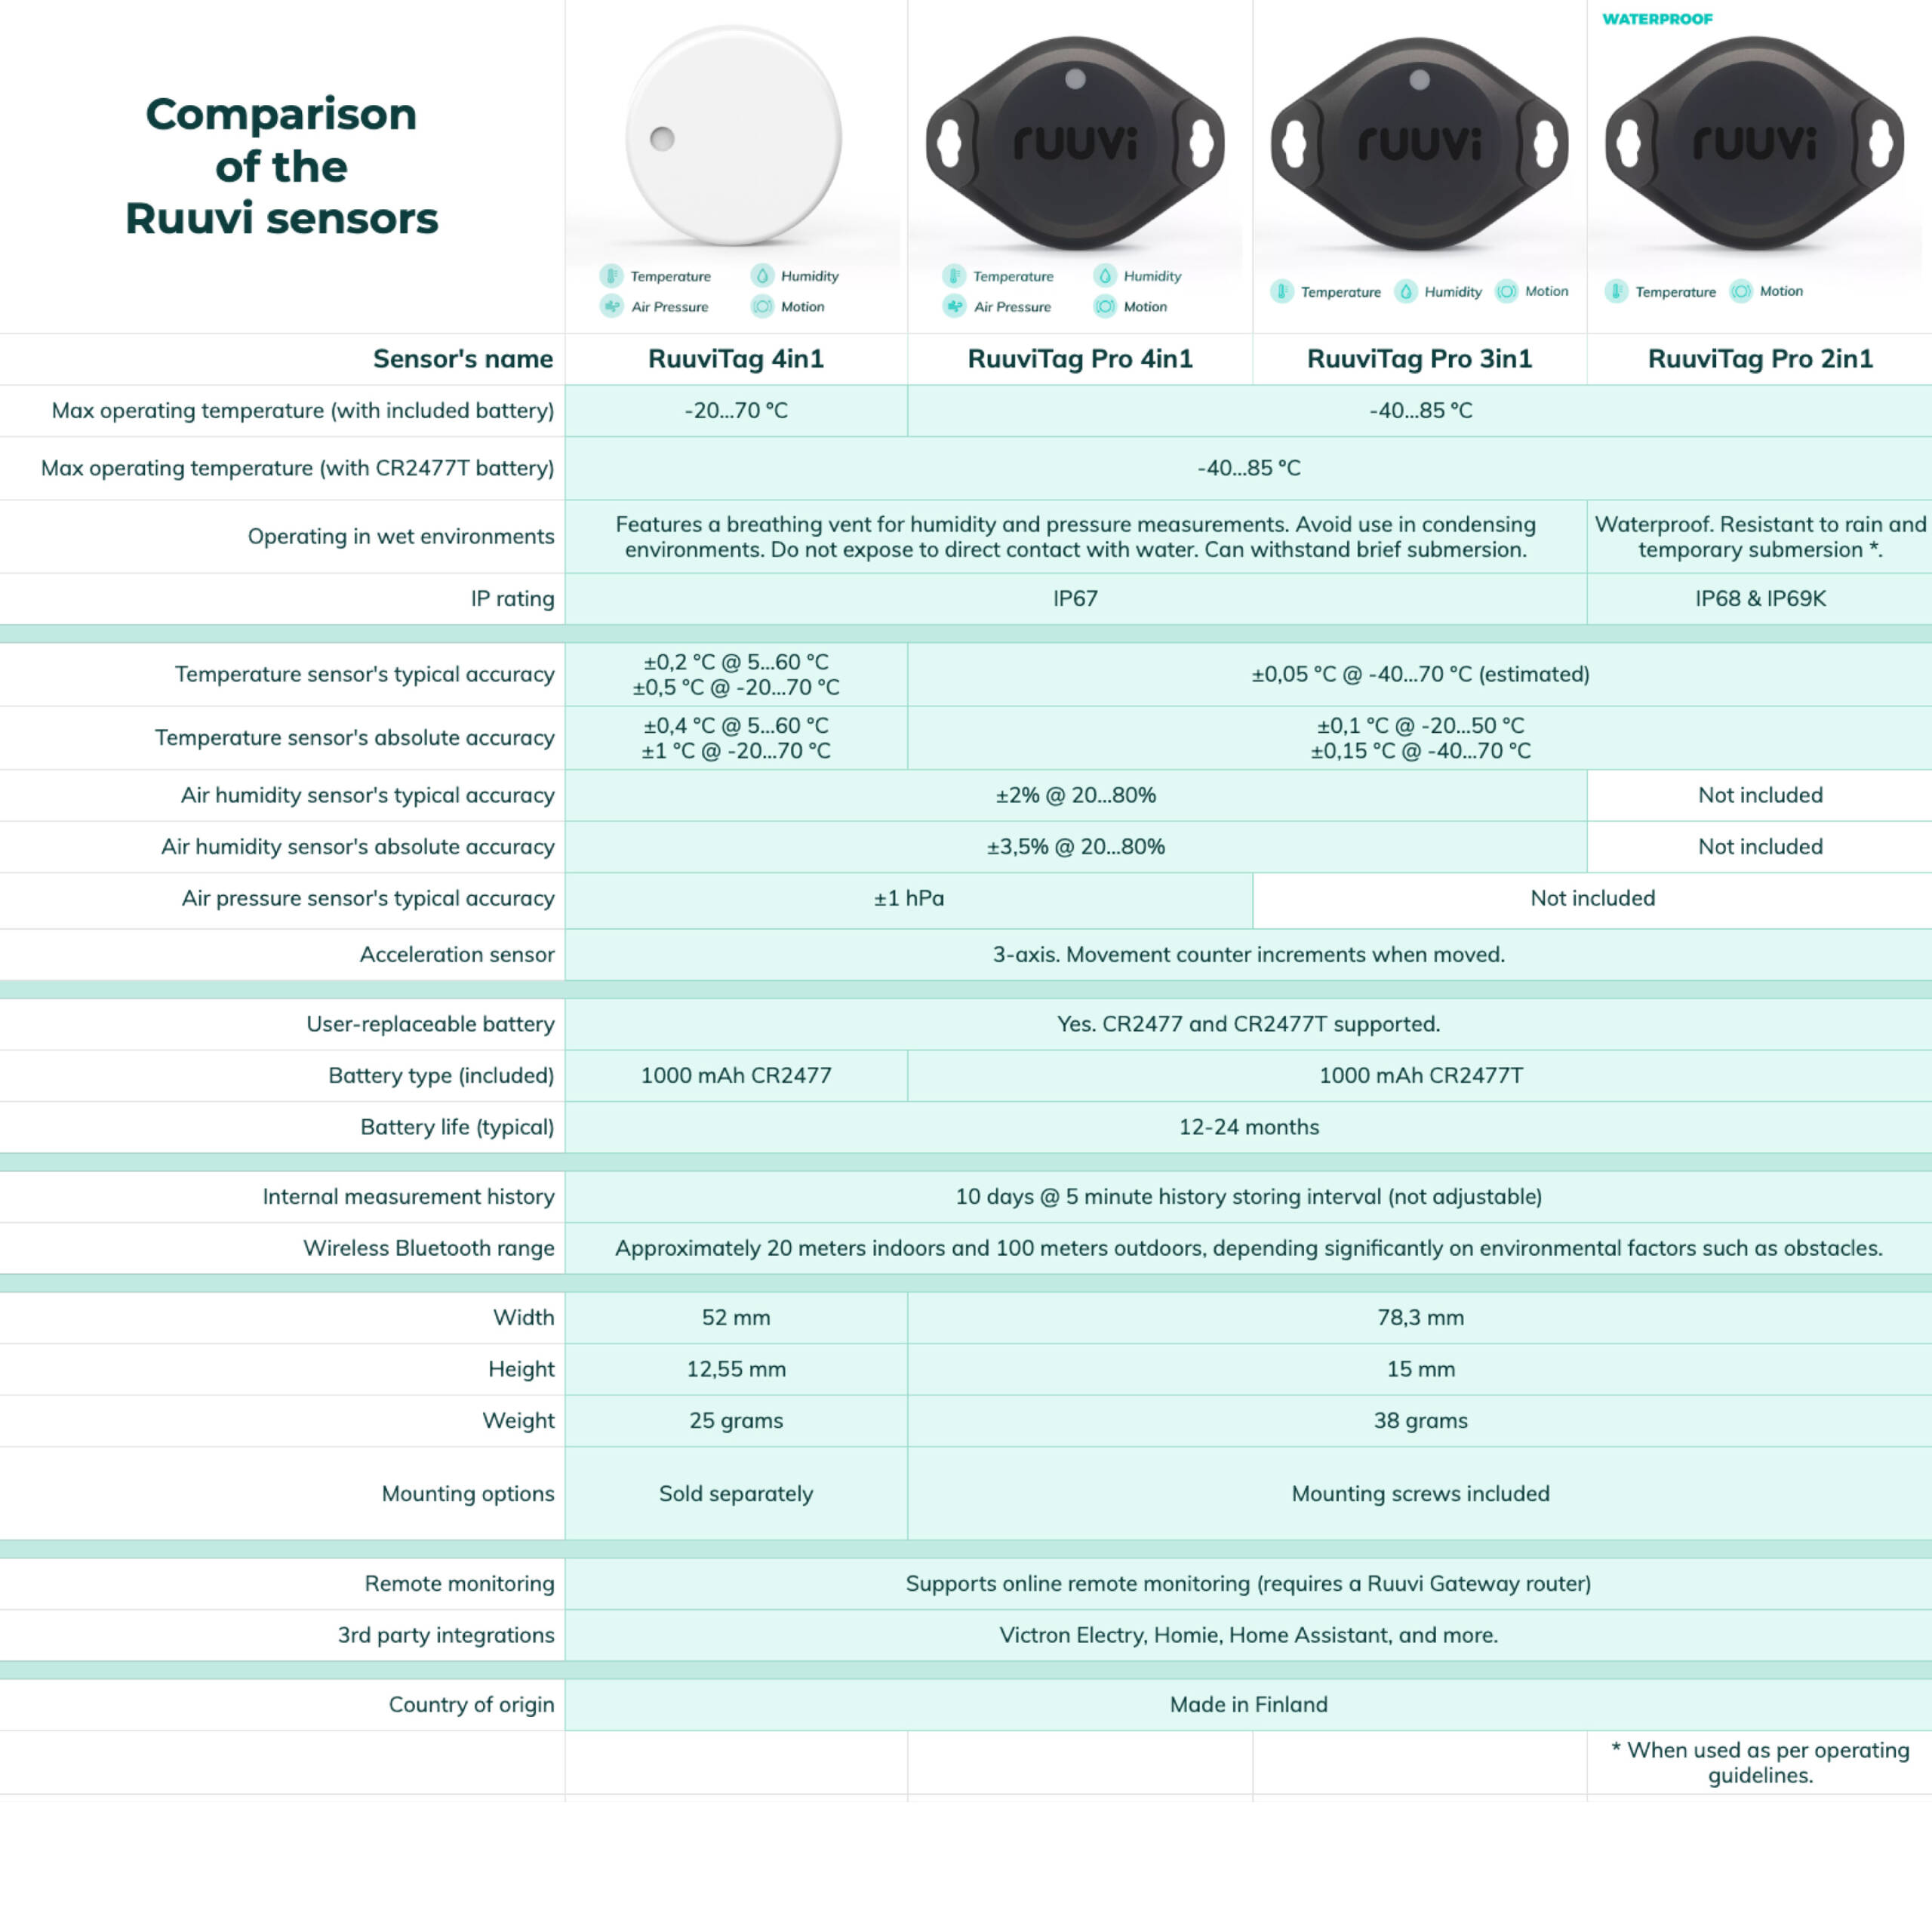
RuuviTag Sensor (4in1)
| 5 stars | 94% | |
| 4 stars | 6% | |
| 3 stars | 0% | |
| 2 stars | 0% | |
| 1 star | 0% |
Customer Images
RuuviTag Sensor (4in1)
| Quantity | Unit Price(€) |
|---|---|
| 1 | 39,90 |
| 2 | 37,40 |
| 3-5 | 36,90 |
| 6-8 | 35,90 |
| 9-12 | 34,90 |
| 13-25 | 33,90 |
| 26-99 | 32,90 |
Are you looking for bigger quantities? Contact us for pricing.
⭐⭐⭐⭐⭐ Excellent sensors for RV monitoring and Victron VRM integration
I am extremely satisfied with my Ruuvi sensors.
I use several of them in different locations inside my motorhome: in the refrigerator, battery compartment, living area, kitchen area and other positions. Installation was very simple and the sensors have been working flawlessly from day one.
What impressed me most is the excellent integration with the Victron ecosystem. Through Victron VRM I can monitor all sensor data remotely 24/7, which is incredibly useful when living and travelling off-grid.
The accuracy is outstanding. The pressure readings of different sensors are almost identical, showing only minimal differences, which gives me great confidence in the quality of the measurements. Temperature and humidity readings have also proven to be very reliable.
I have even used the sensors to evaluate the performance of a portable compressor cooler. Thanks to the precise temperature logging, I was able to see that the cooler dropped from 20°C to 0°C in about 30 minutes and reached -20°C in less than an hour. Without Ruuvi sensors, such testing would have been much more difficult.
Battery life has been excellent, setup is easy, and the overall user experience is outstanding.
For anyone using Victron equipment, RVs, boats, off-grid systems, refrigerators, freezers or environmental monitoring, I can highly recommend Ruuvi sensors.
Excellent!
After integrating four RuuviTags into my Victron Cerbo GX / VRM system in our Rapido motorhome, I can honestly say they have transformed the way I monitor the vehicle.
The setup now provides live temperature, humidity and pressure monitoring directly inside the VRM portal, allowing me to monitor critical areas including:
Battery Box
Orion DC-DC Charger Compartment
Engel Fridge
Main Rapido Fridge Area
What impressed me most was how seamlessly the RuuviTags integrated with the Cerbo GX via Bluetooth. Once connected, the data appears natively inside VRM and can be used for real alarms and automation.
I have now configured:
High temperature alarms
Low temperature alarms
VRM email notifications
Relay-triggered audible siren alarms
The system is now capable of warning me immediately if:
the lithium battery compartment gets dangerously cold
the battery box overheats
the Orion compartment becomes too hot
ventilation or airflow problems occur
The accuracy and stability of the readings have been excellent. The tags update reliably and provide a very clear picture of what is happening inside the motorhome.
One of the major advantages is that the system no longer relies on older digital-input alarm methods or complex workarounds. The RuuviTag + Cerbo GX combination feels like a modern, professional-grade monitoring solution.
The compact size, long battery life and wireless operation make installation extremely easy. No extra wiring was required for the sensors themselves.
For anyone building a Victron-based off-grid system, especially in a motorhome, caravan, marine or lithium battery installation, I would highly recommend RuuviTags.
They add a level of visibility and protection that is difficult to achieve any other way at this price point.